Babyganics Playbook
Babies know that life’s little adventures can be uncovered just about anywhere, even in places you may not expect! The Babyganics Playbook was built to help parents rediscover the magic of play with their little ones, highlighting the joy of babyhood and the simplicity of the senses. Our Play Experts, Jen Kossowan and Katie Engel, have developed sensory play activities that are easy to create at home, have various developmental benefits, and most importantly, are an exciting way for little ones to explore the world around them. Read on, have fun and play!
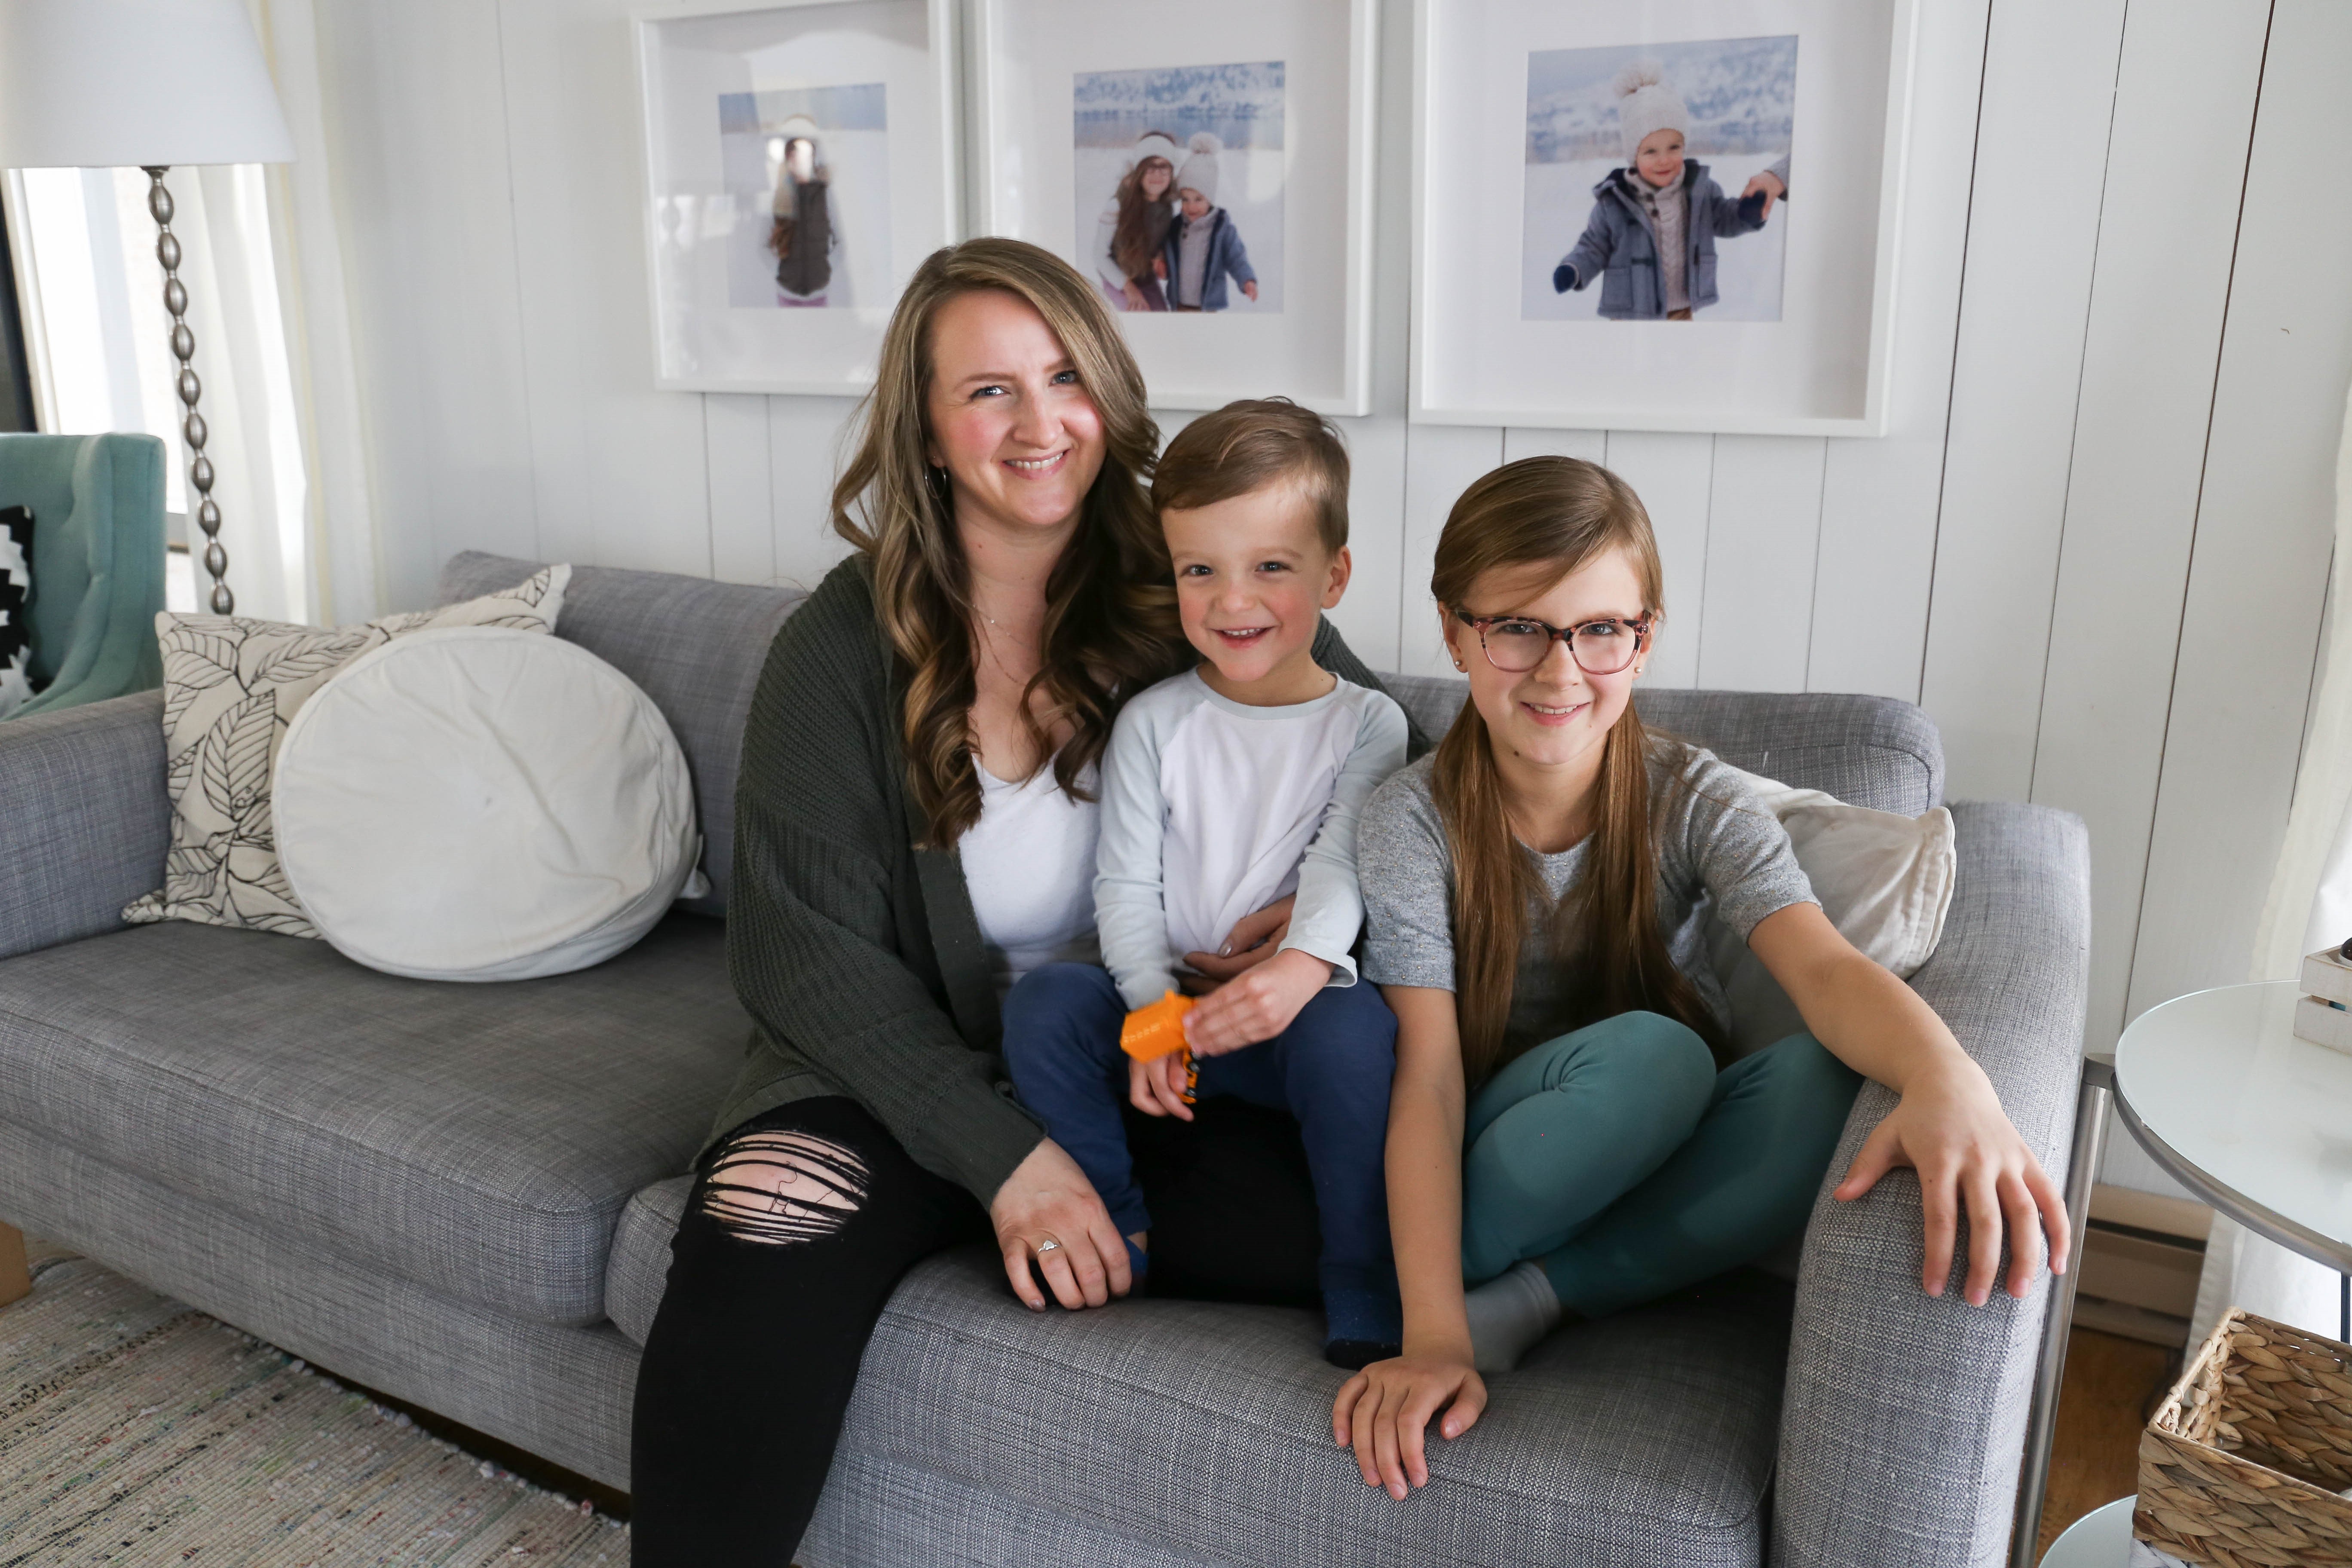
Jen Kossowan
Jen Kossowan is a kindergarten and grade one teacher and the mama of two gorgeous kiddos, Gracen and Sam. She’s passionate about play, loves a good DIY project, adores travelling, and collects children’s books like it’s her job. Find her online at www.mamapapabubba.com and on Instagram at @mamapapabubba.
Projects:
Scarf Pull Upcycle
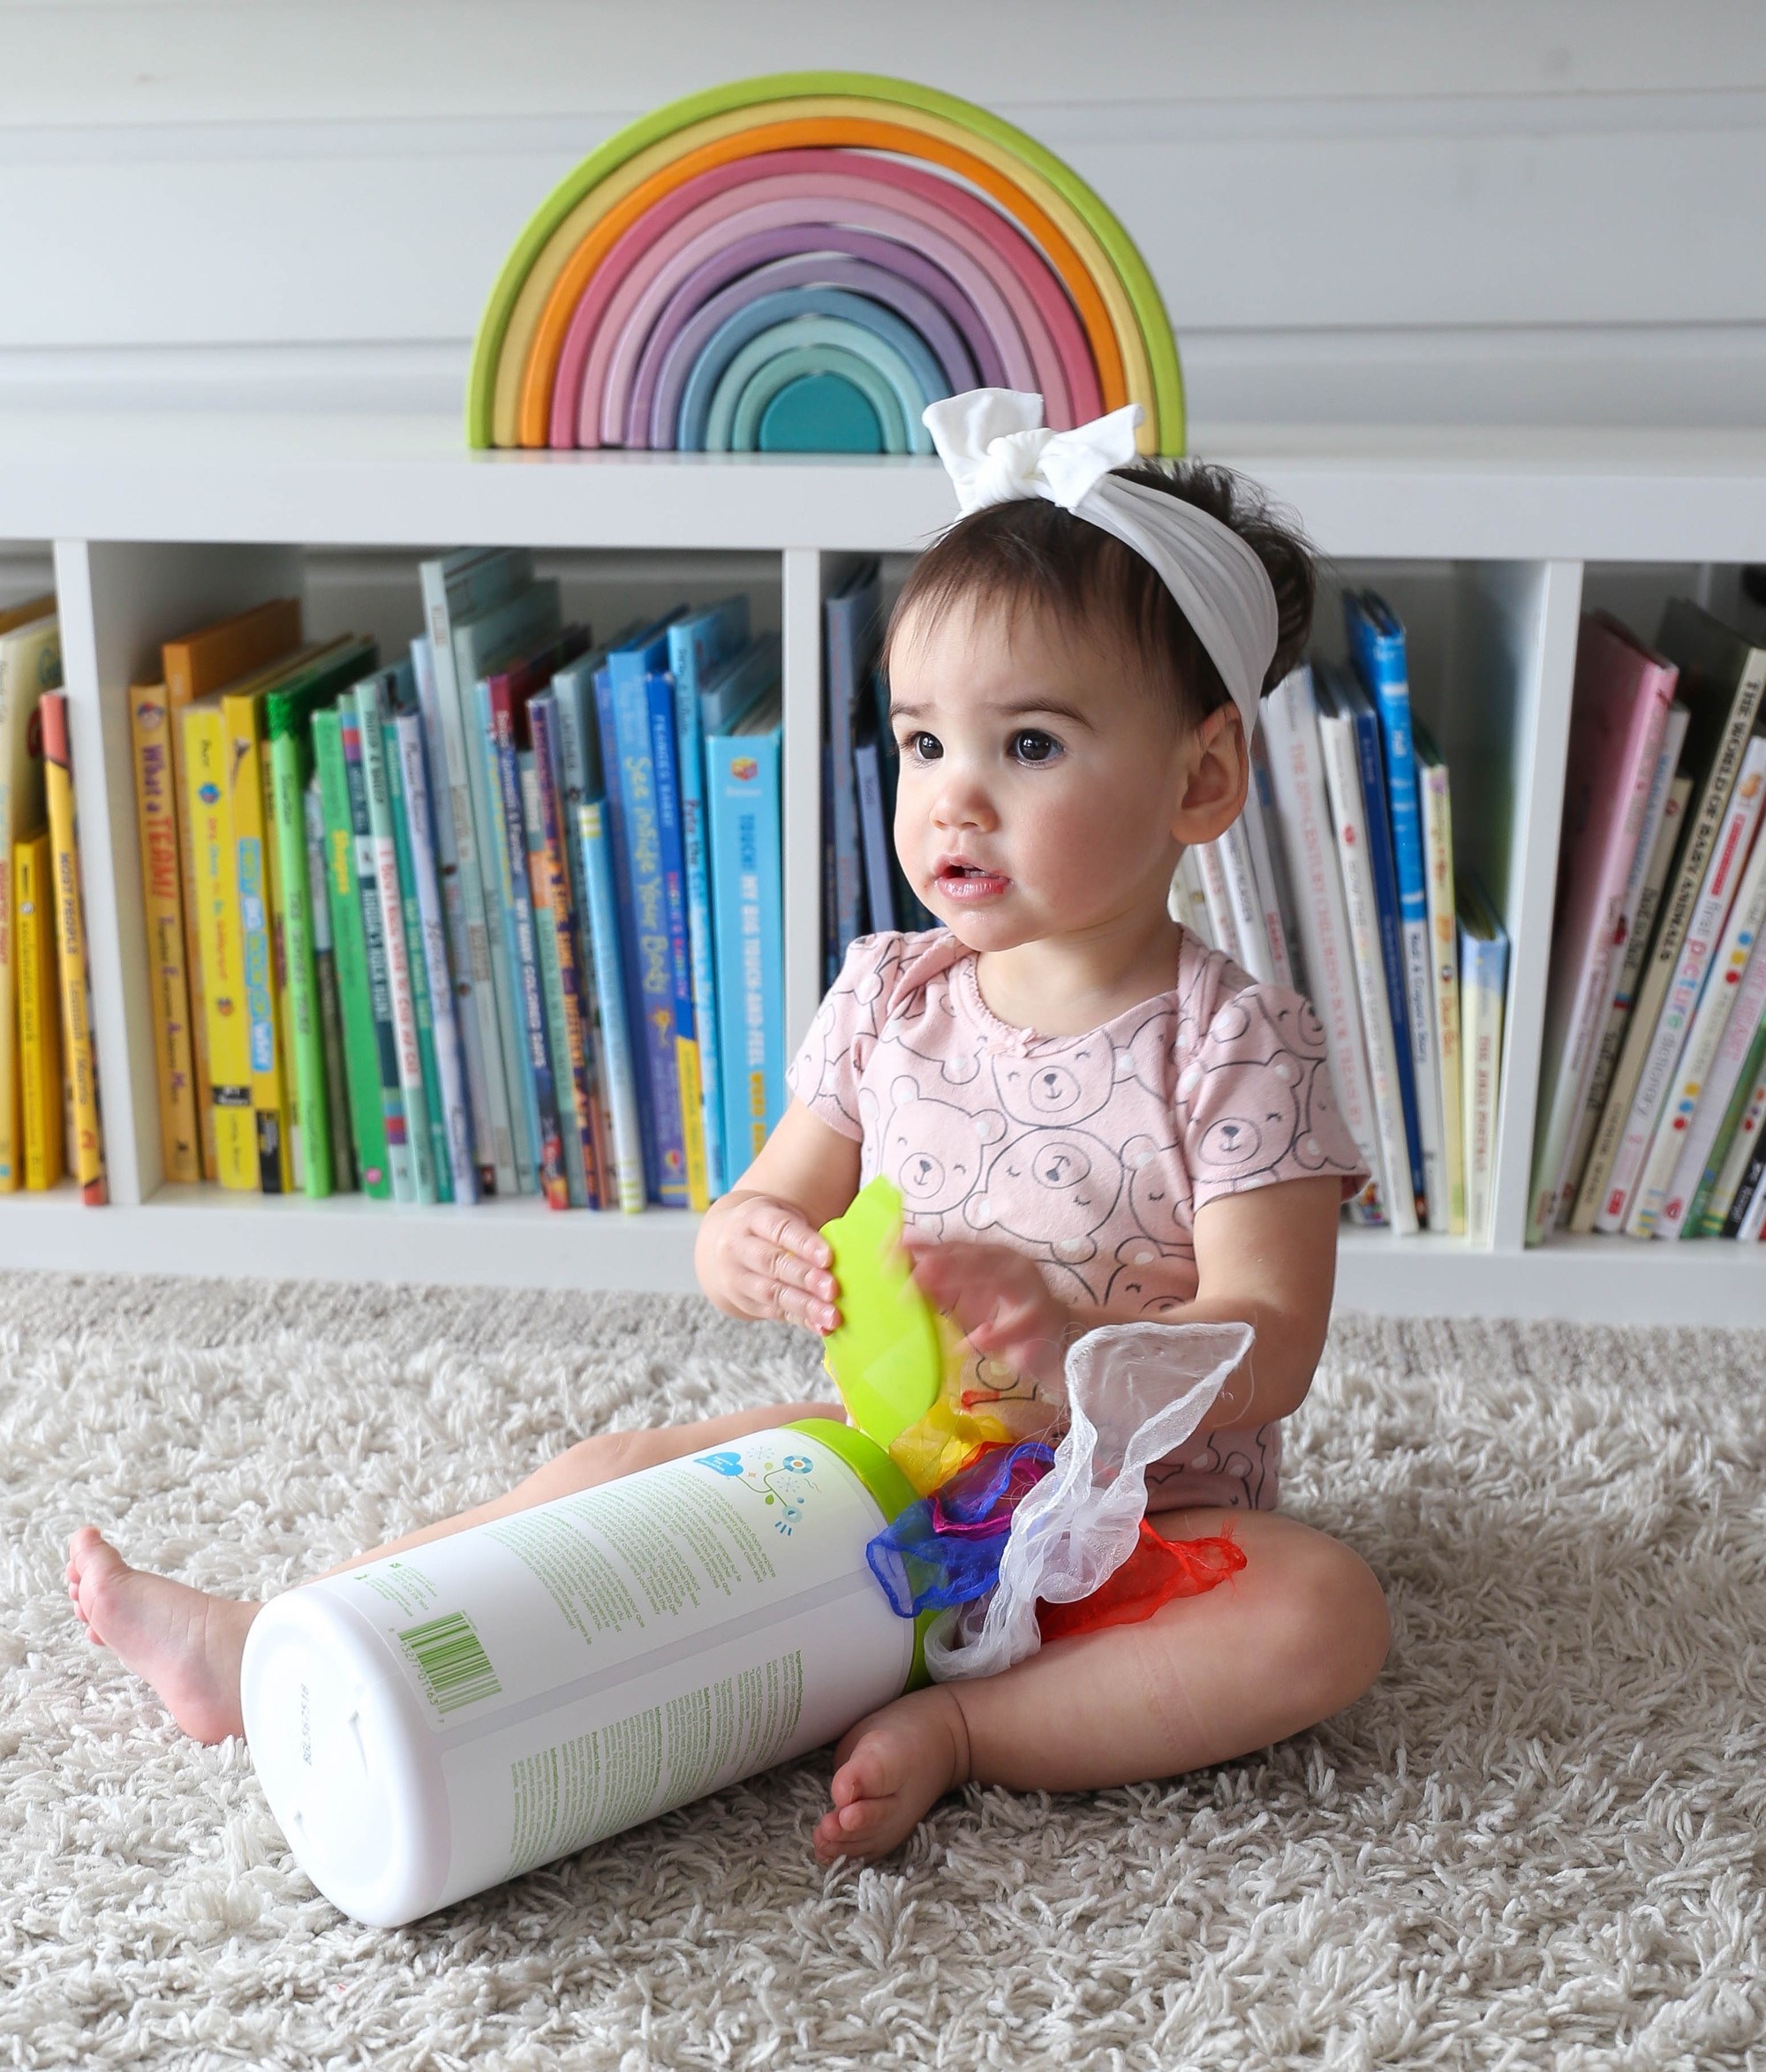
You know how little ones just LOVE emptying out tissue boxes and wipe containers? Well, this easy-to-pull-together scarf pull activity allows them to do just that—only in a way that doesn’t make us parents crazy! In fact, you can go ahead and encourage it…It can be done again and again; the clean-up is easy, and it’s surprisingly beneficial for your baby’s development!
Here’s what you’ll need
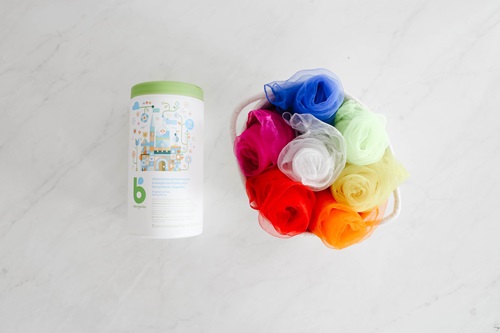
- An empty Babyganics All Purpose Surface Wipes container (Make sure that container had been emptied of all product and properly washed, rinsed and dried!)
- A handful of scarves (There are all kinds of beautiful scarves dedicated to play nowadays but check your own closet or stock up on some at your local thrift store.)
Here’s how to do it:
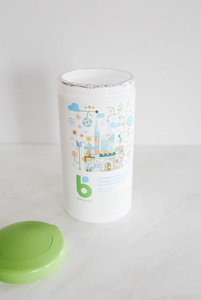
1. First things first, remove the lid from your empty Babyganics All Purpose Surface Wipes container and give it a good wash both inside and out. Dry the container well. If the fabric allows, freshen your scarves for baby play by running them through the wash with Babyganics Laundry Detergent.
2. Next up, collect up the corners of your scarves in one hand and run your other hand through the tails to remove tangles and ensure that they’re all hanging straight down.
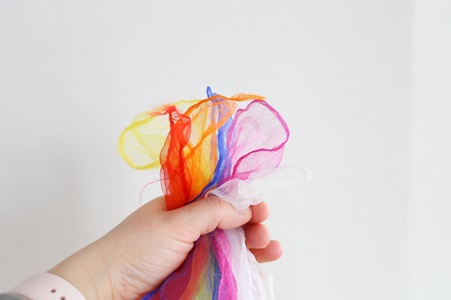
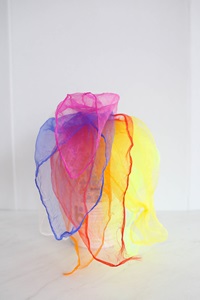
3. Now carefully funnel the tails into the empty wipes container bit by bit, ensuring the top corners continue stick out the top.
4. When the scarves are almost all the way into the container, feed the top corners through the lid and pop it into place.
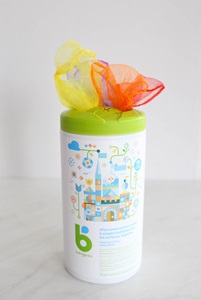
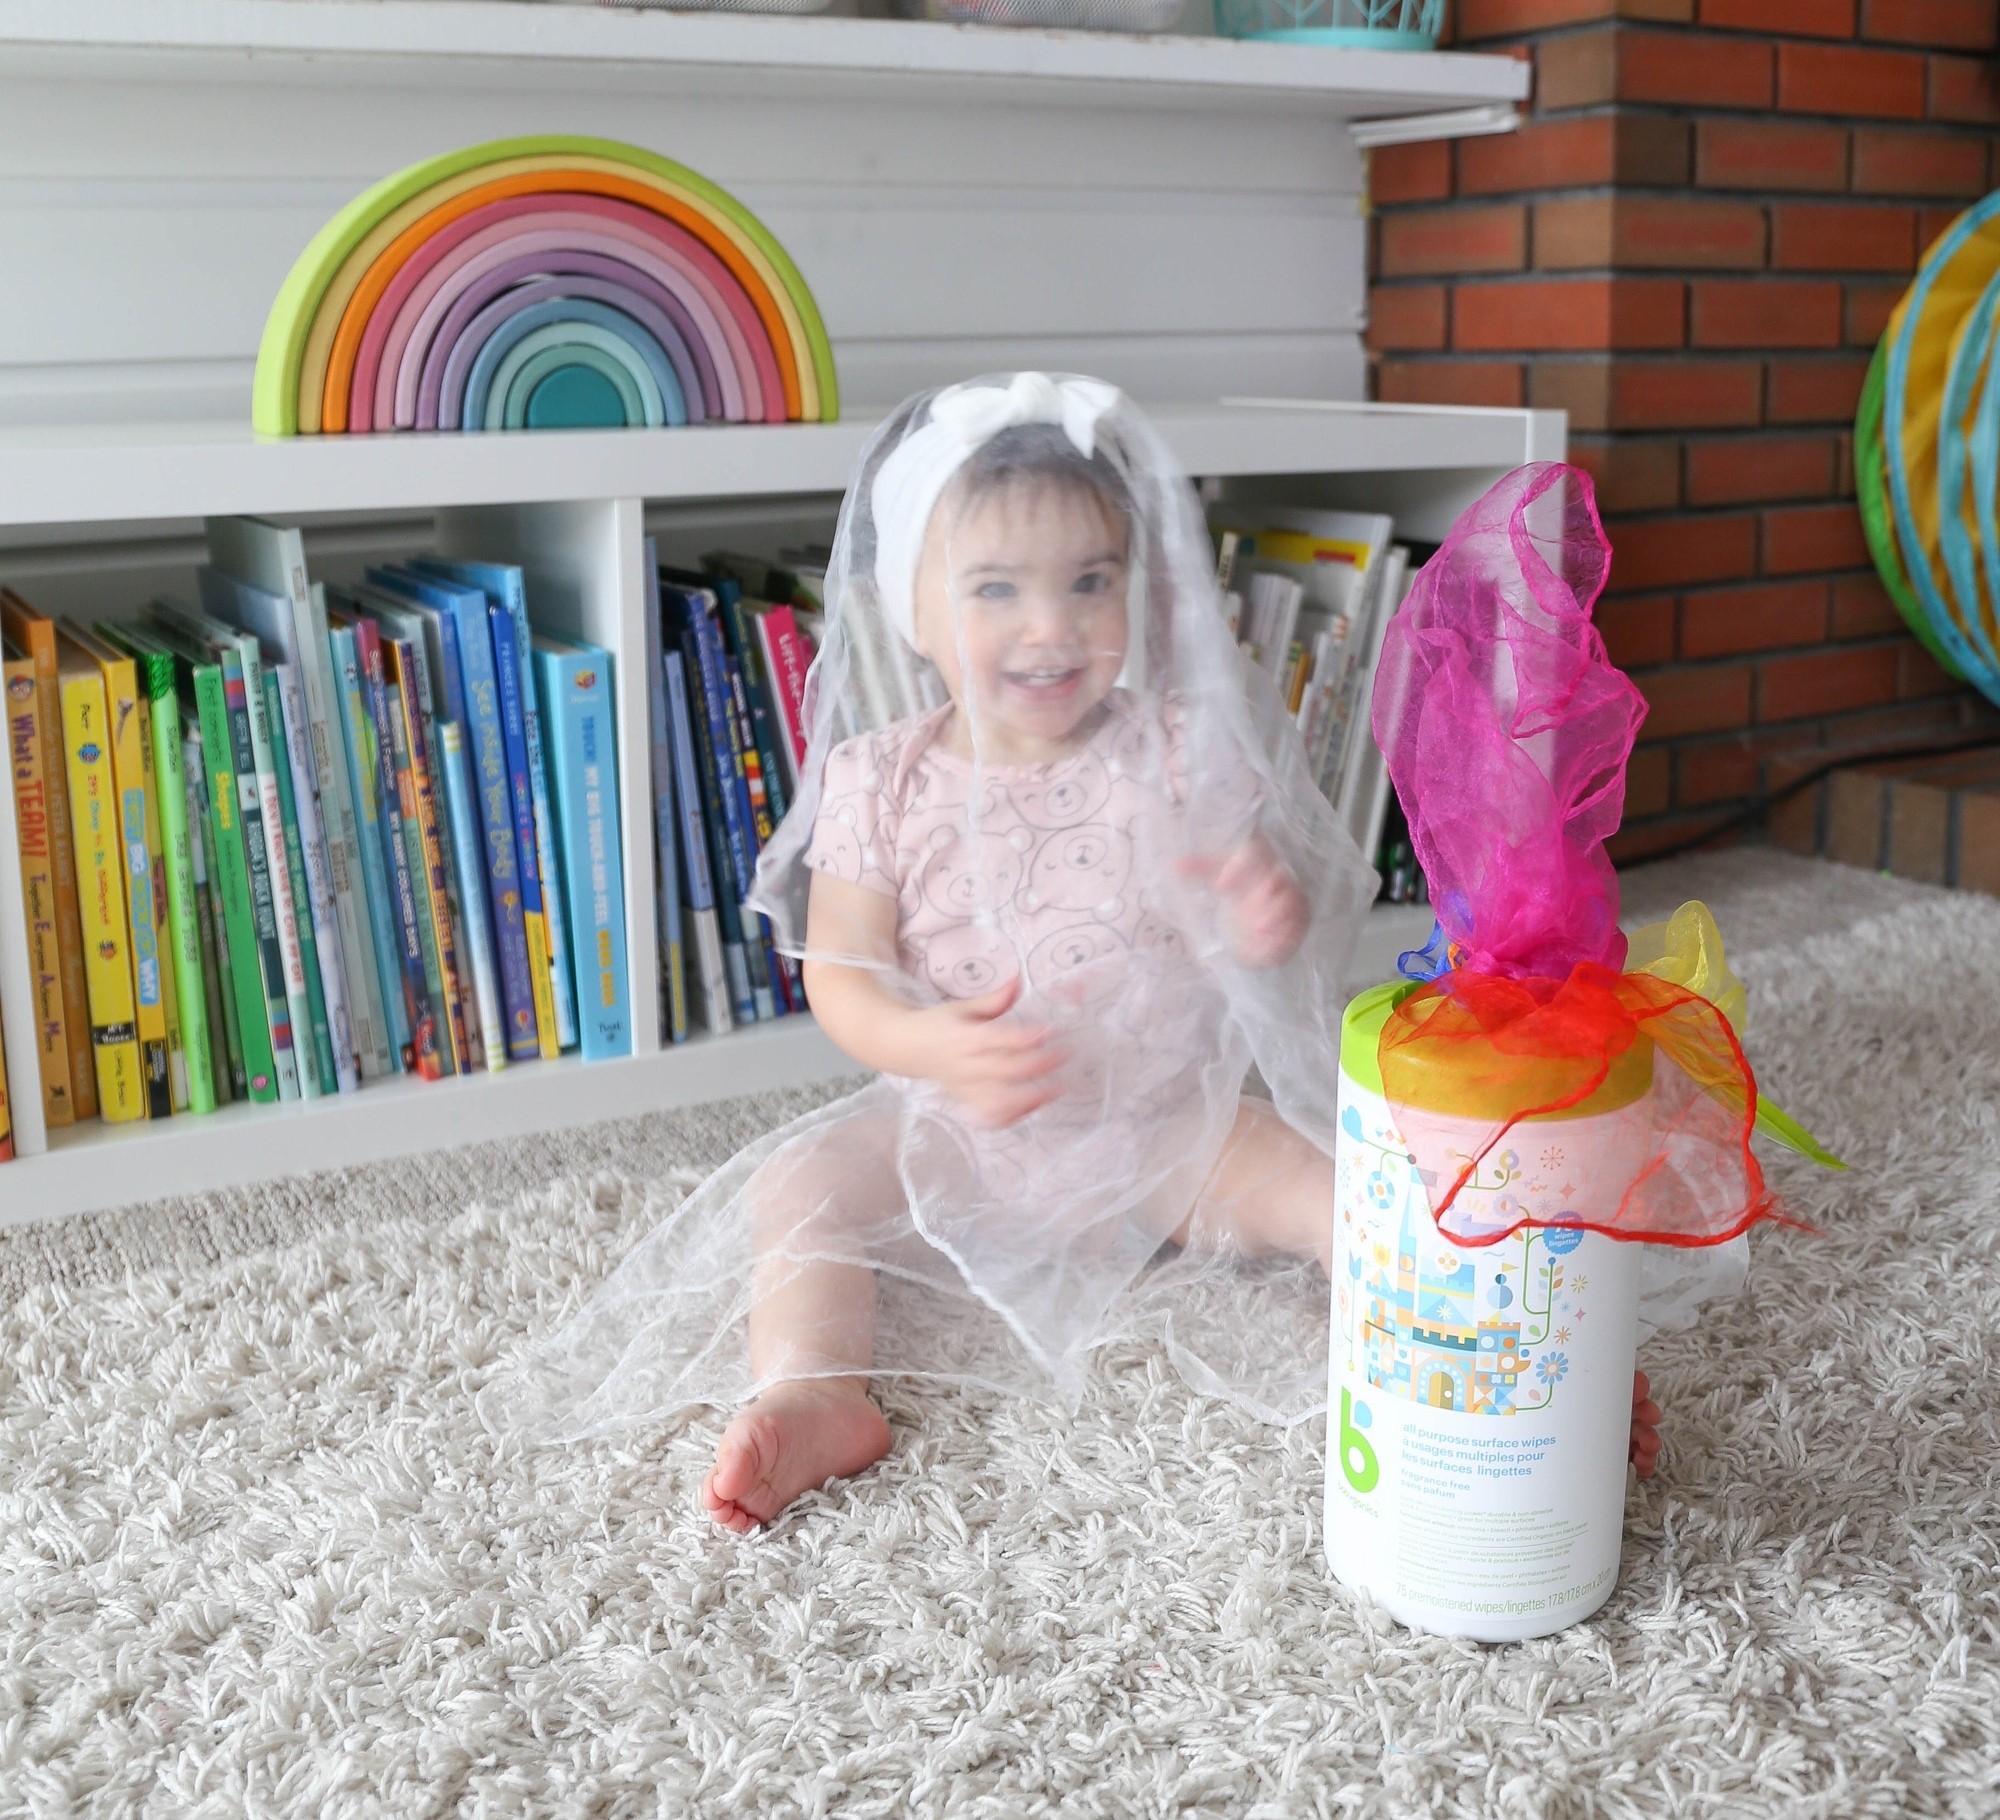
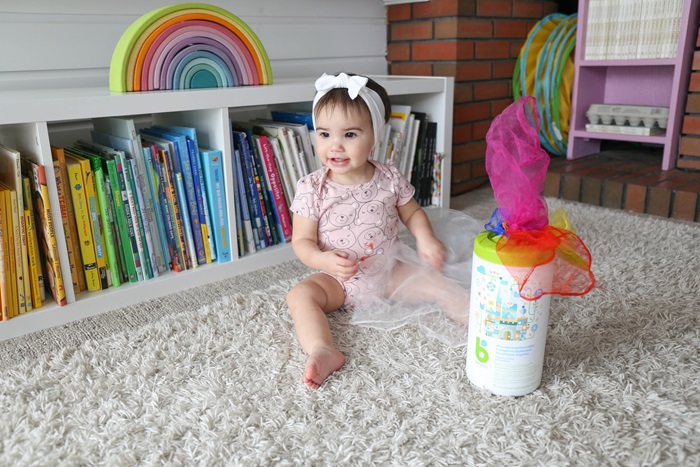
5. Now you’re ready to invite your baby to play! Your little one may or may not know how to pull the scarves out of the container and either way is absolutely okay. You can demonstrate by pulling one out yourself, or you can sit back and allow your little one some time and space to explore this new toy on their own.
If / when your little one pulls all of the scarves out of the container, you can invite them to push them back into the container, or you can put them back in so they can play again! Please always supervise your child when playing with your homemade toy and remember that packaging with the product in it is not intended to be a toy and should be kept out of reach of little, curious hands.
While they play:
- Do actively supervise
- Do gently sportscast their play without driving it (For example: “Oh, you’ve got ahold of the blue scarf!”; “You’re pulling the scarf out of the container!”; “Yes, these scarves feel silky!”
- Do use this as a chance to introduce or reinforce colour vocabulary (not by quizzing or even actively teaching them, simply by mentioning the colours as the play lends itself to it naturally)
- Do use this opportunity to showcase words such as in / out, pull / push, and open / close
- Do celebrate and cheer your little one on as they free scarves from the container
- Do take the opportunity to play a super fun game of peek-a-boo
Developmental benefits:
While we might look at a baby pulling scarves out of container and not think much of it, there are many benefits from this type of play!
- First off, a scarf pull activity encourages bilateral coordination, which is the ability to use both sides of the body together in a coordinated manner. While one hand works on pulling a scarf out of the opening, the other hand might help by holding the container in place or generating enough force against it to keep it in place.
- Secondly, when the baby sees the scarf and goes to grab it, they’re working on their hand-eye coordination, or the way that one’s hands and sight work together—an important skill for catching a ball, learning to write, drawing, and so much more. By learning to grasp a scarf a baby is also developing their fine motor skills and hand muscles, which will later lead to grasping a crayon or pencil.
- Oh, and that game of peek-a-boo? If your scarves are opaque, it teaches them the concept of object permanence, which is the understanding that an object still exists even though it’s temporarily unseen. This is the same concept that allows little ones to understand that their parent or caregiver still exists, even when they’ve temporarily left.
Baby Doll Wash
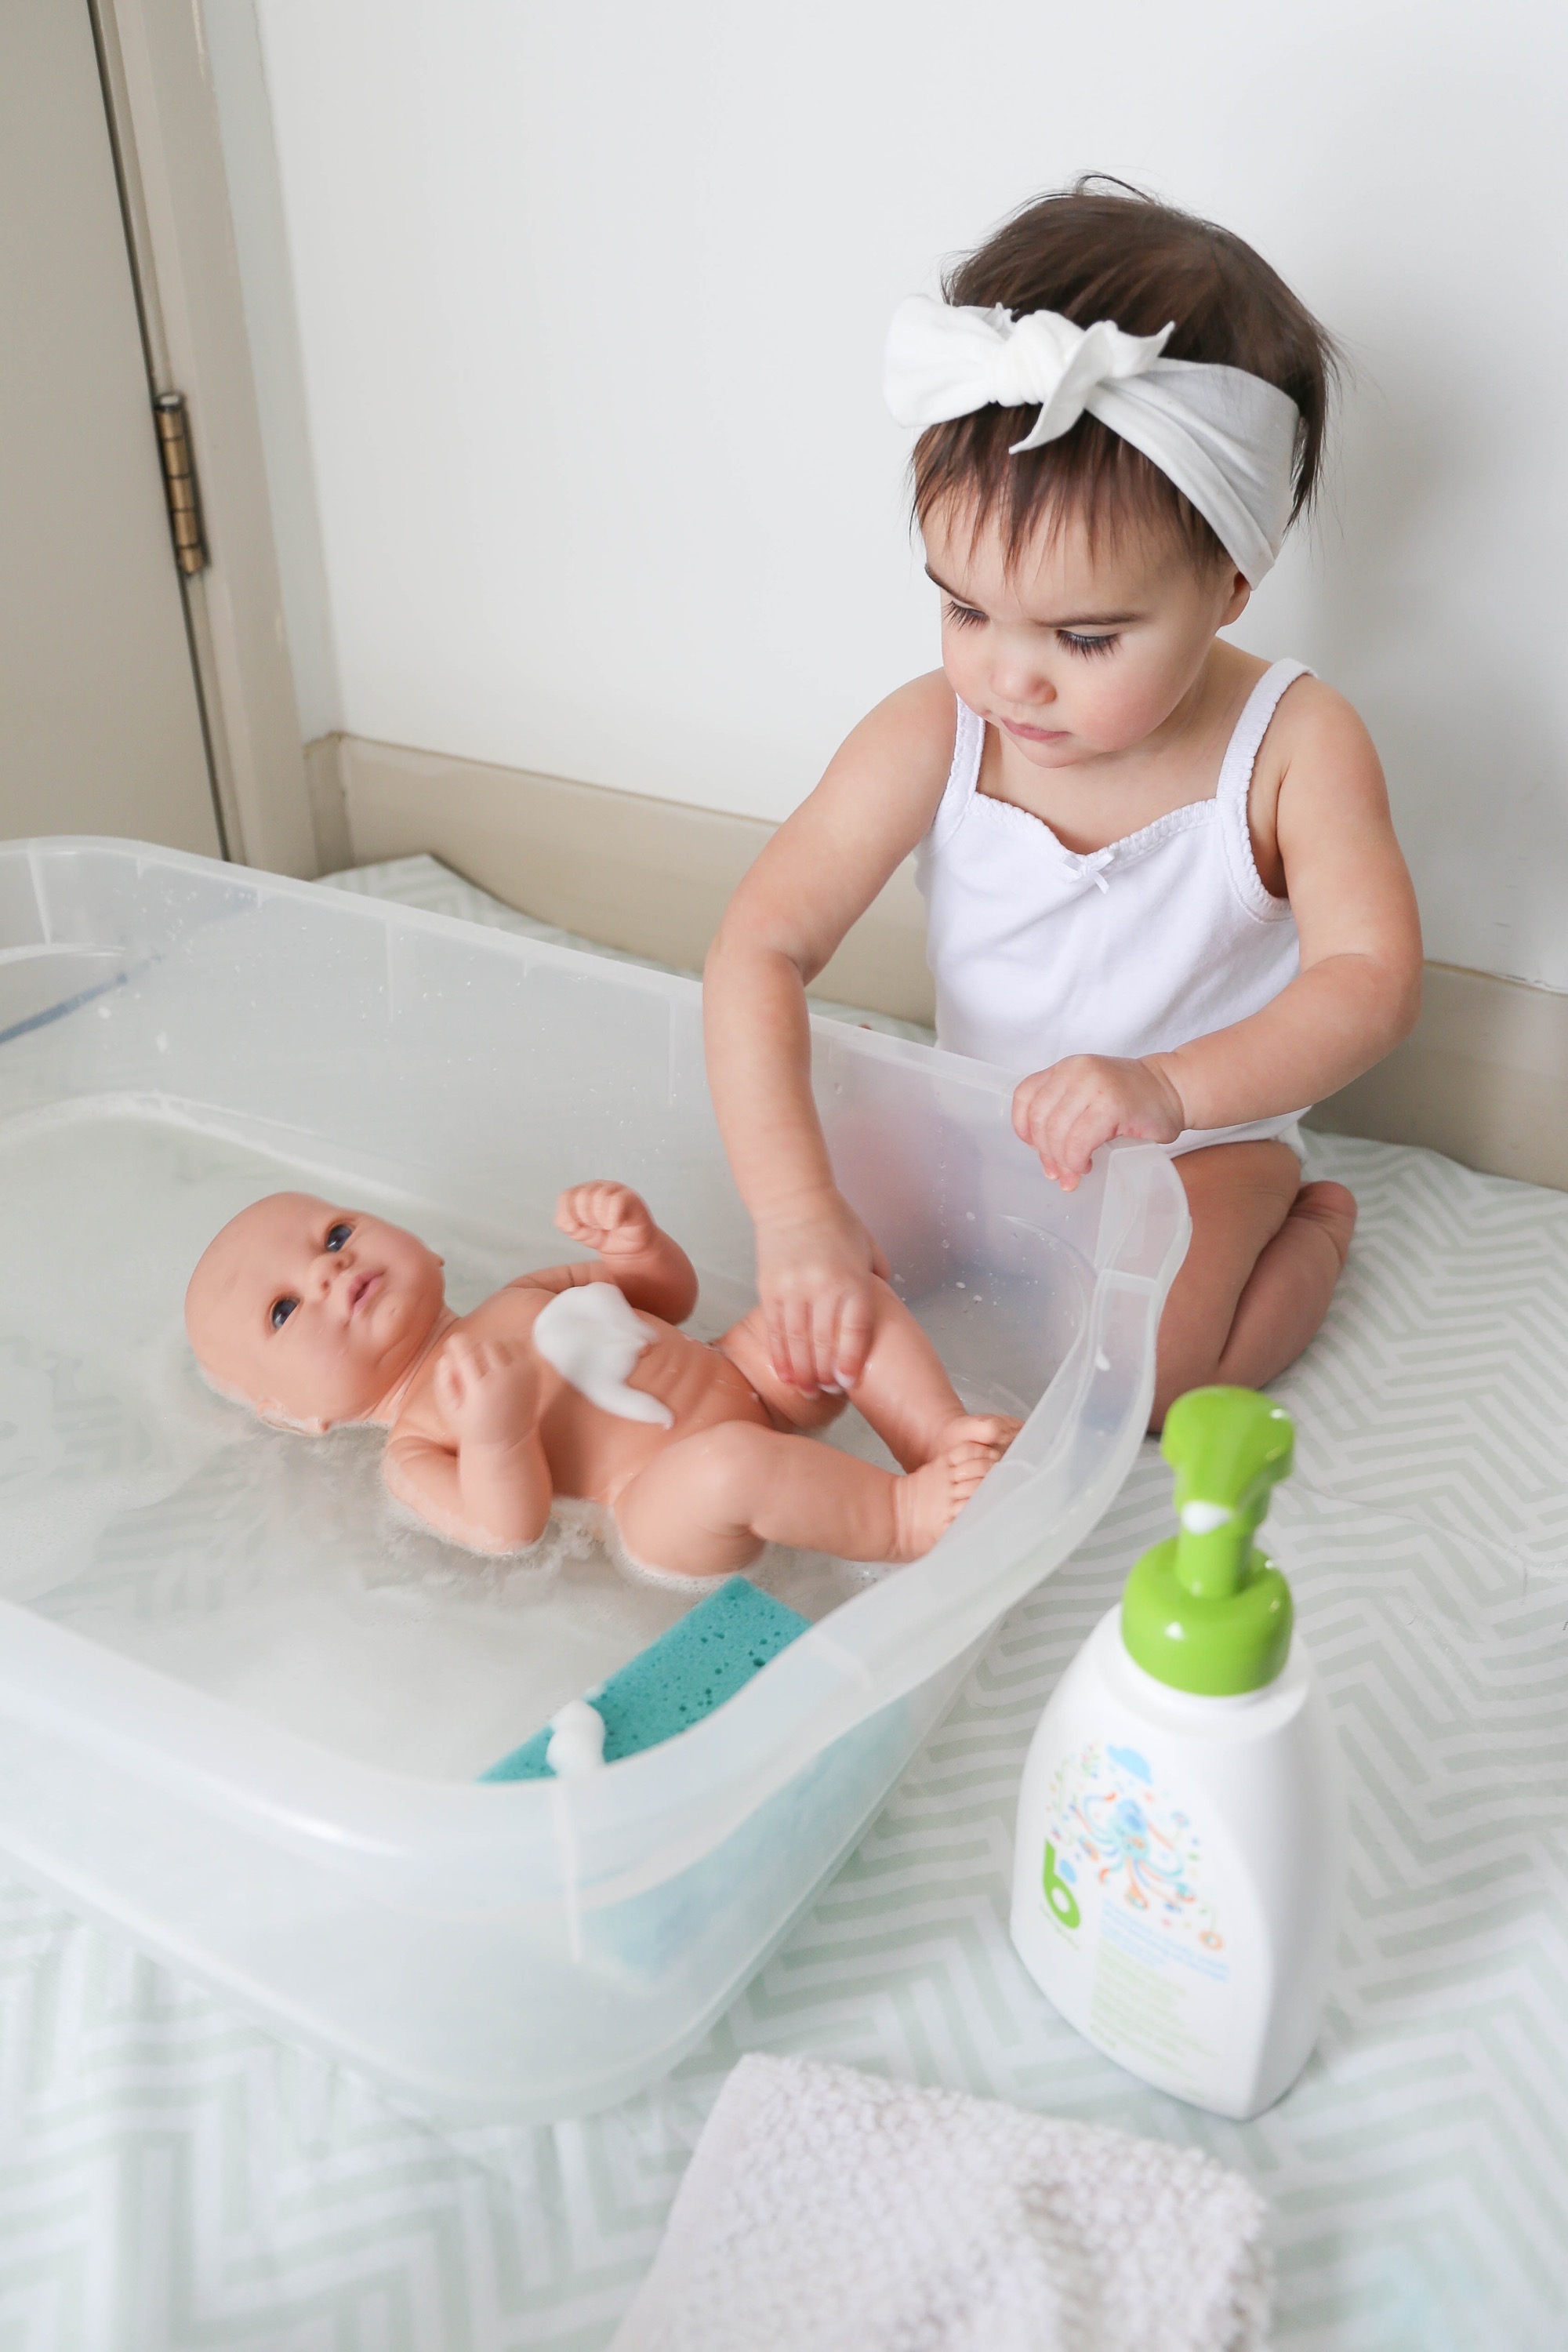
This baby doll bath sensory play activity has been a favourite of mine for years and years and little ones just love it too! It incorporates warm water, bubbles, and a sponge, (3 of their favourite things!) and is a true sensorial experience.
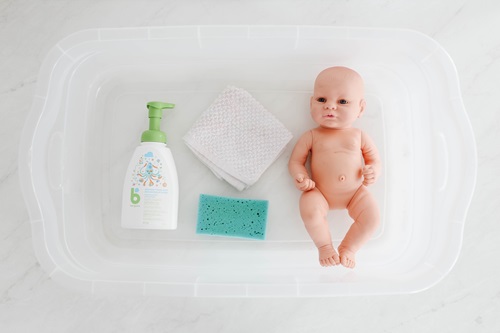
What you’ll need:
- A large shallow bin
- Babyganics Shampoo + Body Wash
- Warm water
- Water-friendly baby doll
- A sponge
- A washcloth
Here’s how to do it:
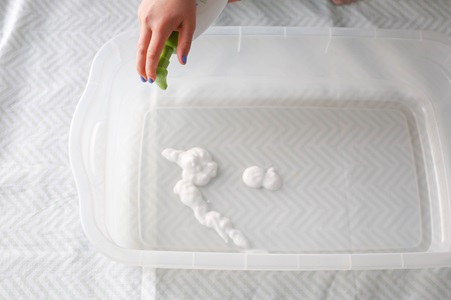
1. Firstly, add a few big pumps of Babyganics Shampoo + Body Wash to the bottom of your bin.
2. Next, add some warm water and swish it around with your hands to create bubbles. Keep in mind that you don’t need a lot of water to make this activity fun… A couple of inches will do.
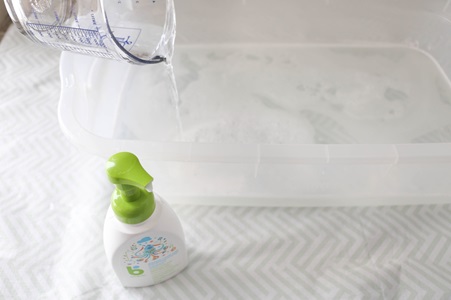
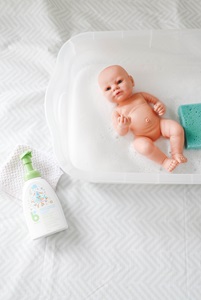
3. Set your water-friendly baby doll in the bubbly water; place the washcloth and sponge nearby, and you’re all set up!
4. When your baby is around water, always actively supervise the play.

5. Now invite your little one over to play! With this type of play, and sensory play in general, there really is no right and wrong way to play. I usually like to reinforce the fact that the sensory bin filler (in this case the warm water) stays in the bin, but other than that, I tend to sit back just a little bit, supervising closely of course, and allow the baby to take the lead. Whether they actually wash the baby doll, just touch it, run their hands through the water, investigate the bubbles, or something else, their play is meaningful just as it is.
While they play:
- Do actively supervise
- Do allow the child to play as they like—washing the doll isn’t essential
- Do gently sportscast their play without driving it (“You’re holding the baby’s hand!”; “There are bubbles on Baby’s head!”; “Those are the baby’s little feet!”)
- Do use this as a chance to introduce or reinforce body part vocabulary (not by quizzing or even actively teaching them, simply by mentioning the different body parts as the play lends itself to it naturally)
- Do use this opportunity to showcase the 5 senses vocabulary (“The water feels warm!”; “I see bubbles on Baby’s head!"; “The shampoo smells lovely!”; “The water makes an interesting sound when it sloshes around!”)
- Do celebrate your little one’s care taking efforts
Developmental benefits:
From birth, children use their senses to take in the world and make sense of their surroundings and amazingly enough, research shows that sensory play supports a child’s cognitive growth. It naturally encourages children to use scientific processes while they play, create, explore, and investigate and it supports language development, problem solving skills, and gives those fine and gross motor skills a good workout too.
- In this baby bath activity, the child may explore splashing and learn that more force equals a bigger splash, they might squeeze the water-filled sponge and give their little hand muscles a workout, they might work on their hand-eye coordination by transferring handfuls of bubbles onto Baby’s head, or experiment and discover that the sponge floats on the water’s surface while empty, but sinks when full…
- The possibilities are almost endless! In addition, sensory play in general—but especially water play—is thought to be quite calming and emotionally therapeutic. Children benefit from the relaxing and repetitive nature of scooping up bubbles, running their hands through the water, and allowing their sponge to drip empty again and again.
Window Writing
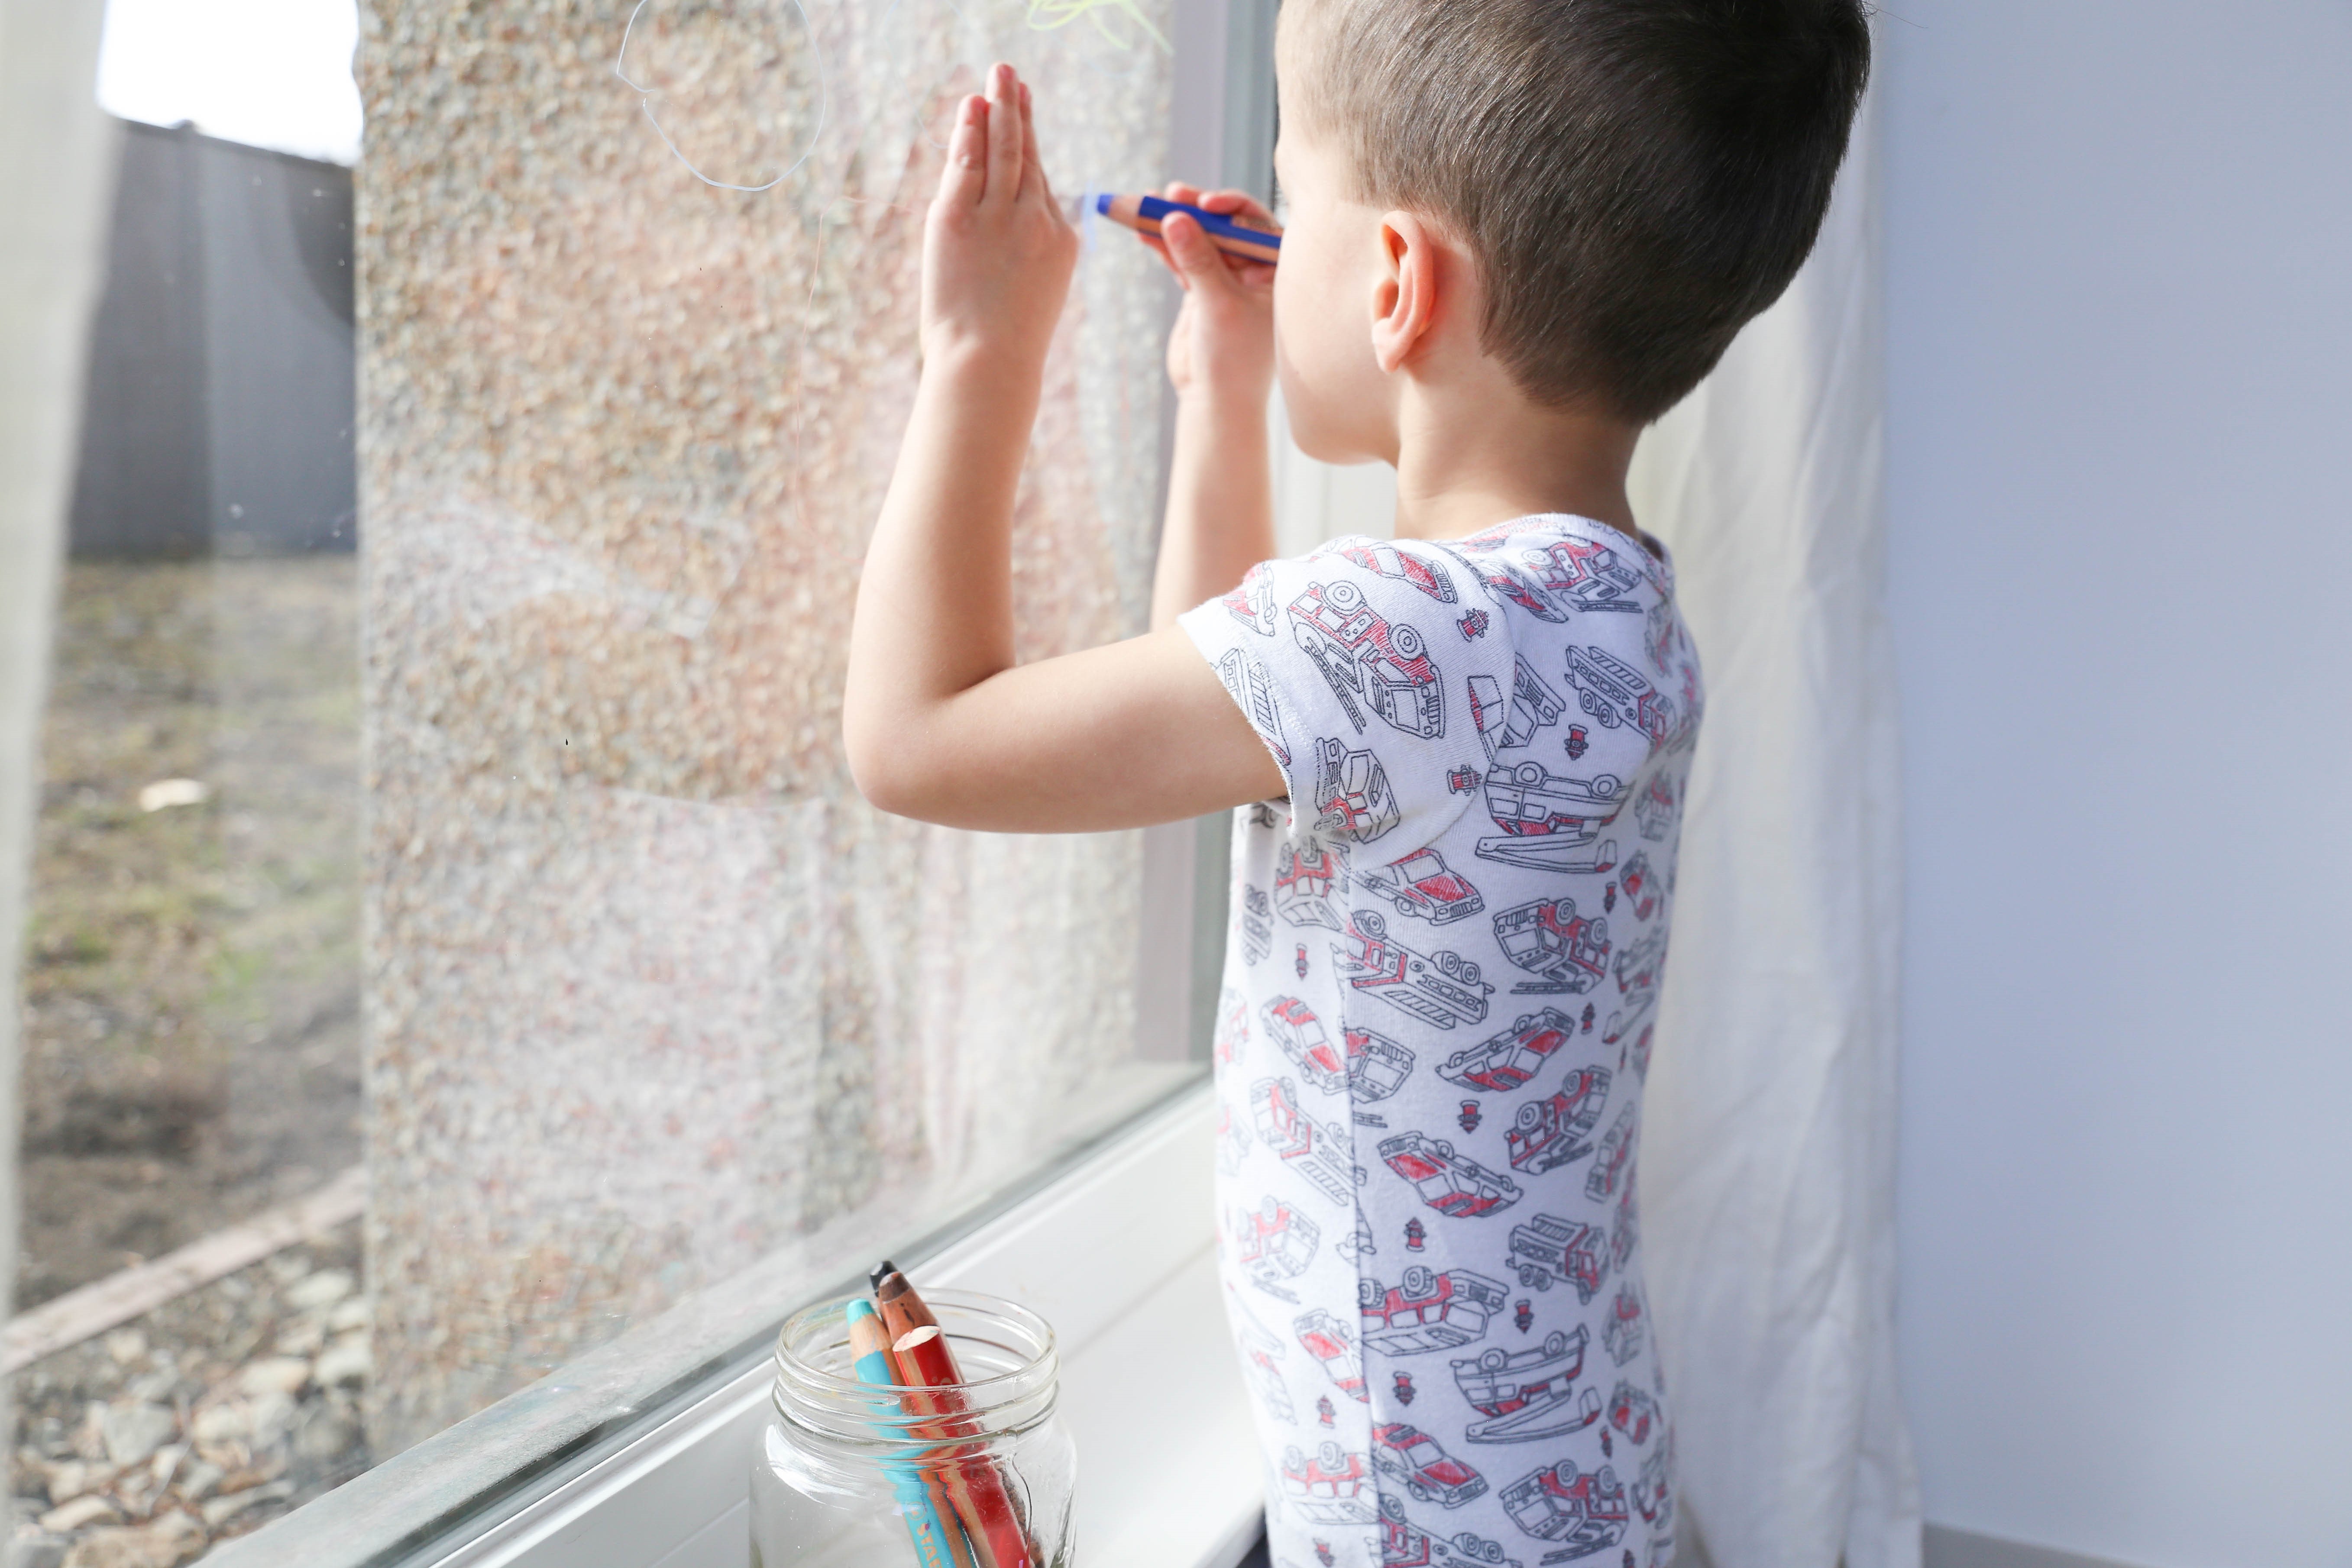
Allowing little ones to write on the window is such a fun way to encourage them to explore mark making! And while it may look like they’re just scribbling on glass, there are actually loads of benefits to having kids work on a vertical plane, like a window, instead of on the usual horizontal surfaces, like floors and tables. This activity is also super low prep and can be pulled together at a moment’s notice, which is a parent’s dream, isn’t it?
What you’ll need:
- Window-friendly markers or crayons
- Babyganics Baby Wipes
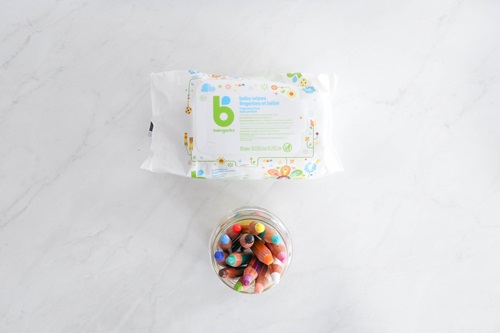
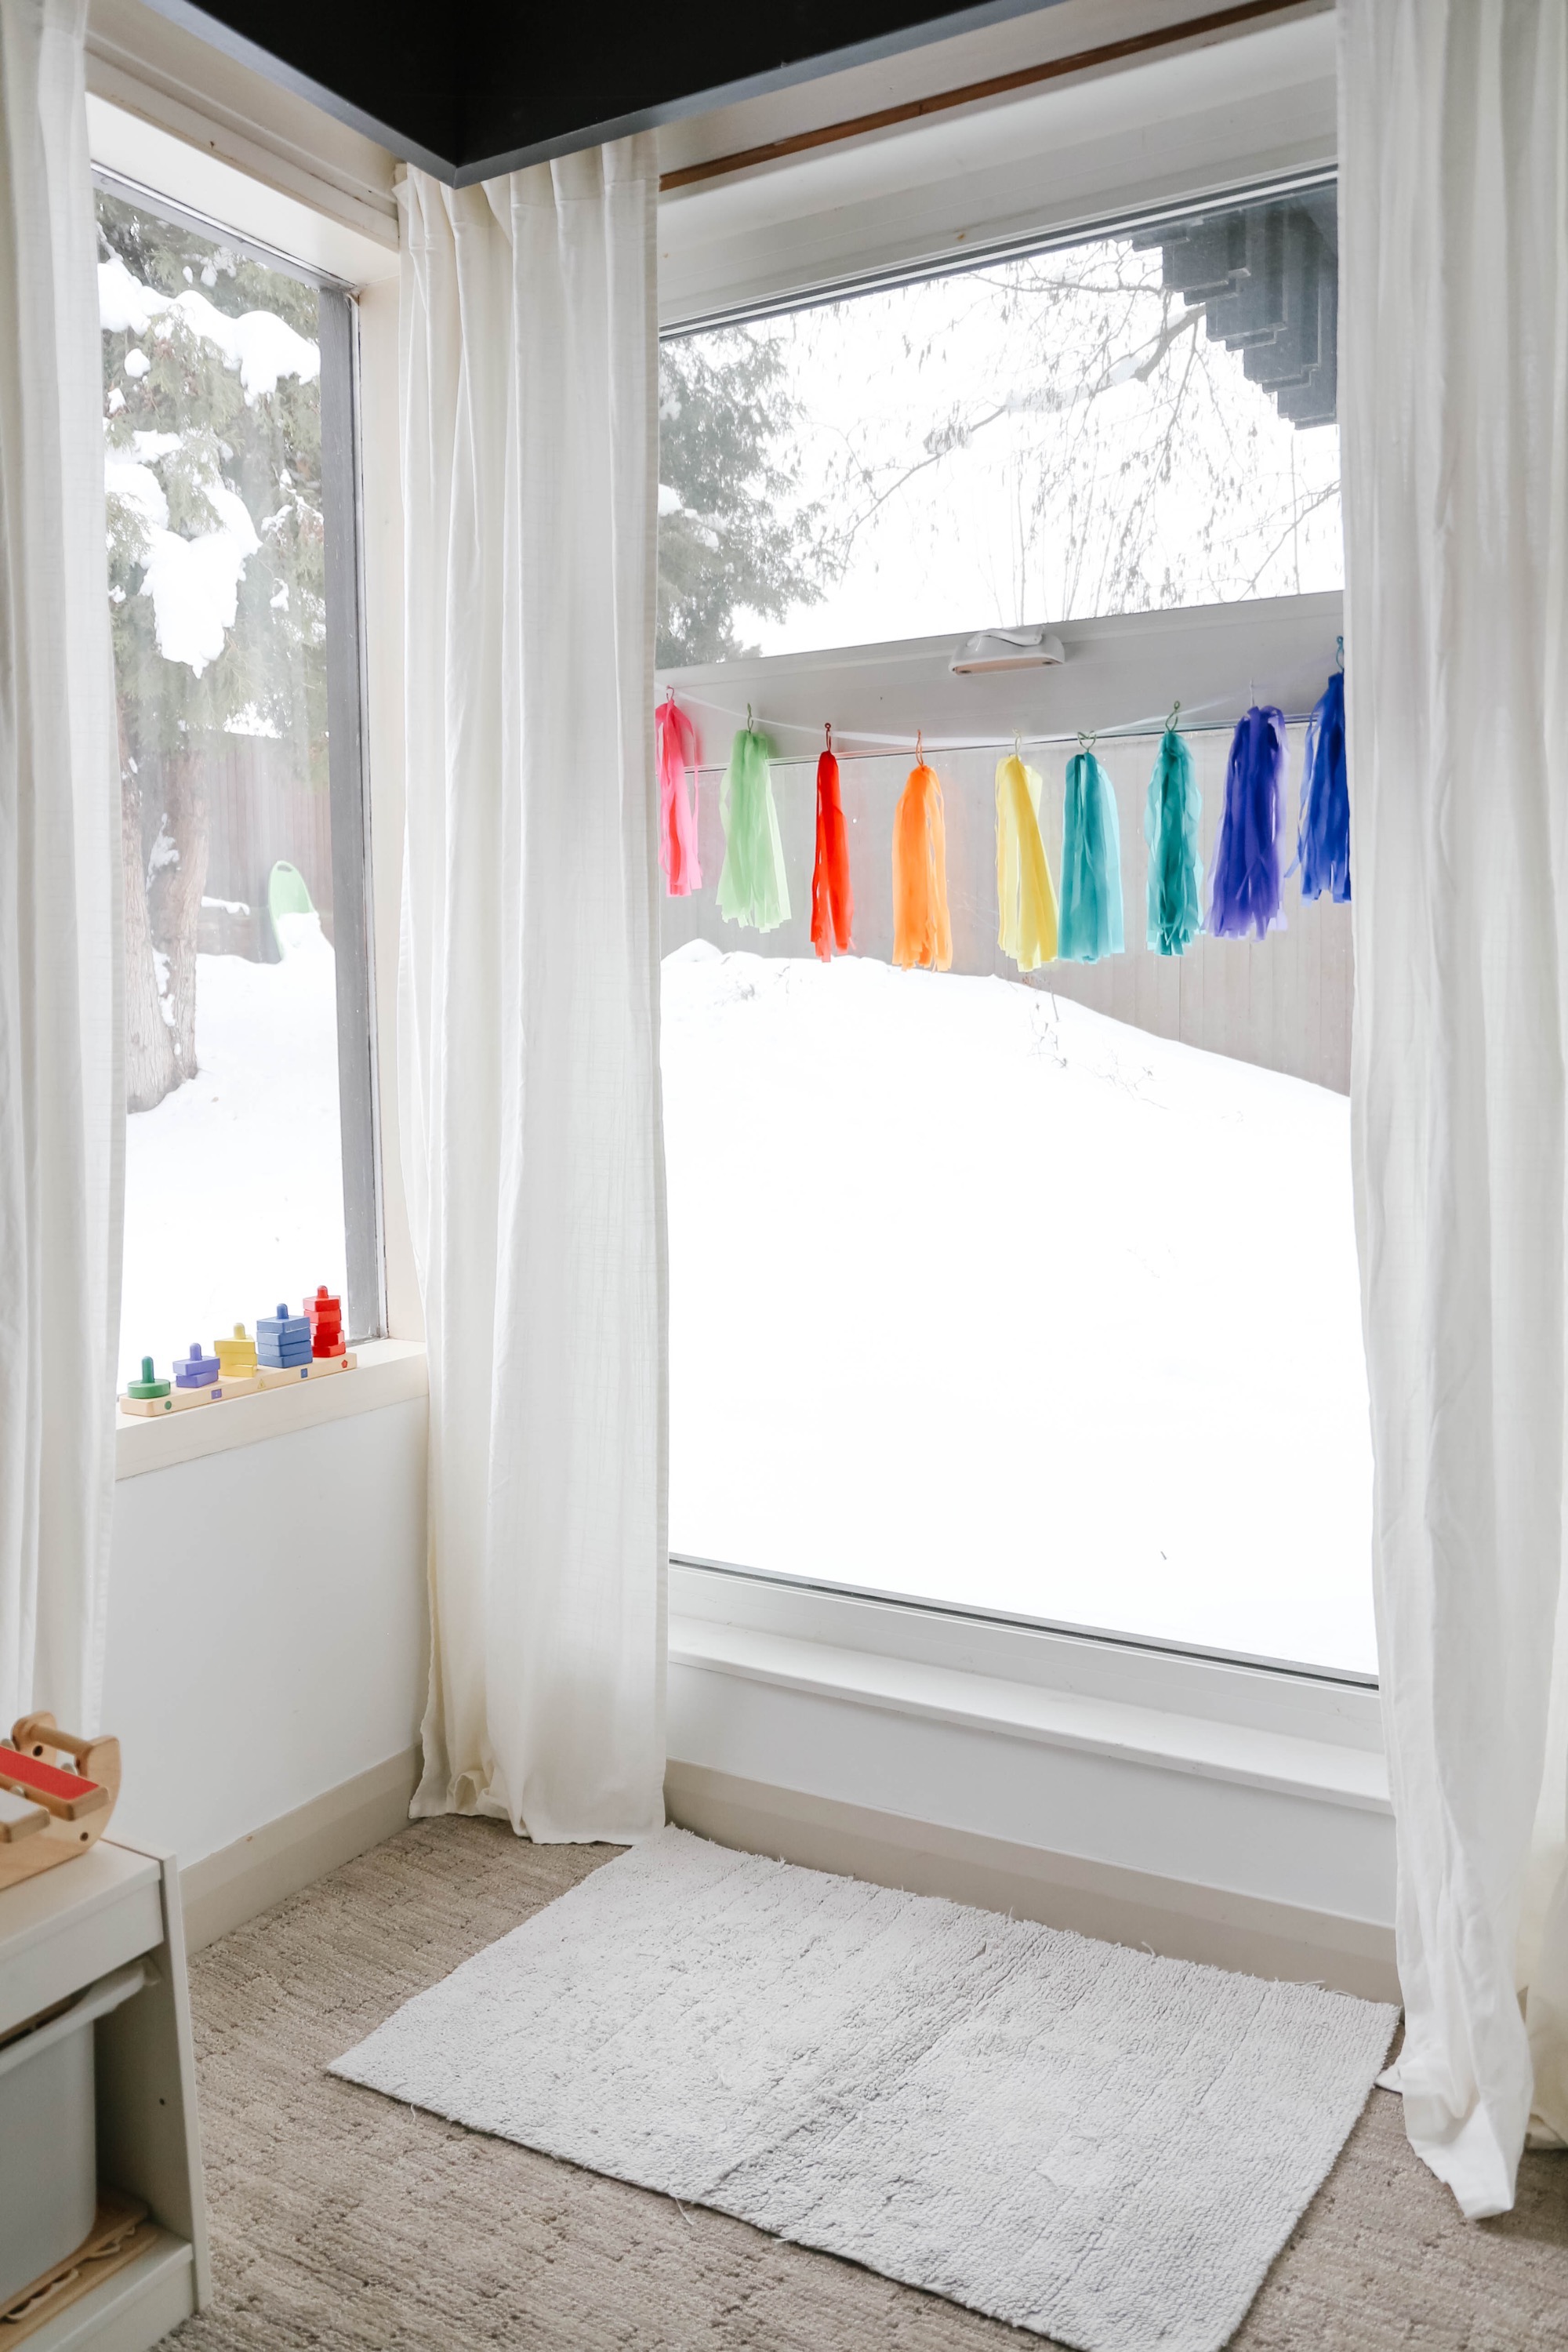
1. The set-up for this activity really couldn’t be easier…First up, find a window that is at your little one’s level and place a protective mat or cloth down if it’s in a carpeted area. Easily washable bathmats, picnic tablecloths, and even shower curtains make for great drop cloths.
2. Select just a few window markers or crayons to set out. You can choose any colours you like, but with almost all activities aimed at babies, I recommend keeping the materials and options to a minimum so as not to overwhelm them. If your little one has shown a particular interest in a certain colour, it might be nice to include that one. You’ll also want to have your Babyganics Baby Wipes handy for quick and easy clean ups of the baby’s face and hands.
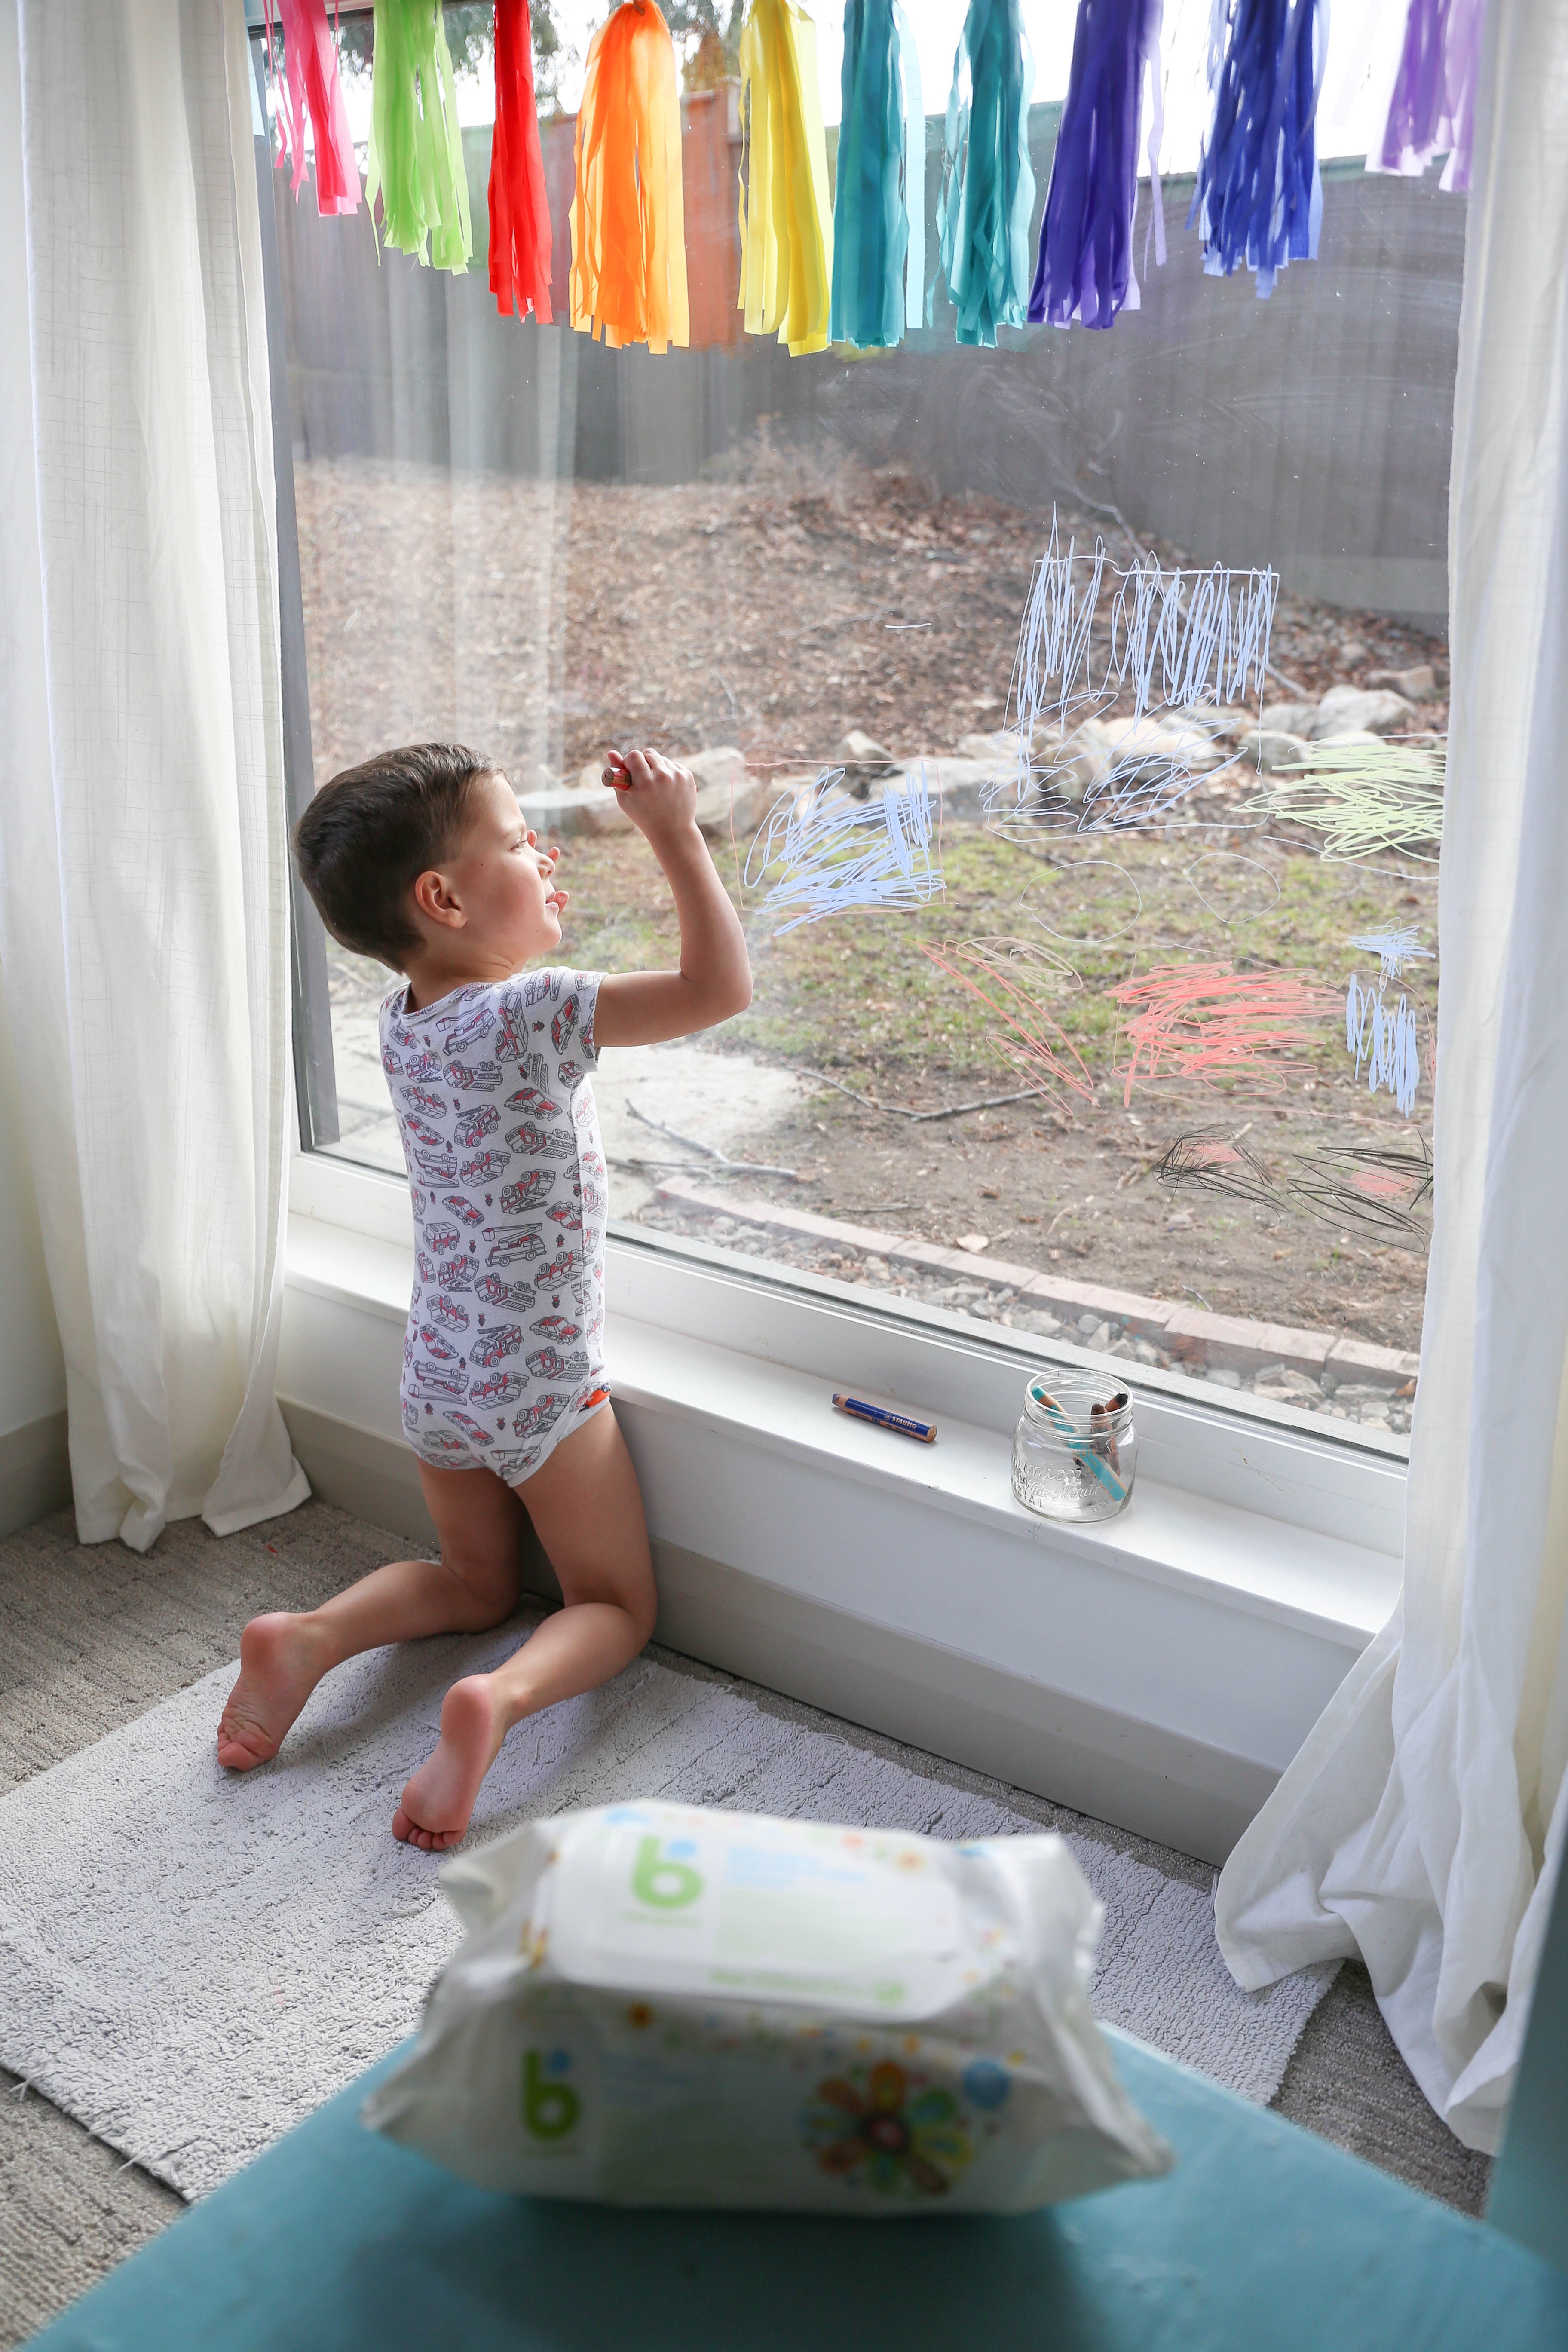
3. You’re now ready to invite your little one over to play! Depending on how much experience your child has with mark making, they may or may not know that the markers or crayons can be used to draw on the window. You can demonstrate how to make marks on the window from the get-go or sit back to give them some time and space to figure it out on their own. Either way, you’ll want to be nearby to gently reinforce the fact that the crayons are to be used on the window and not elsewhere.
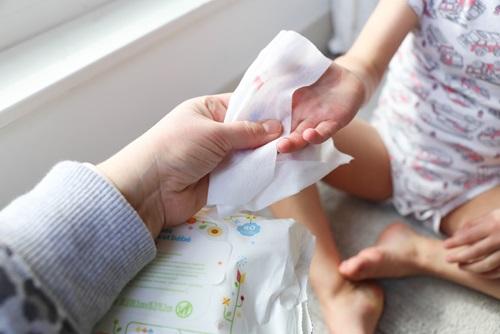
When your little one is done mark making, use the Babyganics Baby Wipes together to clean the marker or crayon off of their little hands. Many babies LOVE to help with clean-up, so include this as part of the fun!
While they play:
- Do actively supervise and redirect as necessary
- Do gently sportscast their play without directing them (“Oh, you’ve got the red crayon!”; “That’s a long mark!”; “Ooh, you’ve made a curved line!”)
- Do use this as a chance to introduce or reinforce colour vocabulary, but not by quizzing or even actively teaching them, simply by mentioning the colours as the activity lends itself to it naturally
- Do use this opportunity to showcase words such as long / short, up / down, and straight / curved
- Do cheer your little one on as they make marks of all kinds
- Do join in the fun and make marks of your own if you like
Developmental benefits:
For little ones, working on a vertical surface, such as a window, is actually fantastic for gross and fine motor development!
- Beyond being fun, the upright position encourages little ones to engage their abdominal and back muscles in order to maintain their position and therefore strengthens their core. It also encourages good head and neck positioning, which fosters proper posture and allows them loads of scanning and tracking practice as they follow their gliding crayon across the surface.
- In addition, working and playing on a vertical plane naturally puts the wrist in an extended position which helps them better control their crayon and eventually their pencil grasp too.
- Lastly, working on a large, upright surface like a window puts those little shoulders and elbows to work as it allows them to use bigger arm movements, thus increasing their overall strength and stability.
Katie Engel
Katie is a registered Early Childhood Educator who has 10 years of experience in the field. She has worked in a preschool setting, a kindergarten classroom, and now operates a home-based learning program. Katie is passionate about play-based learning, giving her children opportunities to explore the natural world, and fostering imagination and creativity. She loves sensory play because it allows the children to explore in many ways and provides so many developmental opportunities through play. Find her online at https://earlychildhoodfun101.com and on Instagram at @early_childhood_fun101
Projects:

DIY Discovery Box
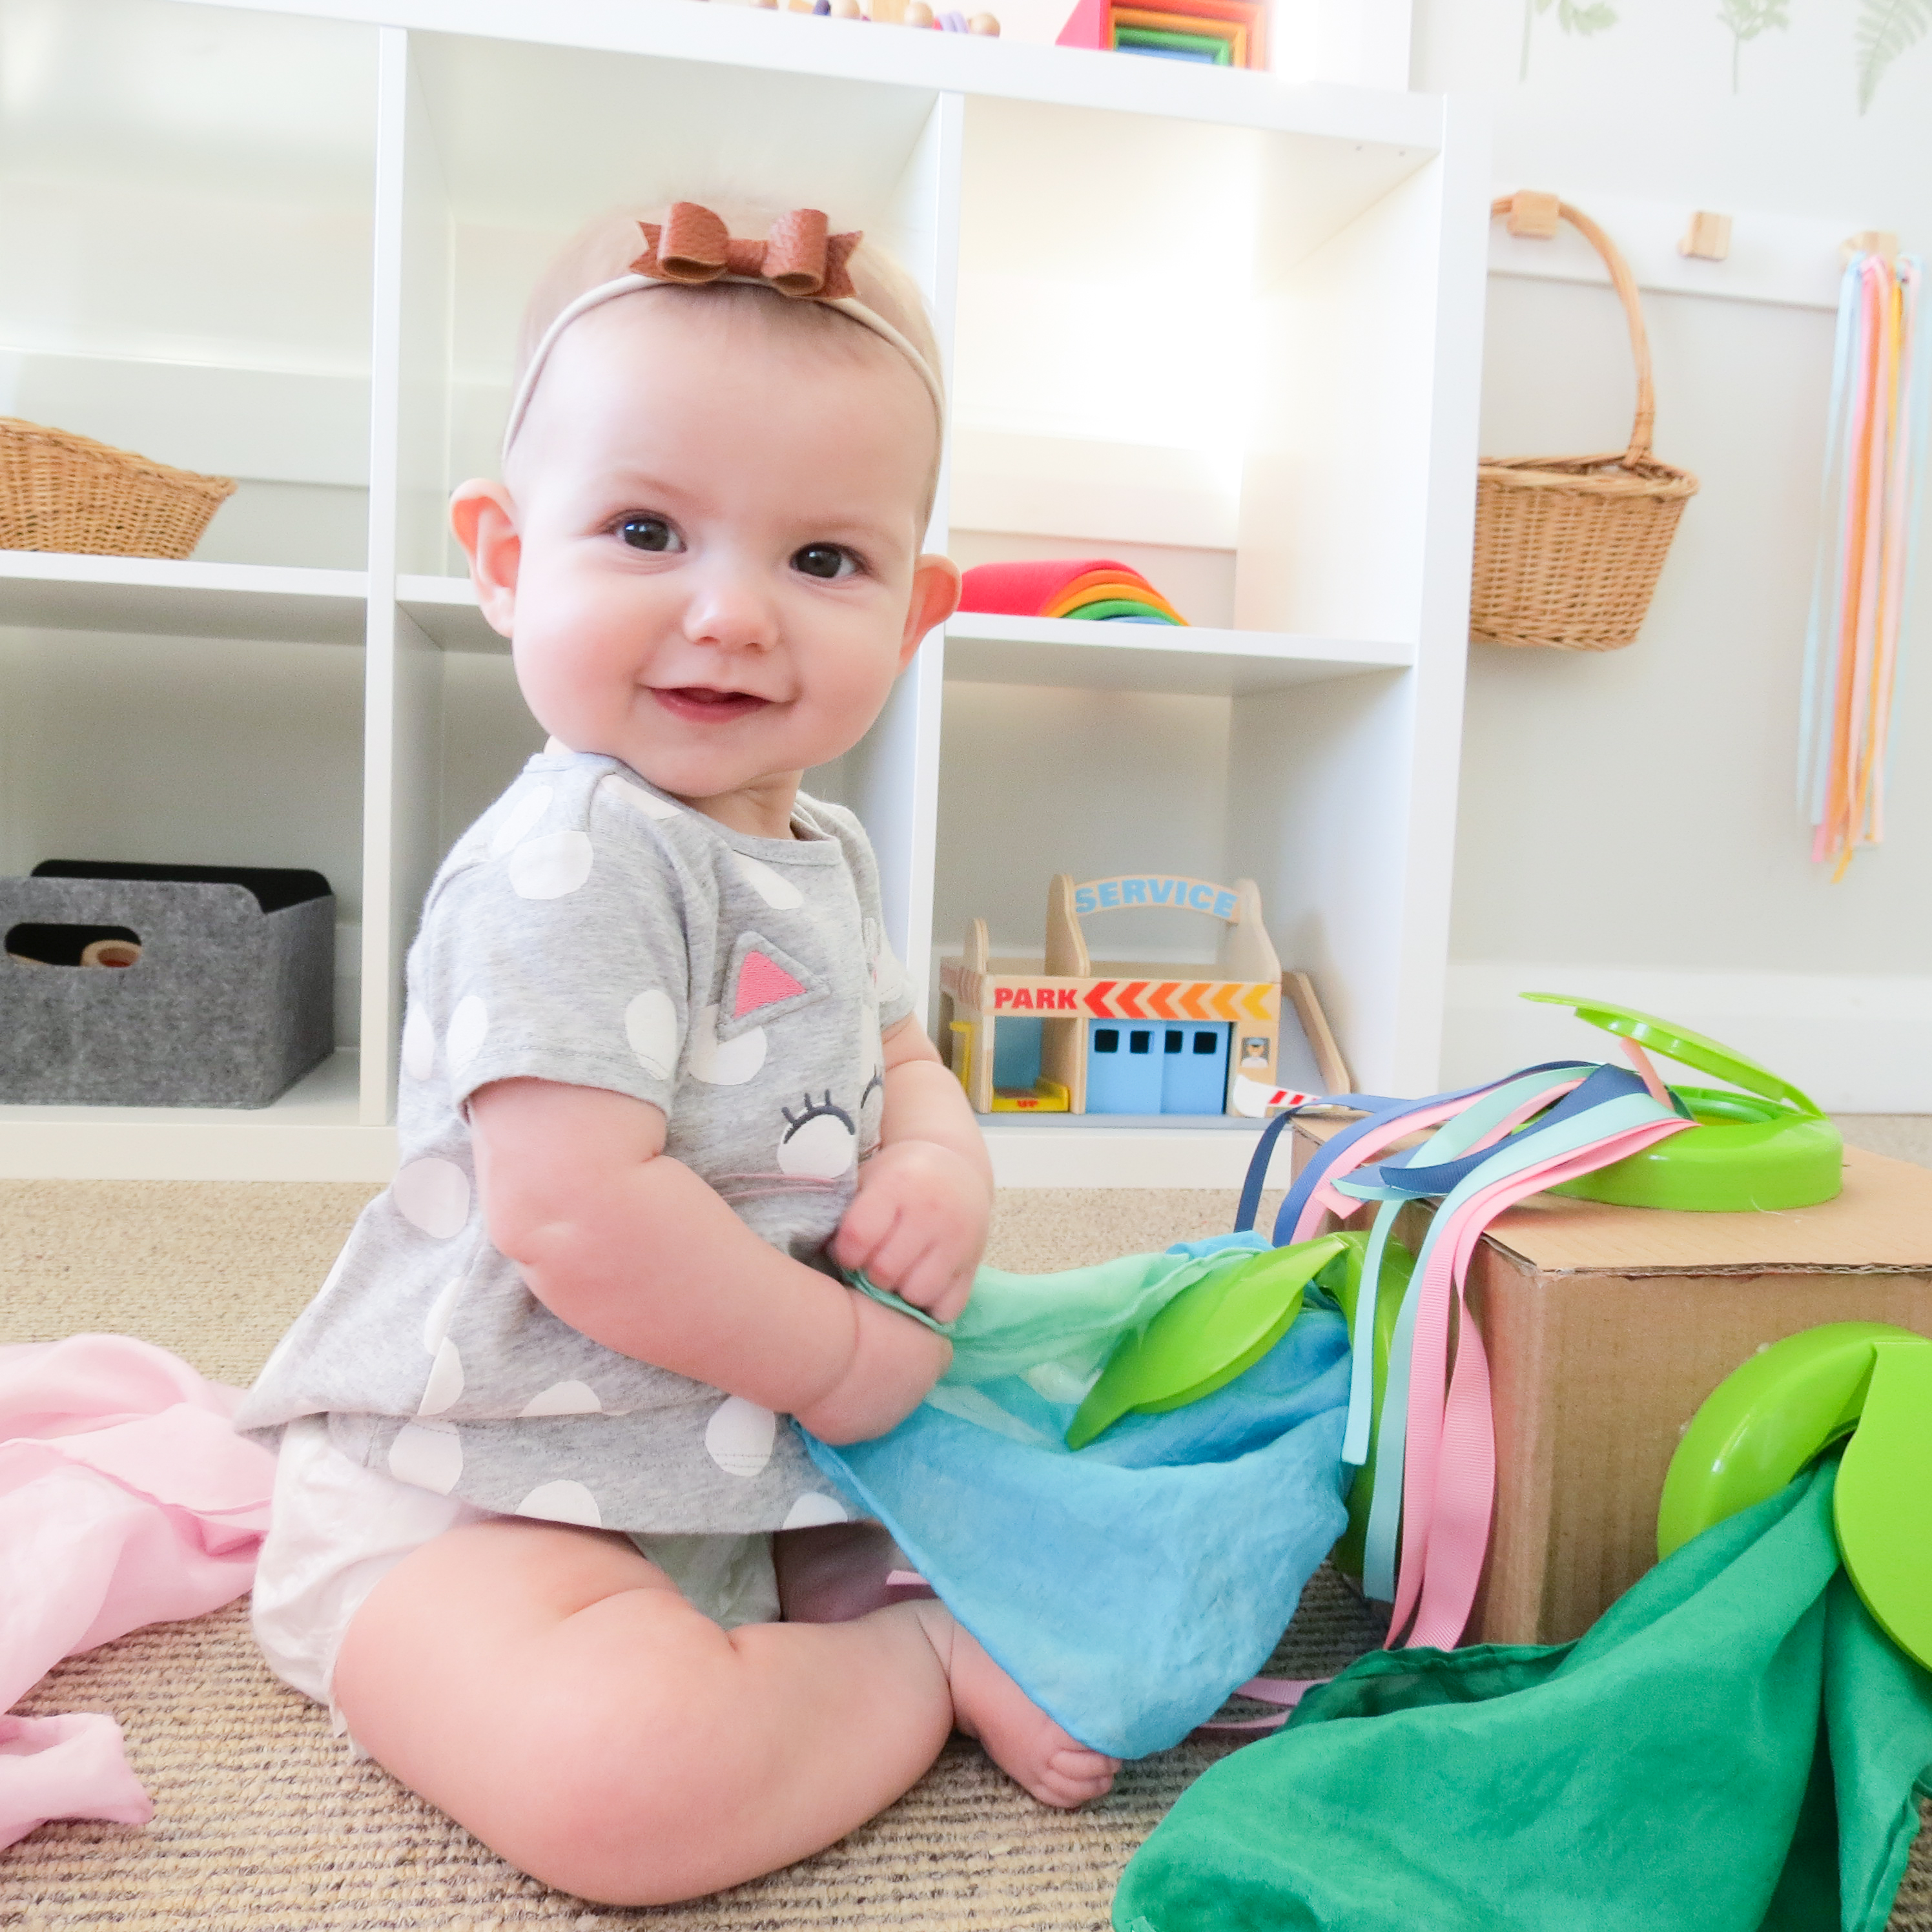
Some of my babies’ favourite playthings have been the simplest household items; things that aren’t necessarily “toys”. Think about how much kids loving playing with a cardboard box. There are so many possibilities of things it can be when you use your imagination. This DIY discovery box is not only easy to make with items you have on hand but will provide your baby with so many learning and discovery opportunities.
Materials:
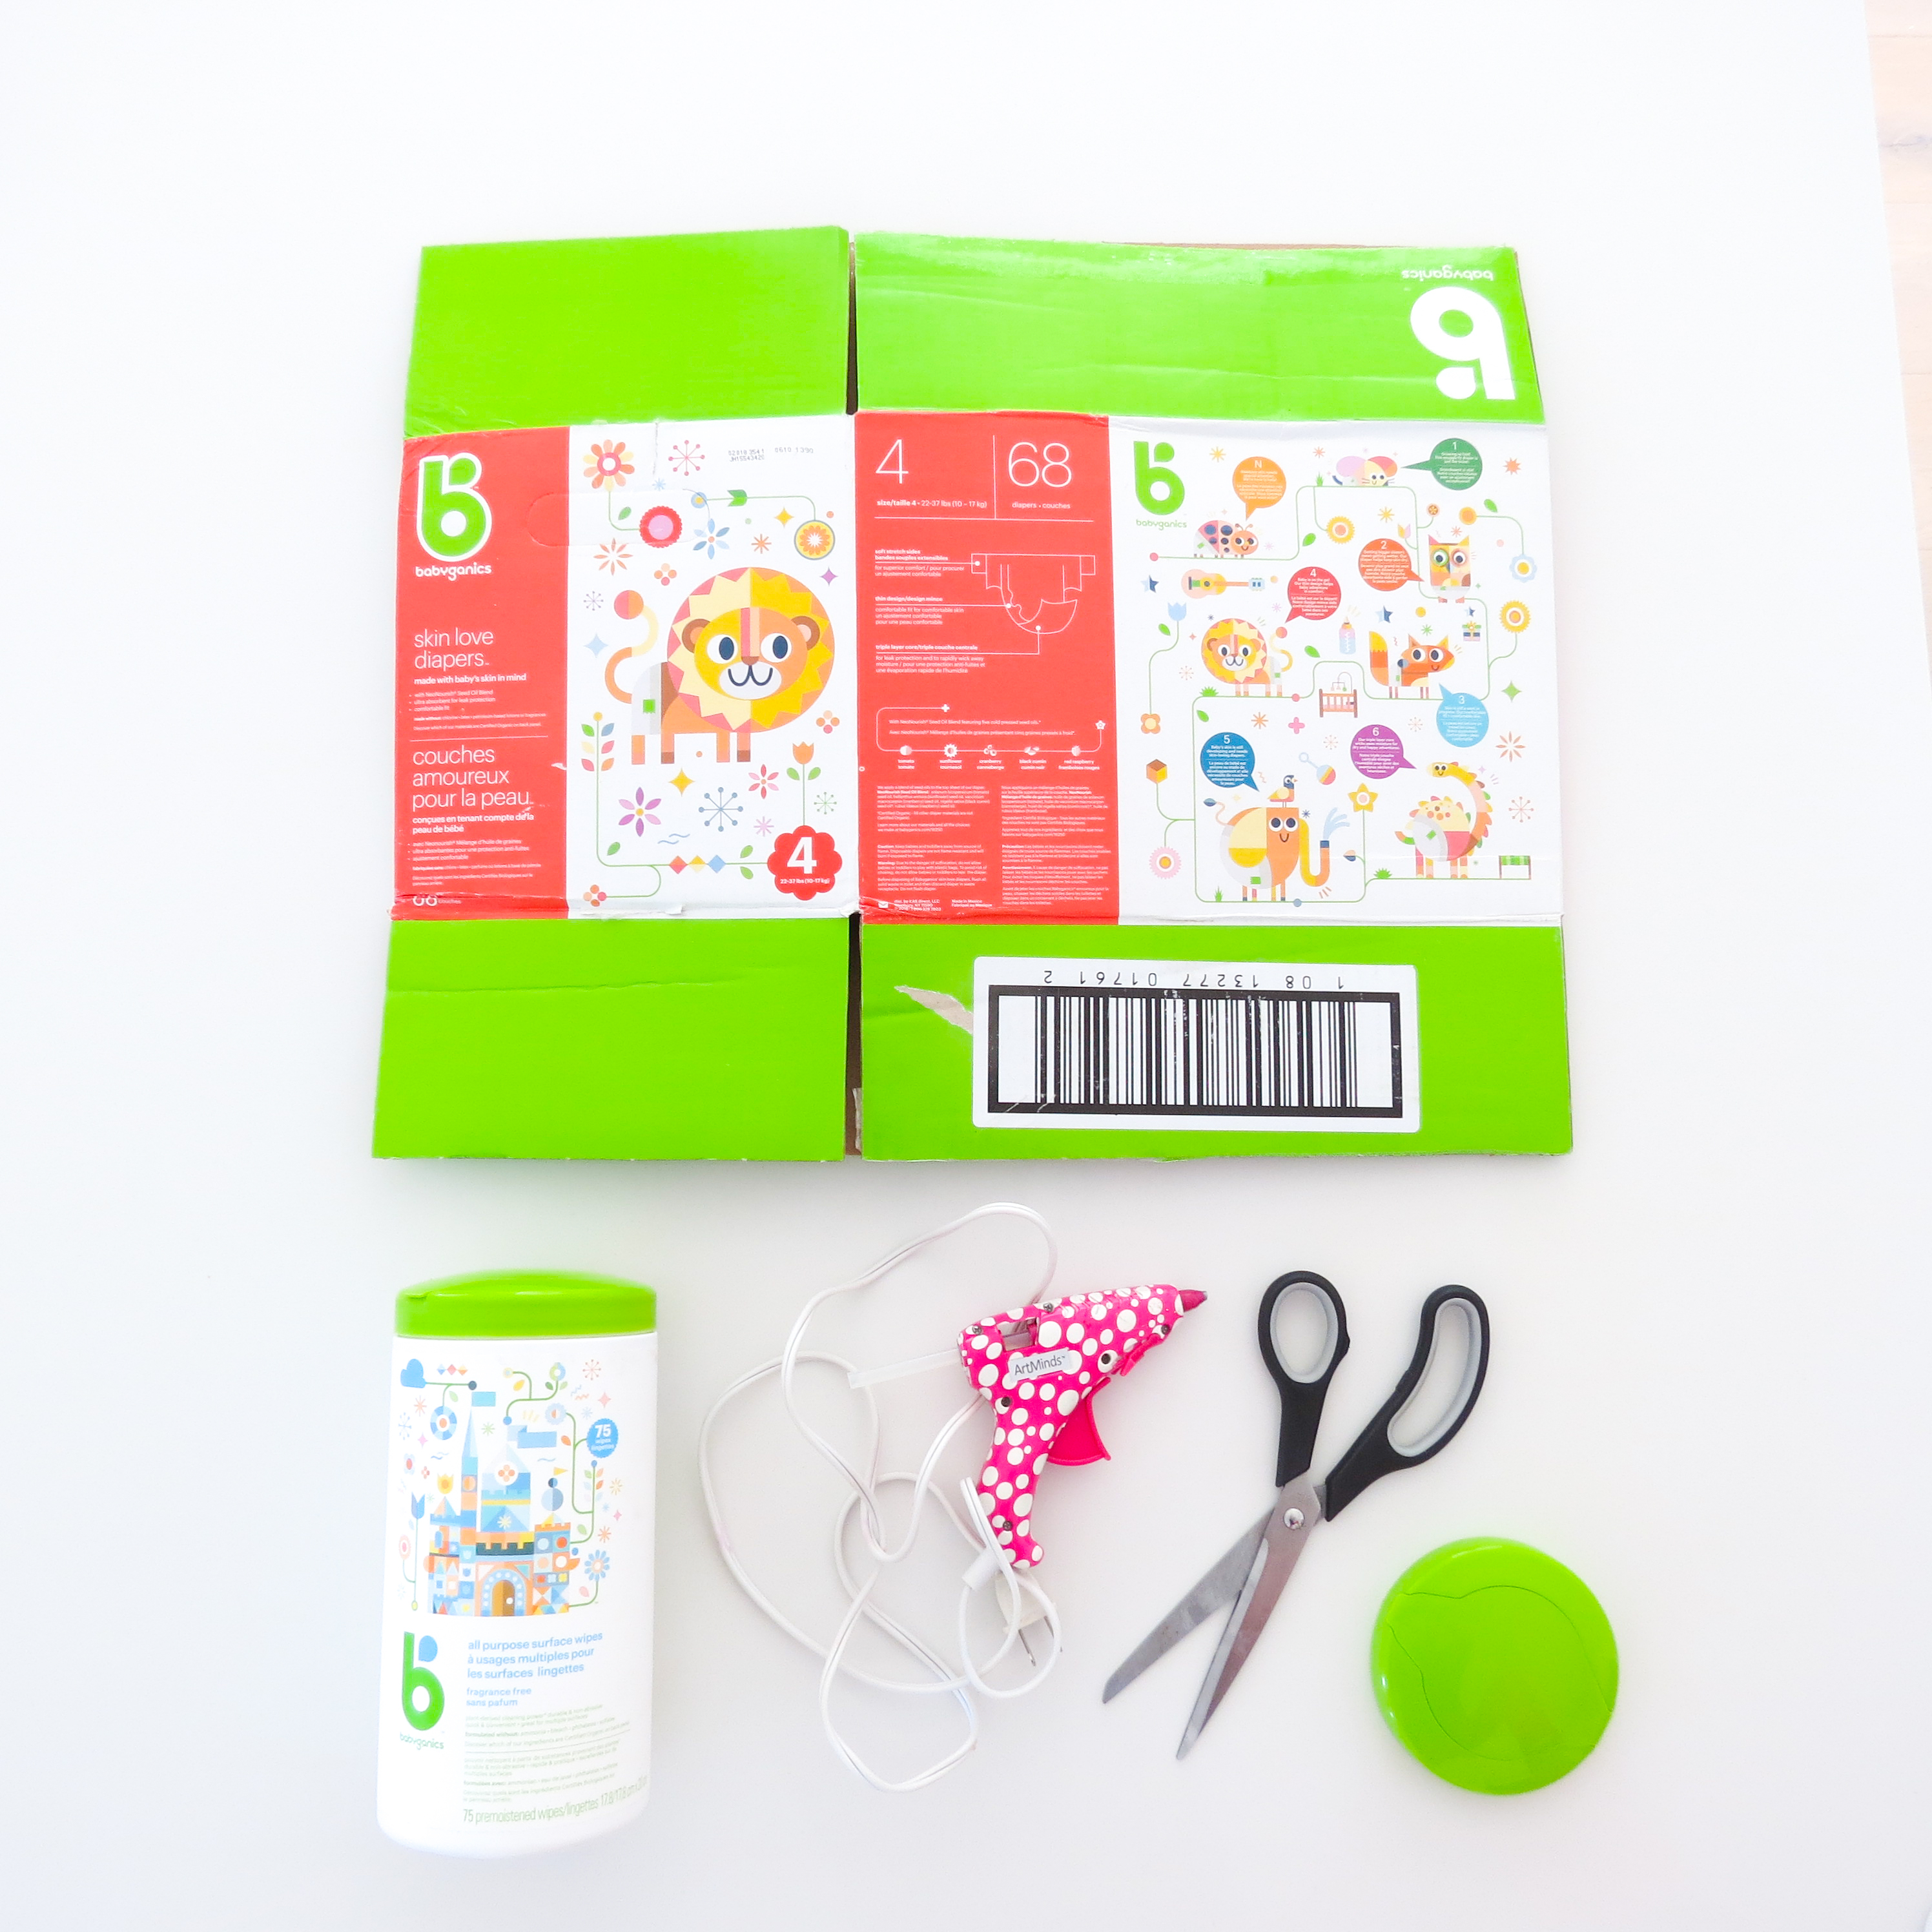
- Babyganics diaper box
- Babyganics All-Purpose Wipes lids (washed, rinsed and dried)
- Scissors or box cutters
- Glue gun
- Ribbon/scarves
- Baby safe objects/toys
Directions:
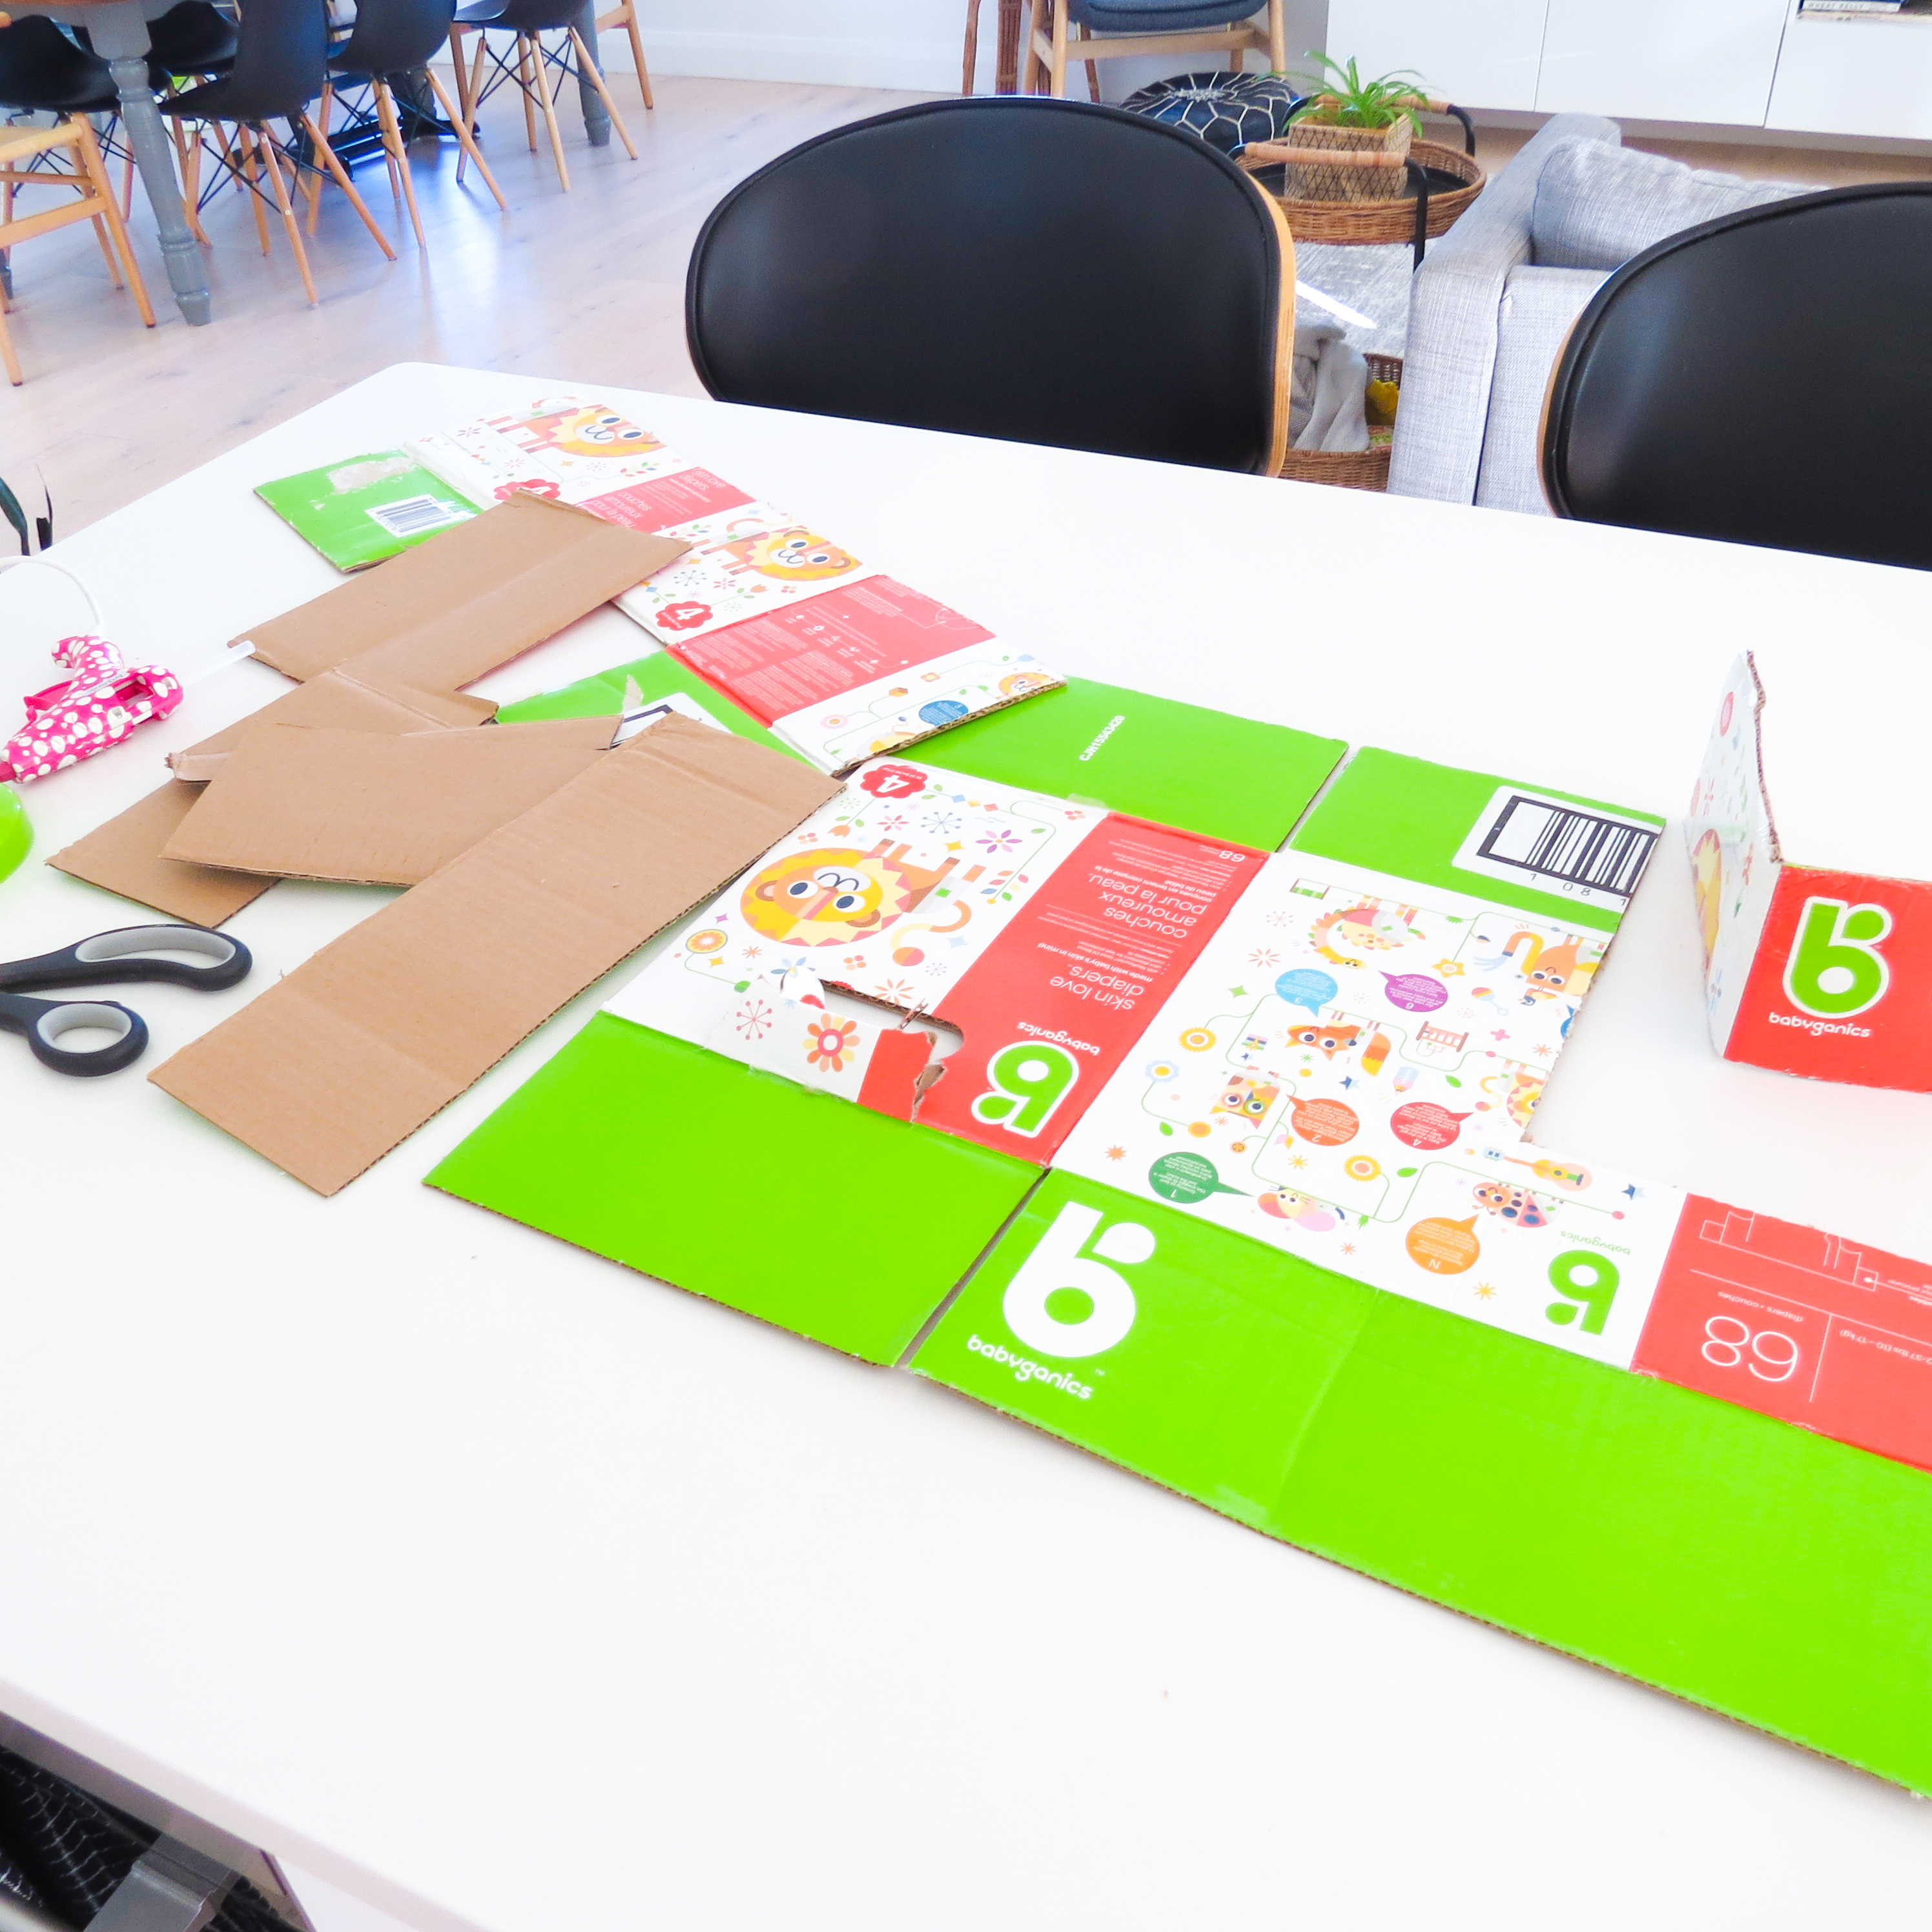
- Open up your diaper box and using your scissors or box cutters
- Cut out the pieces you need to form a smaller box.
- Glue the pieces together with your hot glue gun.
- When your box is formed and the glue is dry, you can add the lids from the Babyganics wipes. Cut a hole in one of the sides of the box and glue the lid in place.
- Finally, gather the items that your child will be using with the box. You can find some baby-safe toys that your child can “post” or put into the box. Or you can put scarves or ribbon into the box for your baby to pull out.
Remember, there’s no right or wrong way to play. Your child may be fascinated by opening and closing the lids at first. Let them explore at their own pace and in their own way.
Development Opportunities:
Cognitive
- Problem solving: your baby will develop problem solving skills as they discover how to open and close the flaps on the box.
- Object permanence: your baby may begin understanding that objects still exist even when they can’t see them. Babies develop this between 4-7 months. If your child is placing items in the box, they may begin to realize that they are still there and did not just disappear.
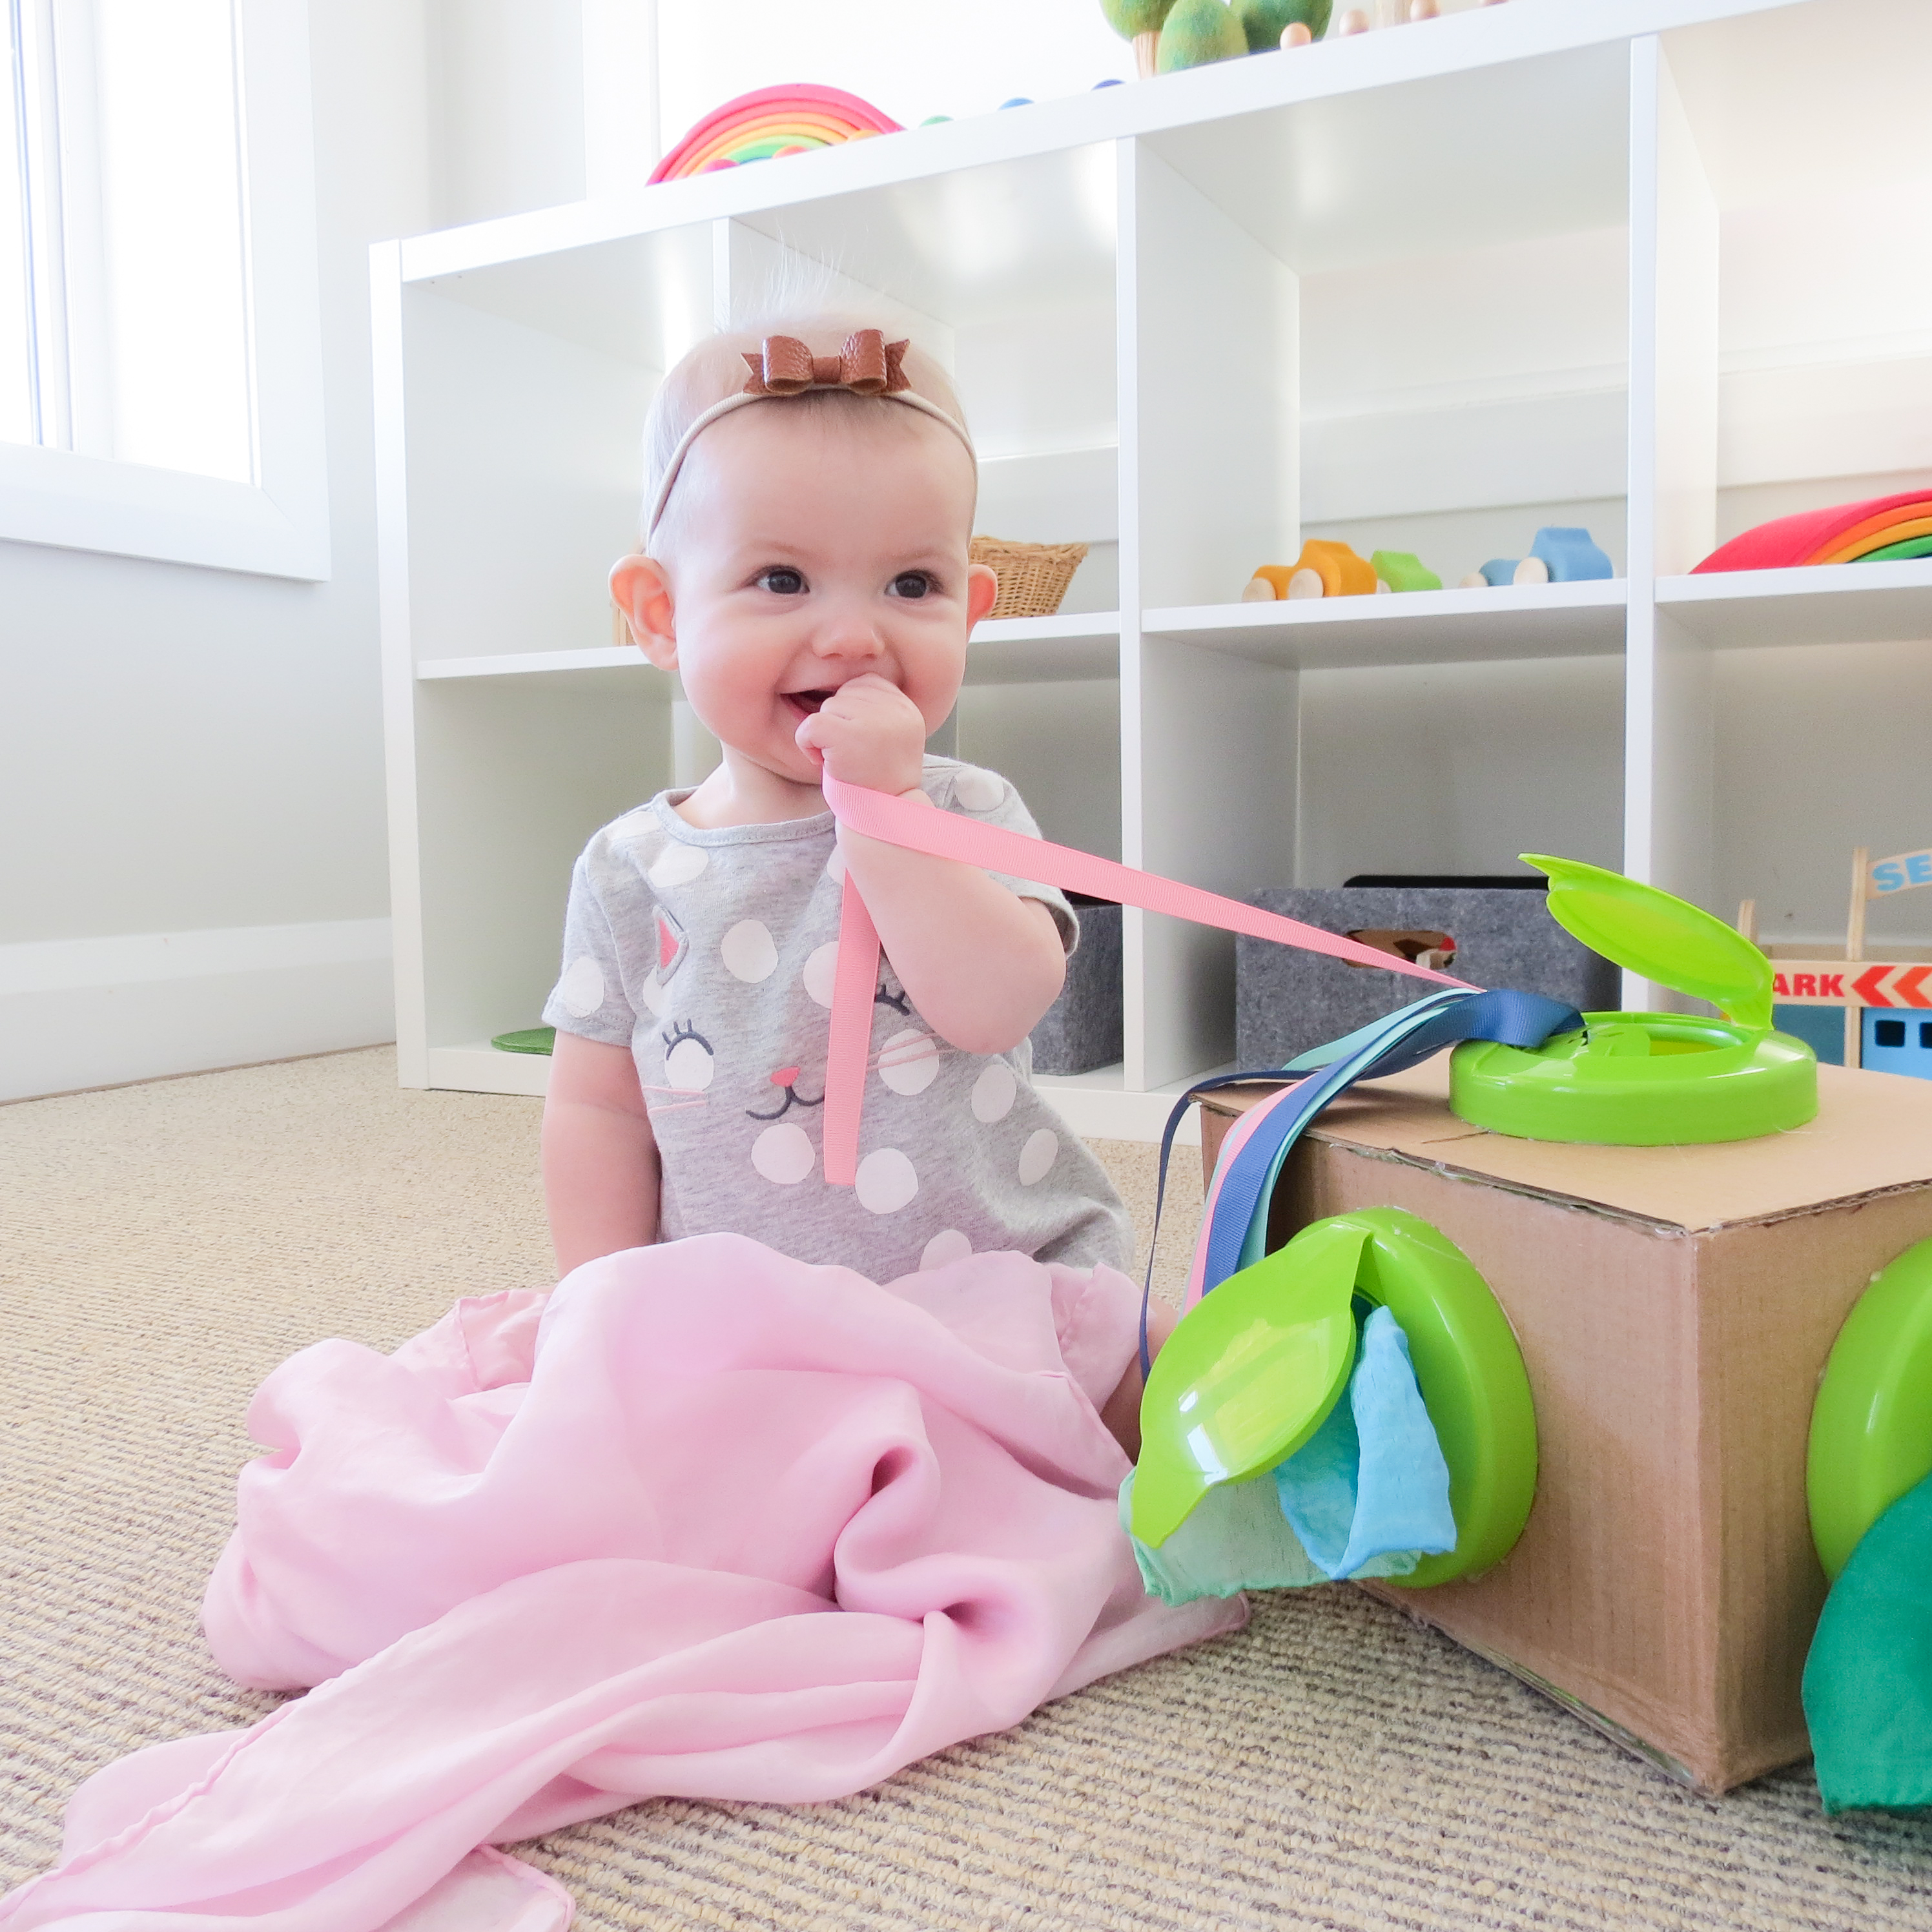
- Cause and effect: your little one will discover that their actions have direct effects. For example, they will learn that the more they pull on the ribbons, they will eventually come out.
Physical
- Motor skills: your little one will work on fine and gross motor skills as they use their hand muscles to grasp the ribbons, and their arms muscles to pull. Similarly, while “posting” or putting objects in the box, they must grasp and have control to bring that toy to the hole.
- Hand eye coordination: your baby will get lots of practice coordinating their movements between their hands and eyes to ensure accuracy during this activity.
Emotional
- Self-confidence: as your baby succeeds in pulling the objects out, or placing them in, they will gain a sense of accomplishment and pride which helps in boosting their self-confidence.
- Expressing emotion: depending on your baby’s age and abilities, they may experience a range of emotions here… happiness and joy from succeeding at removing the scarves, or perhaps frustration from having a difficult time opening the flaps on their own. Play should be a safe place for them to express emotions. Talk to your baby about what your notice, keeping in mind that all emotions are valid.
Social
- Playful interactions: have fun with your baby! This activity provides a wonderful opportunity for your both to interact in a playful way. Play hide and seek with the objects, tickle them with the ribbons, have fun!
DIY Bath Paint
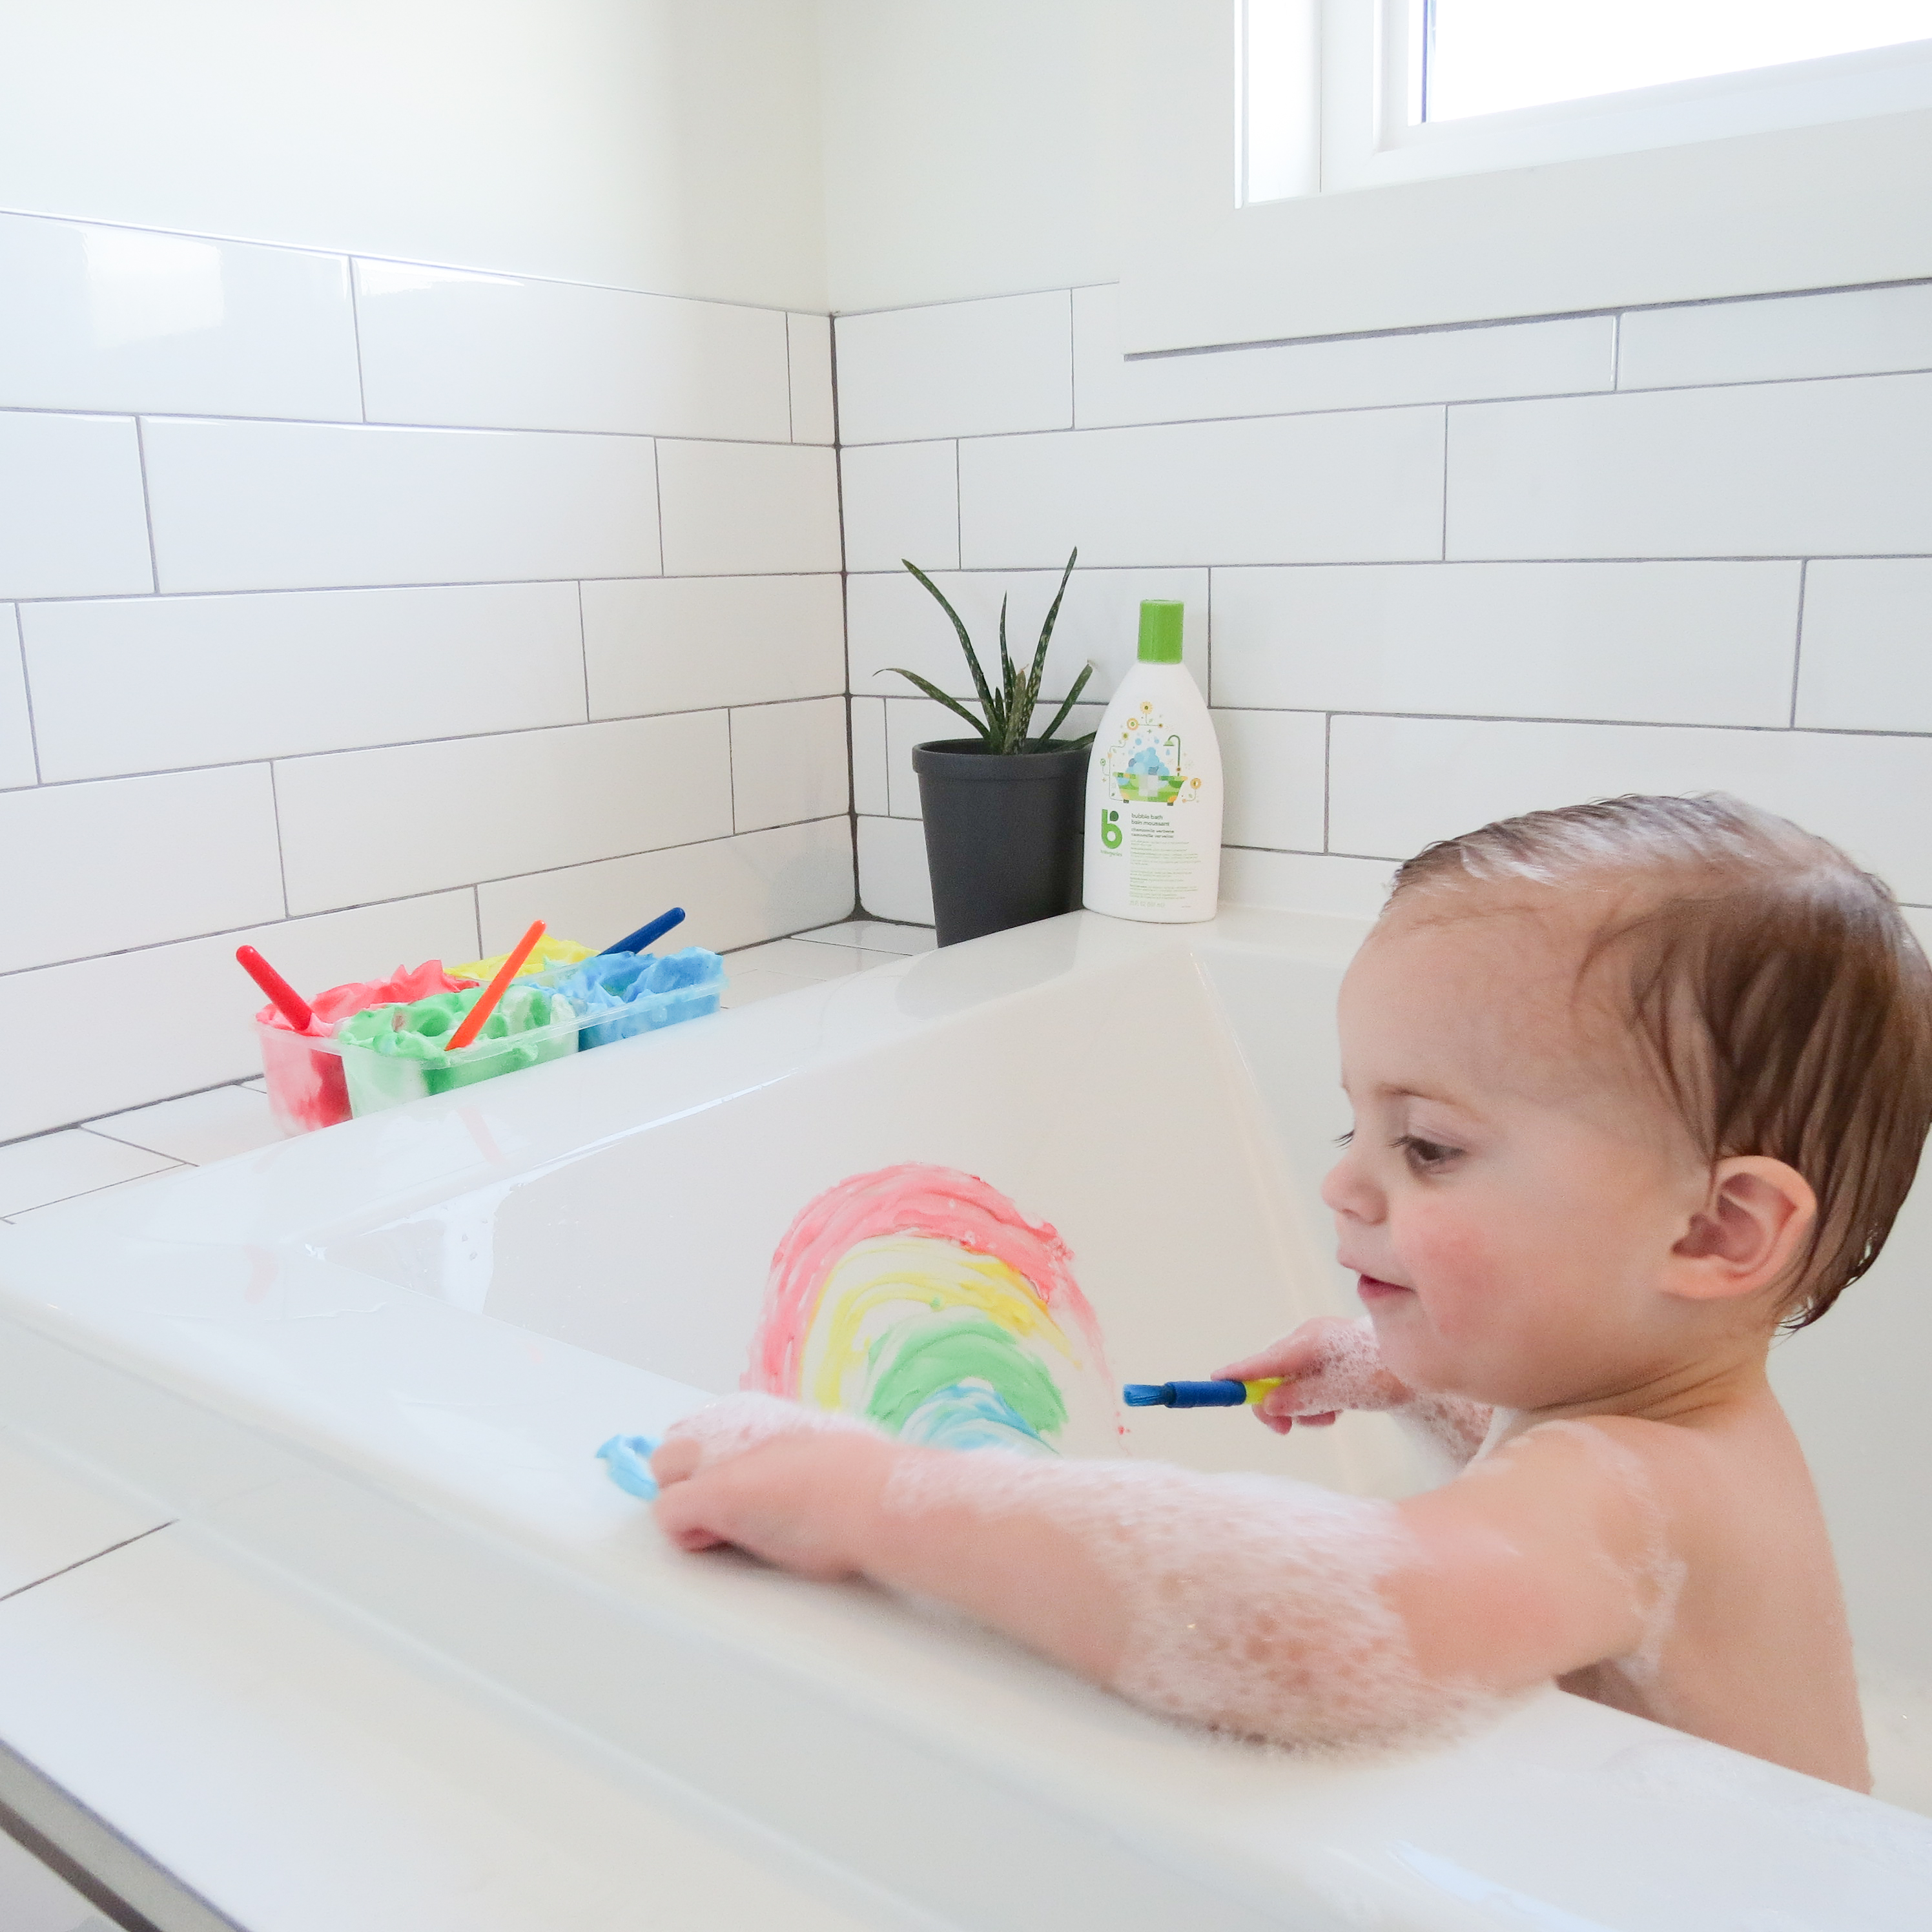
This activity is perfect for you if you’re new to this whole sensory thing, or maybe you’ve tried it before and felt overwhelmed by the clean up after. On the flip side, perhaps you’re comfortable and familiar with sensory play, but you’re looking for a new idea to try. This activity takes place in the easiest place to contain the mess and clean it up afterwards; the bathtub.
Materials:
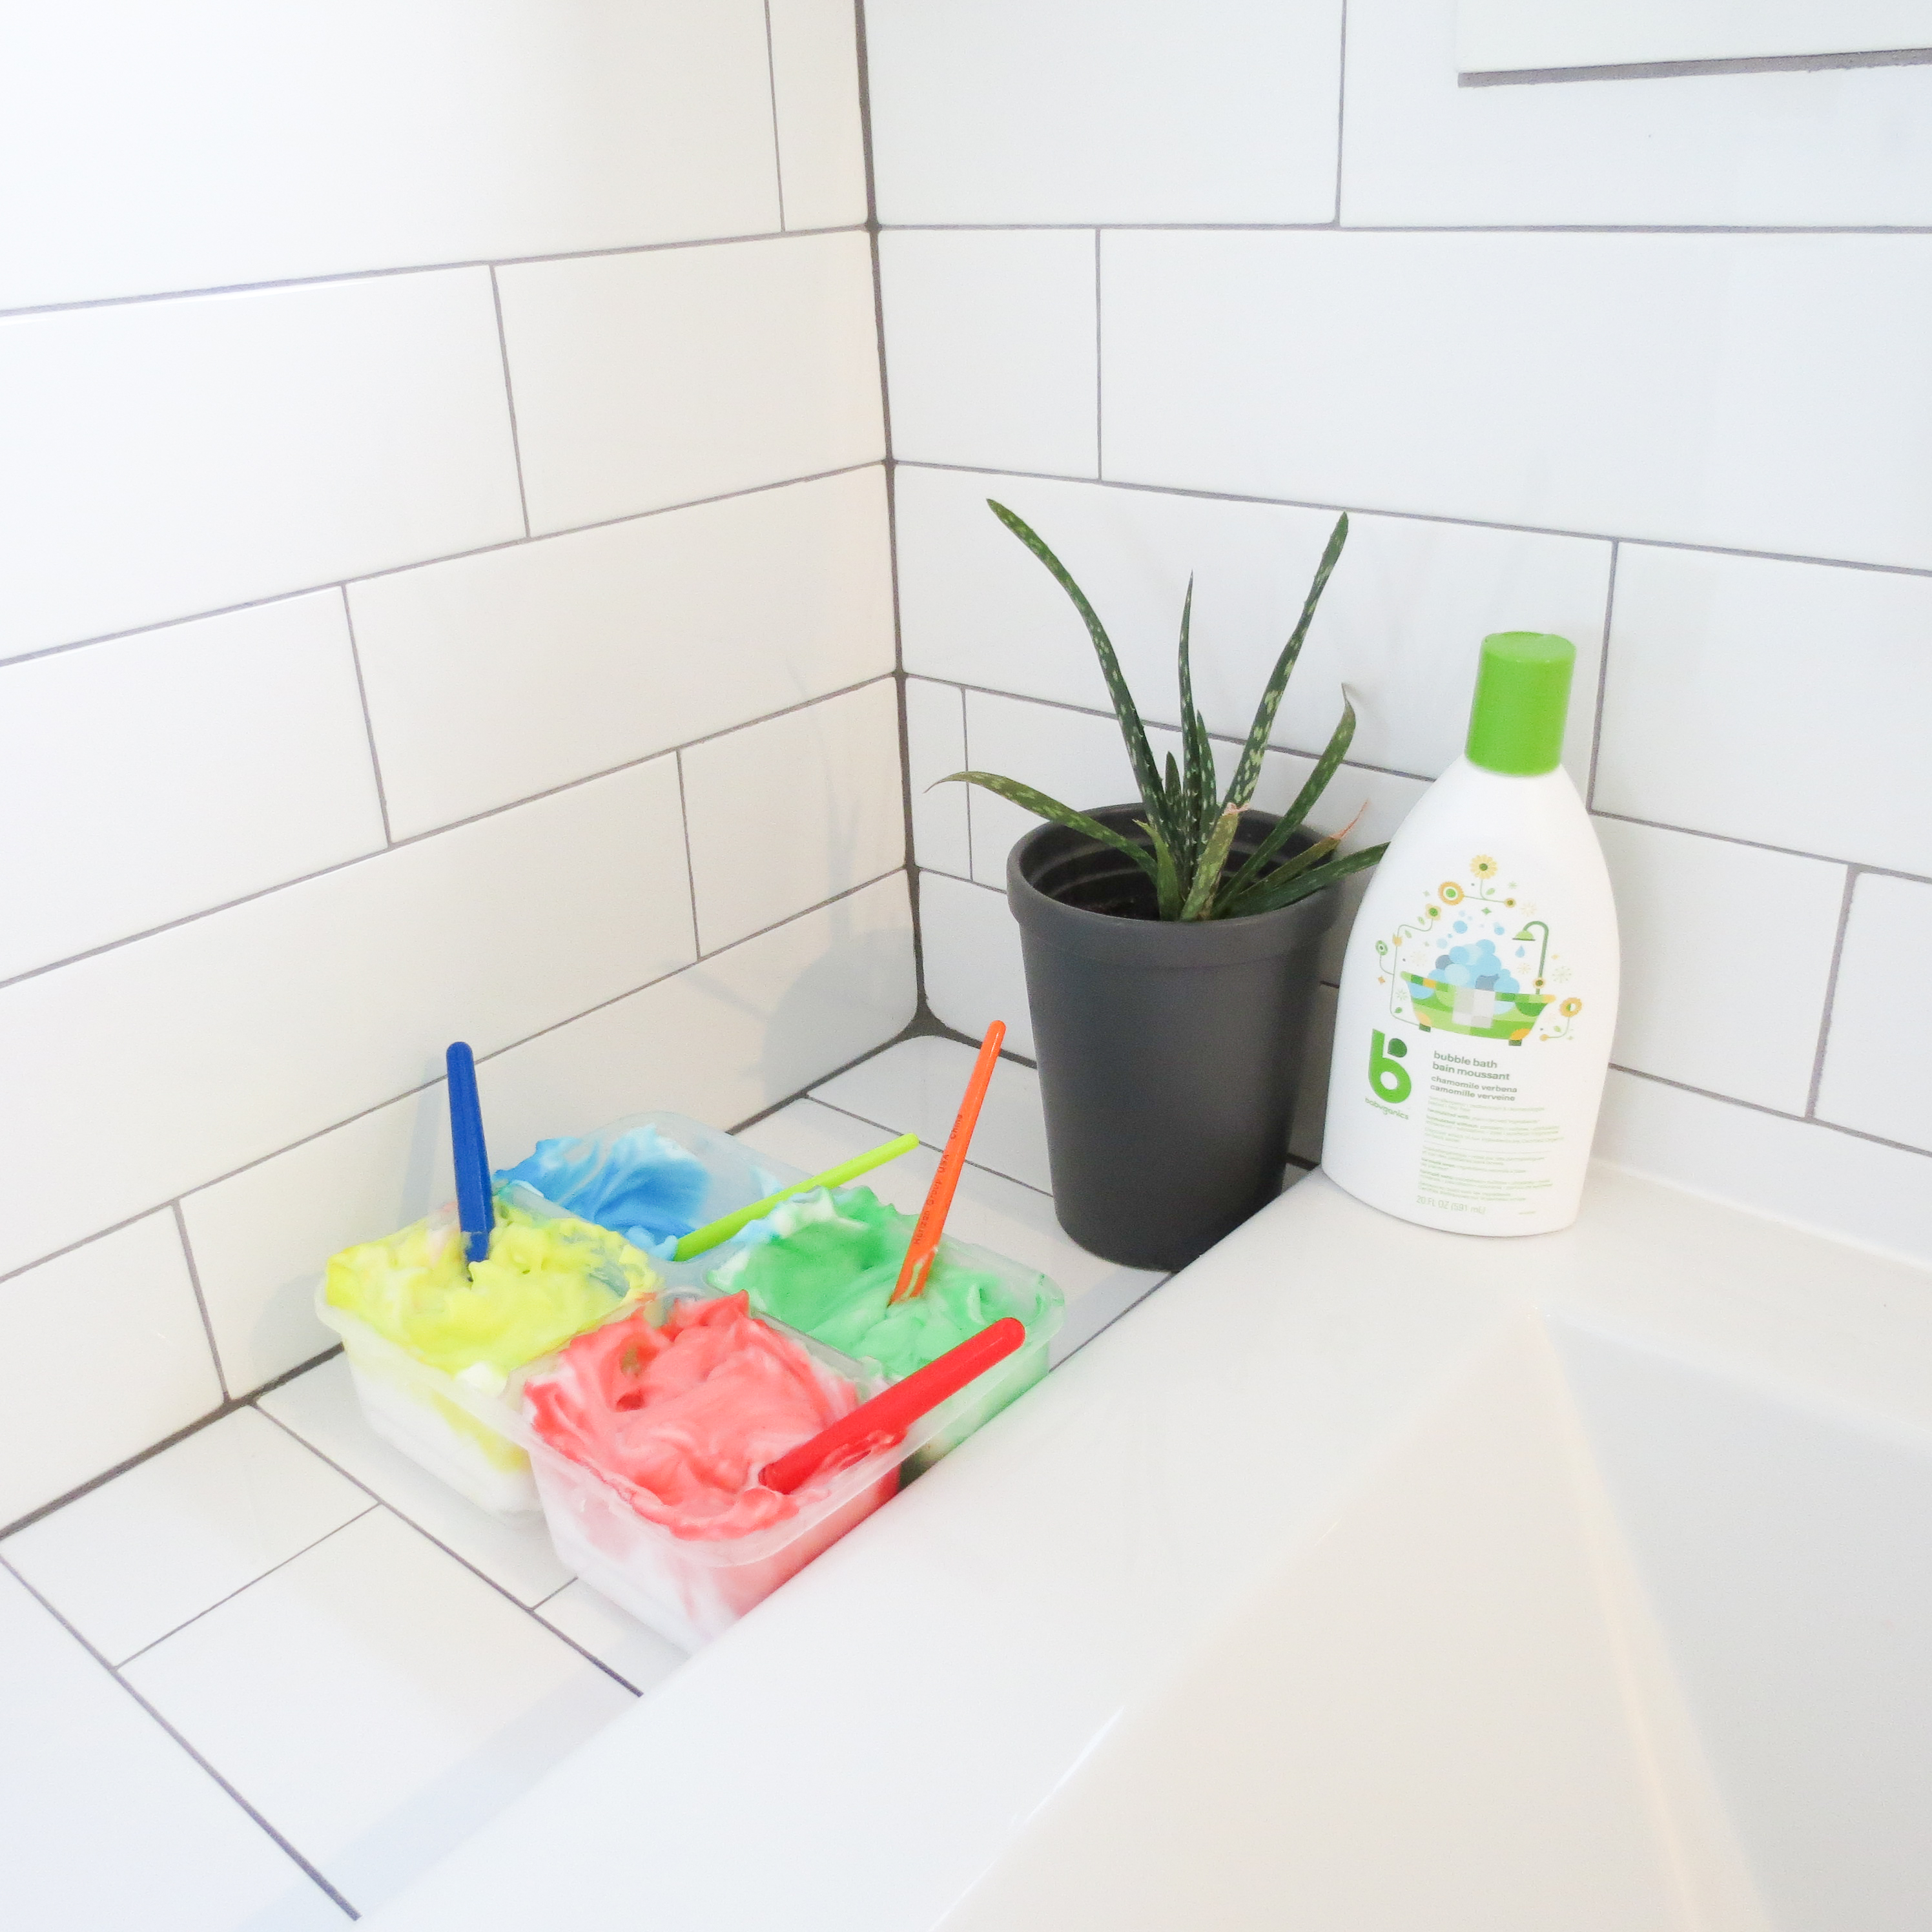
- Shaving cream
- Food colouring
- Container (you could use a few different small bowls, or a larger container with sections)
- Paint brushes
- Babyganics Bubble Bath
Directions:
- Spray your shaving cream into your container or bowls.
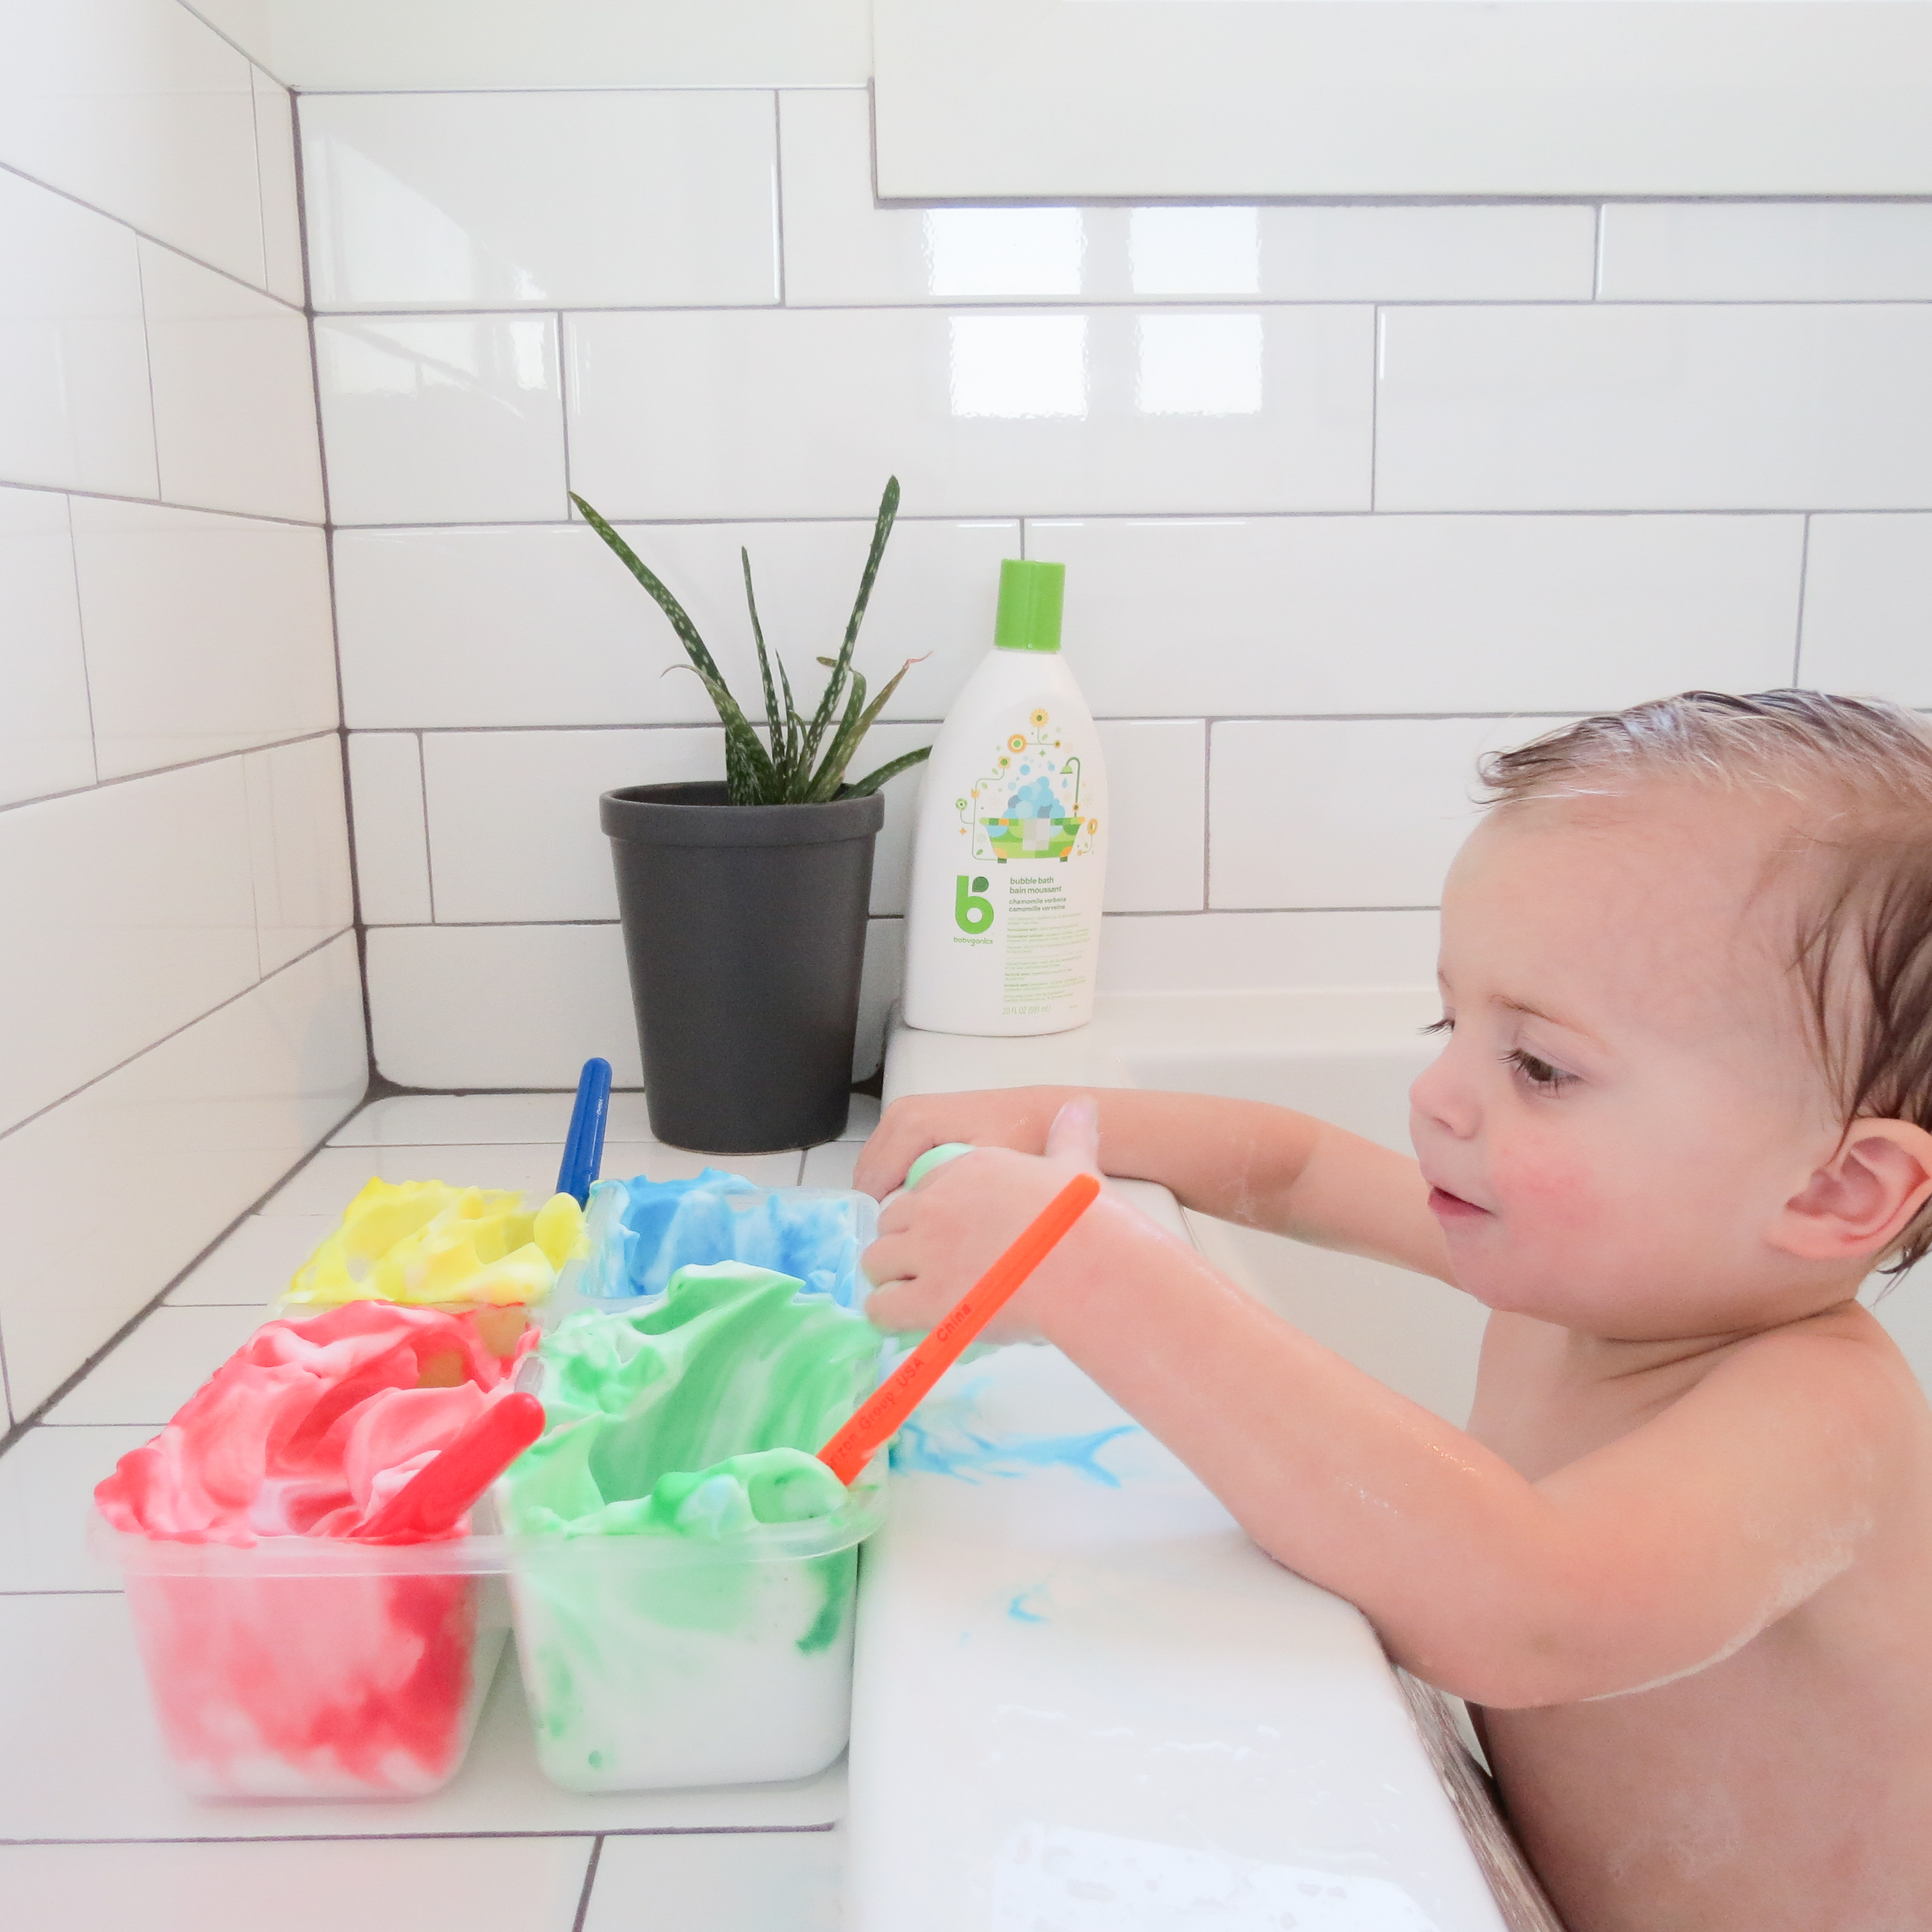
- Add a few drops of food colouring and mix well. Your paints are ready!
- Run the bath for your baby adding your Babyganics Bubble Bath for an added sensory experience.
- Place your paints and brushes on the side of the tub (or you may need to hold them depending on your space).
- Get your baby ready for the bath, after testing the water, put your baby in.
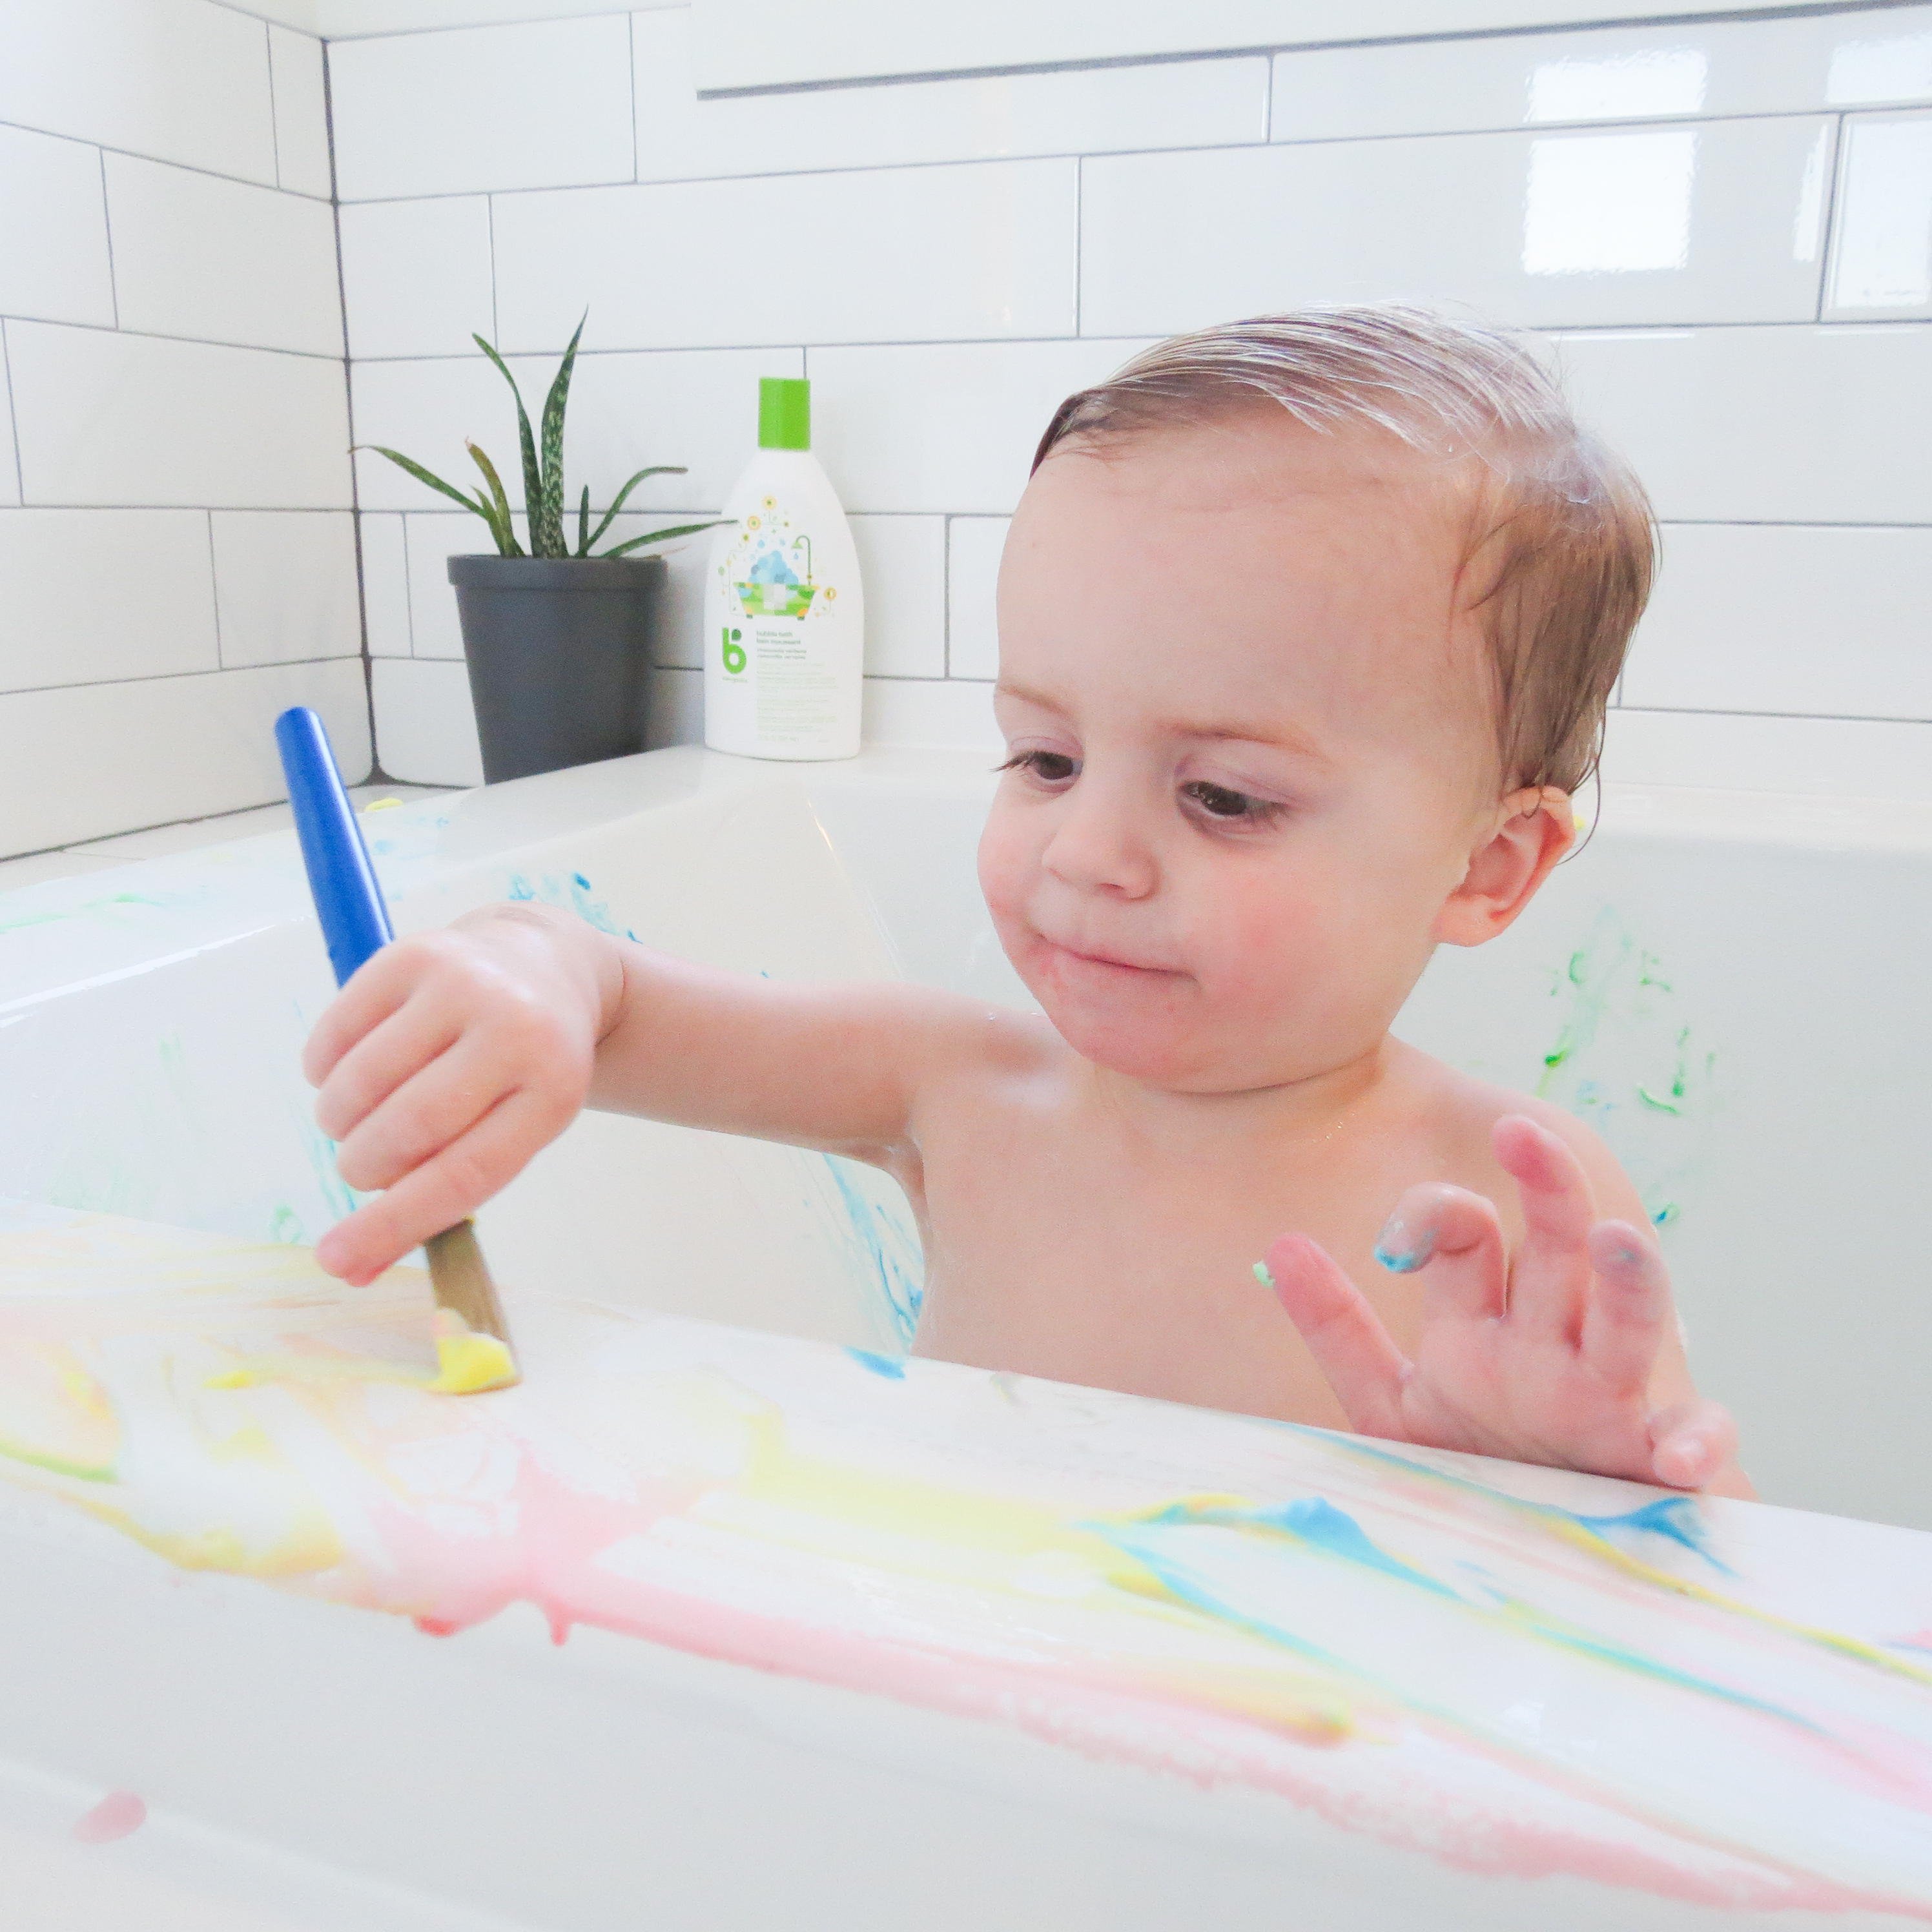
You may choose to demonstrate painting for them on the side of the tub/the - or let them explore it on their own. They may be more interested in using their hands to explore rather than the brushes- no worries! The smoothness of the shaving cream provides a wonderful sensory experience. Talk to your child about the different colours they are using. Ask them how the paint feels and introduce words such as “soft”, “puffy” and “smooth”. Take notice of the smells and talk to your baby or child, narrating what they are doing as they explore.
Development Opportunities:
Cognitive
- Colour recognition: introduce your little one to the names of the colours you are painting with.
- Creativity: your child uses their imagination in creating with the paint.
- Exploring cause and effect: as your little one makes marks on the wall of the tub, they will discover the immediate effects of those actions.
Language
- Vocabulary: talk to your baby as they play and paint. Talk about the colours, the textures, the smells. Some of these words may be introducing new vocabulary to your baby or simply reinforcing the meaning of words they already know.
Physical
- Motor skills: grasping the paint brush and moving their arms up and down and side to side strengthens their muscles and works on developing their muscle control.
- Hand eye coordination: they will be developing the coordinated control of their eye and hand movement.
Emotional
- Stress relief: the warm water, the soothing smells, the fun colours; this is a fun and relaxing experience for your little one.
- Expressing emotions: this safe and inviting play time will allow your baby to convey emotions of happiness, wonder, and excitement- talk to them about how the experience appears to make them fear.
Social
- Turn taking: partake in this activity with your baby; show them various designs or patterns they can make, by partaking, your baby will be introduced to turn taking- “I had a turn, now it’s your turn”.
Animal Washing
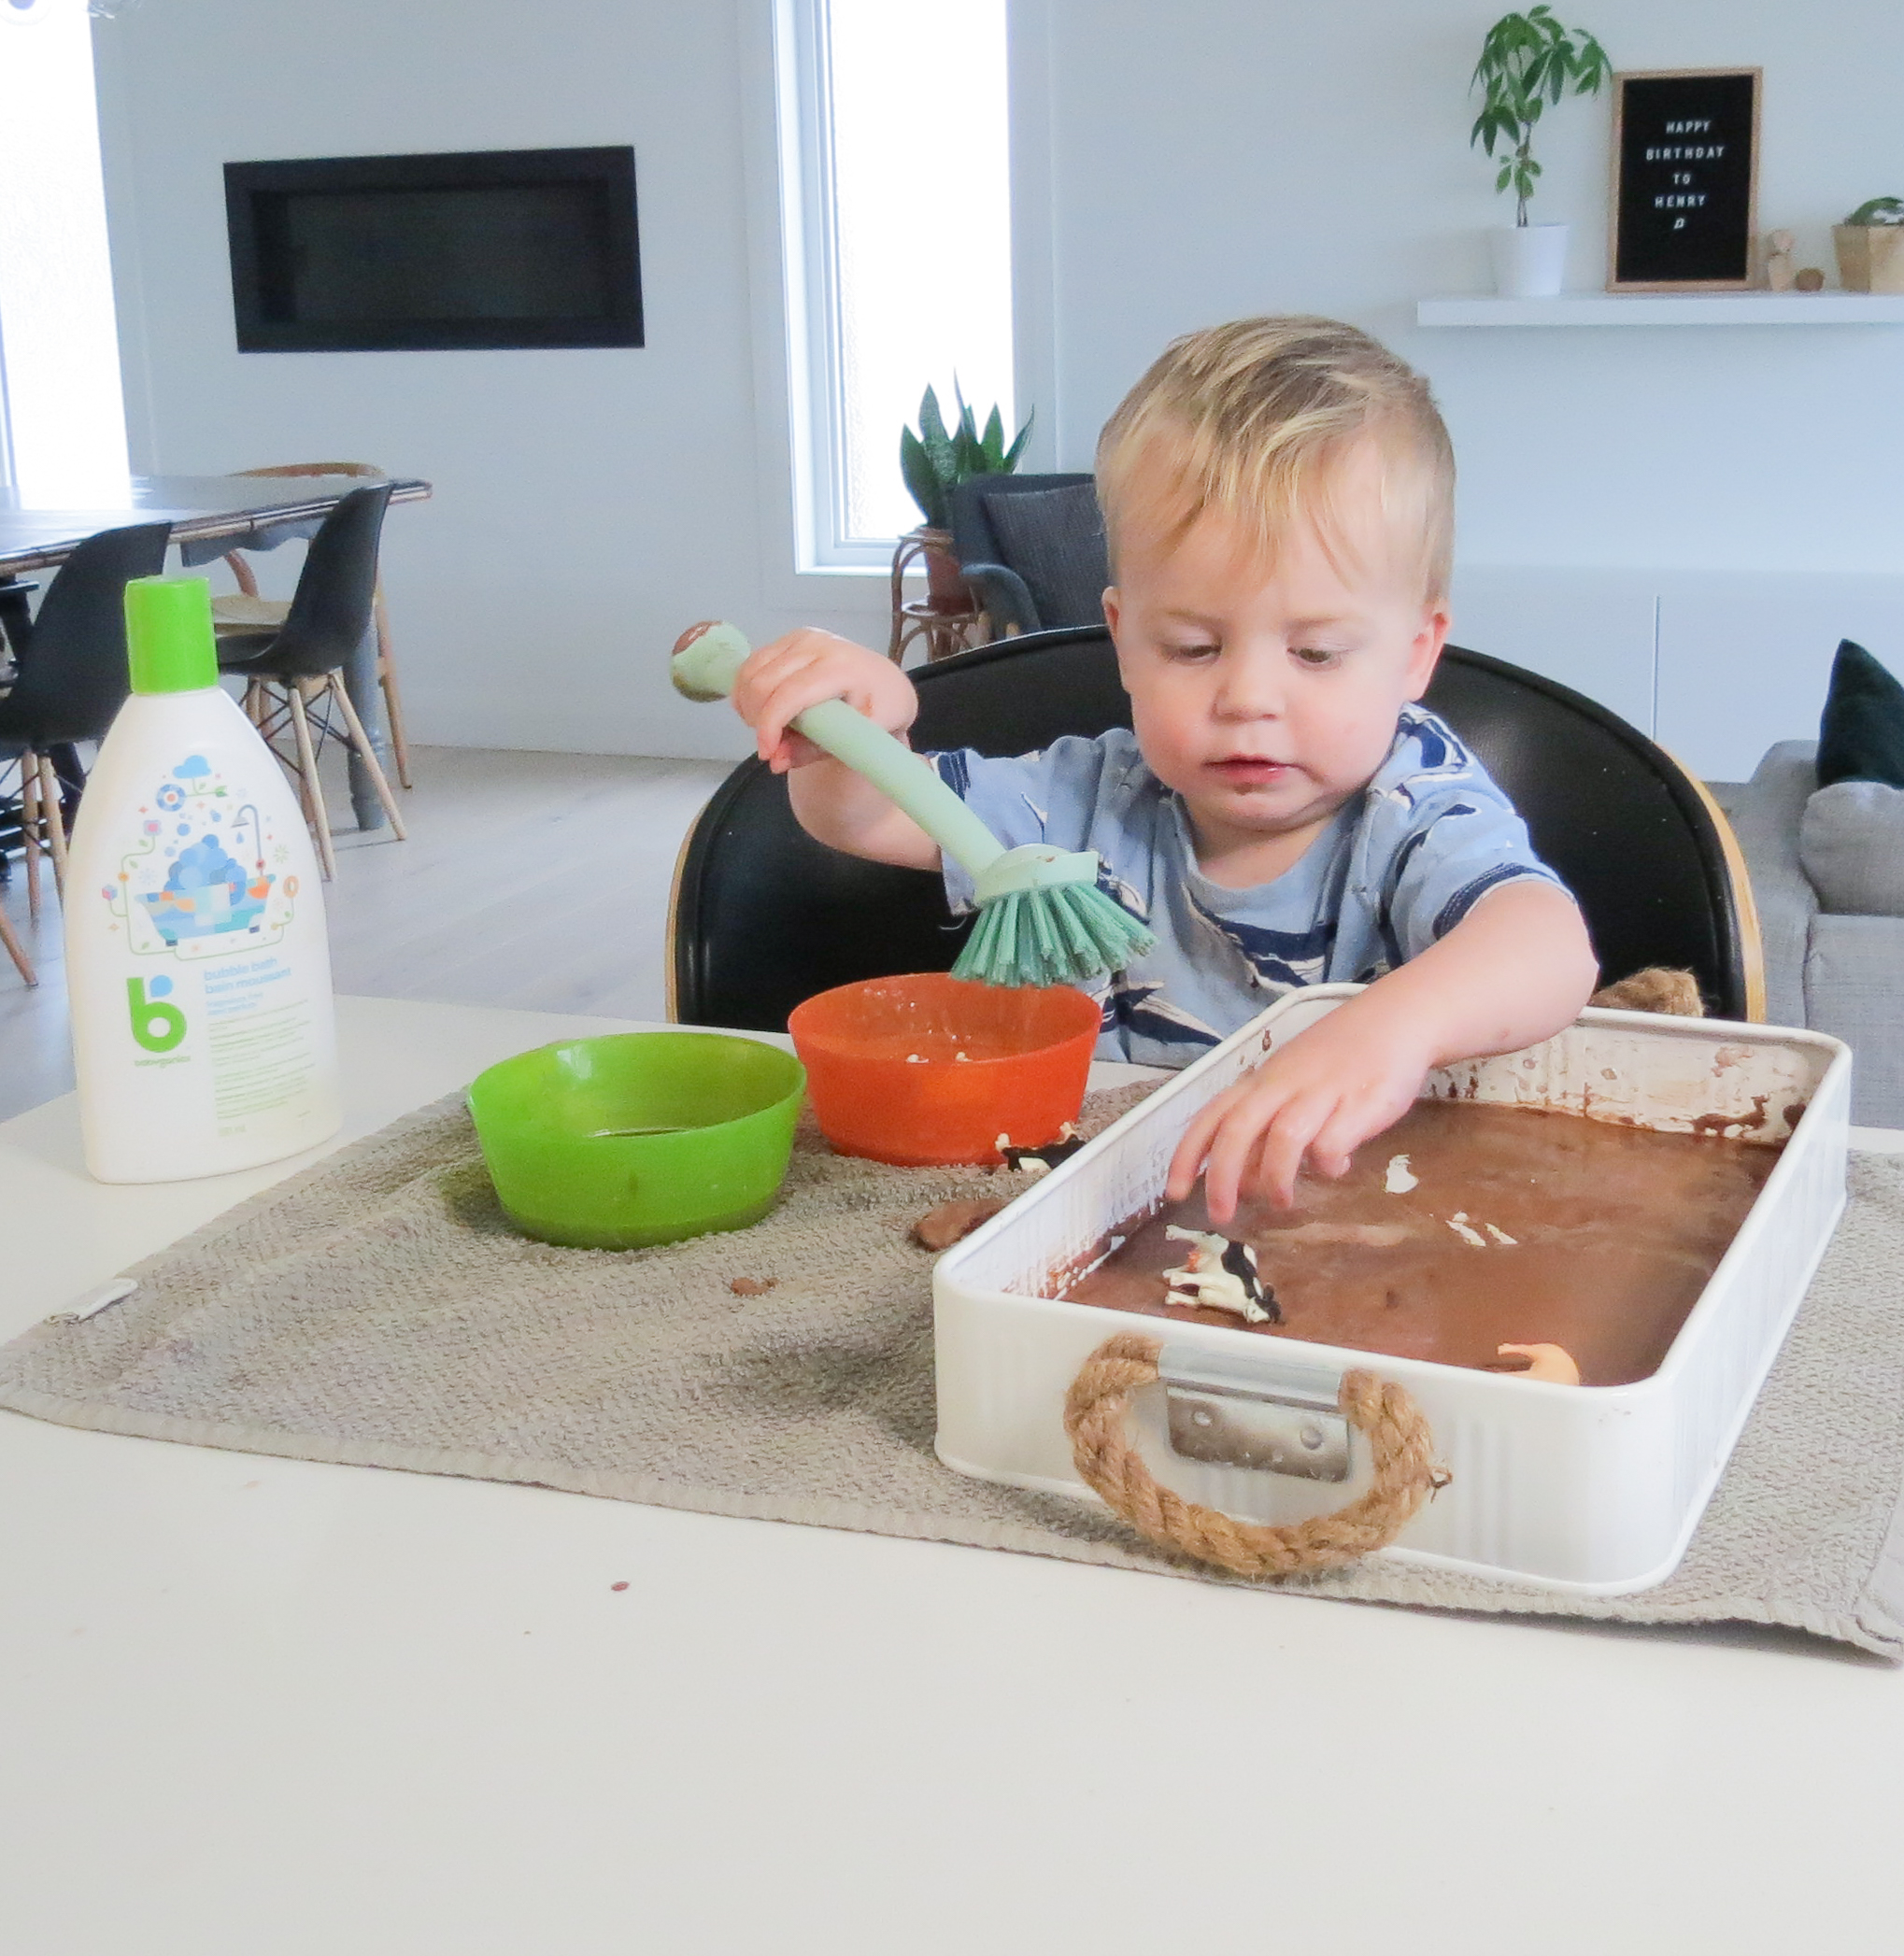
Get ready for some messy fun! You and your little one are going to love exploring the scents and textures of this amazing sensory activity. Set-up is simple and uses ingredients you have on hand. Be prepared to throw all your child’s clothes in the washing machine afterwards - this can get messy; nothing you can’t handle though!
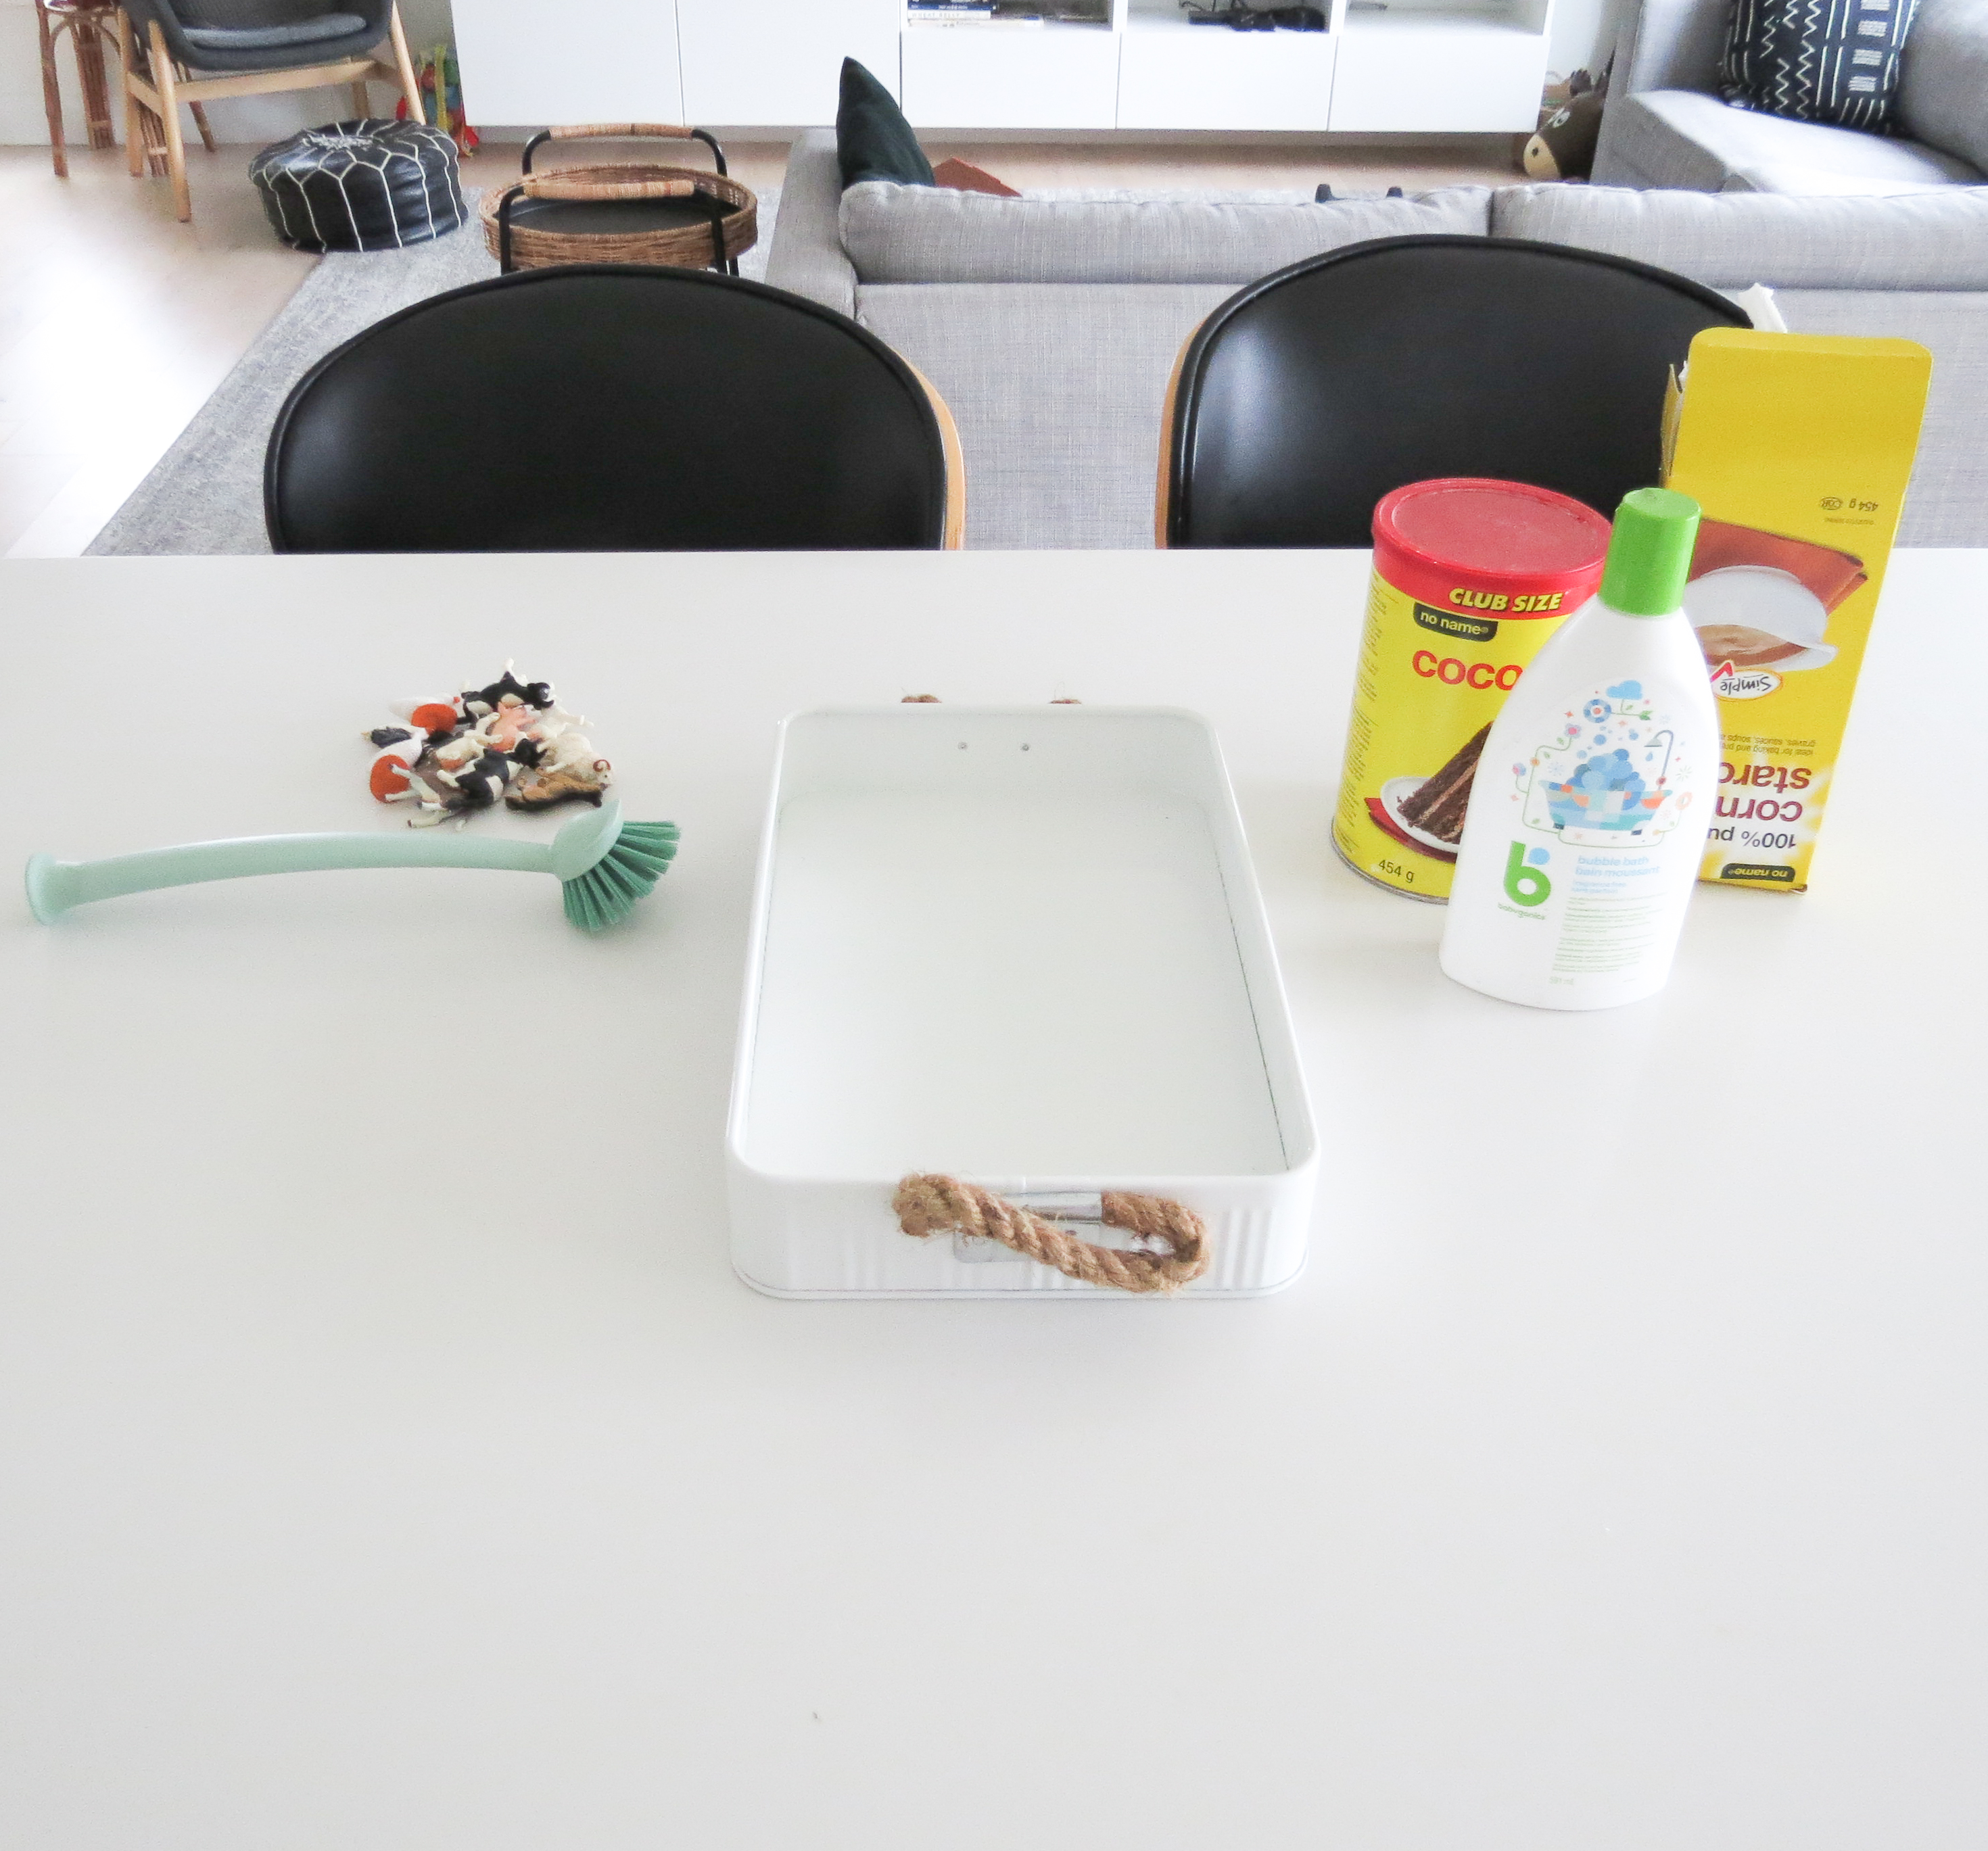
Materials:
- Three separate bowls/containers
- Cocoa powder
- Corn starch
- Water
- Plastic animal figurines
- Scrub brush
- Towel
- Babyganics Bubble Bath
Directions:
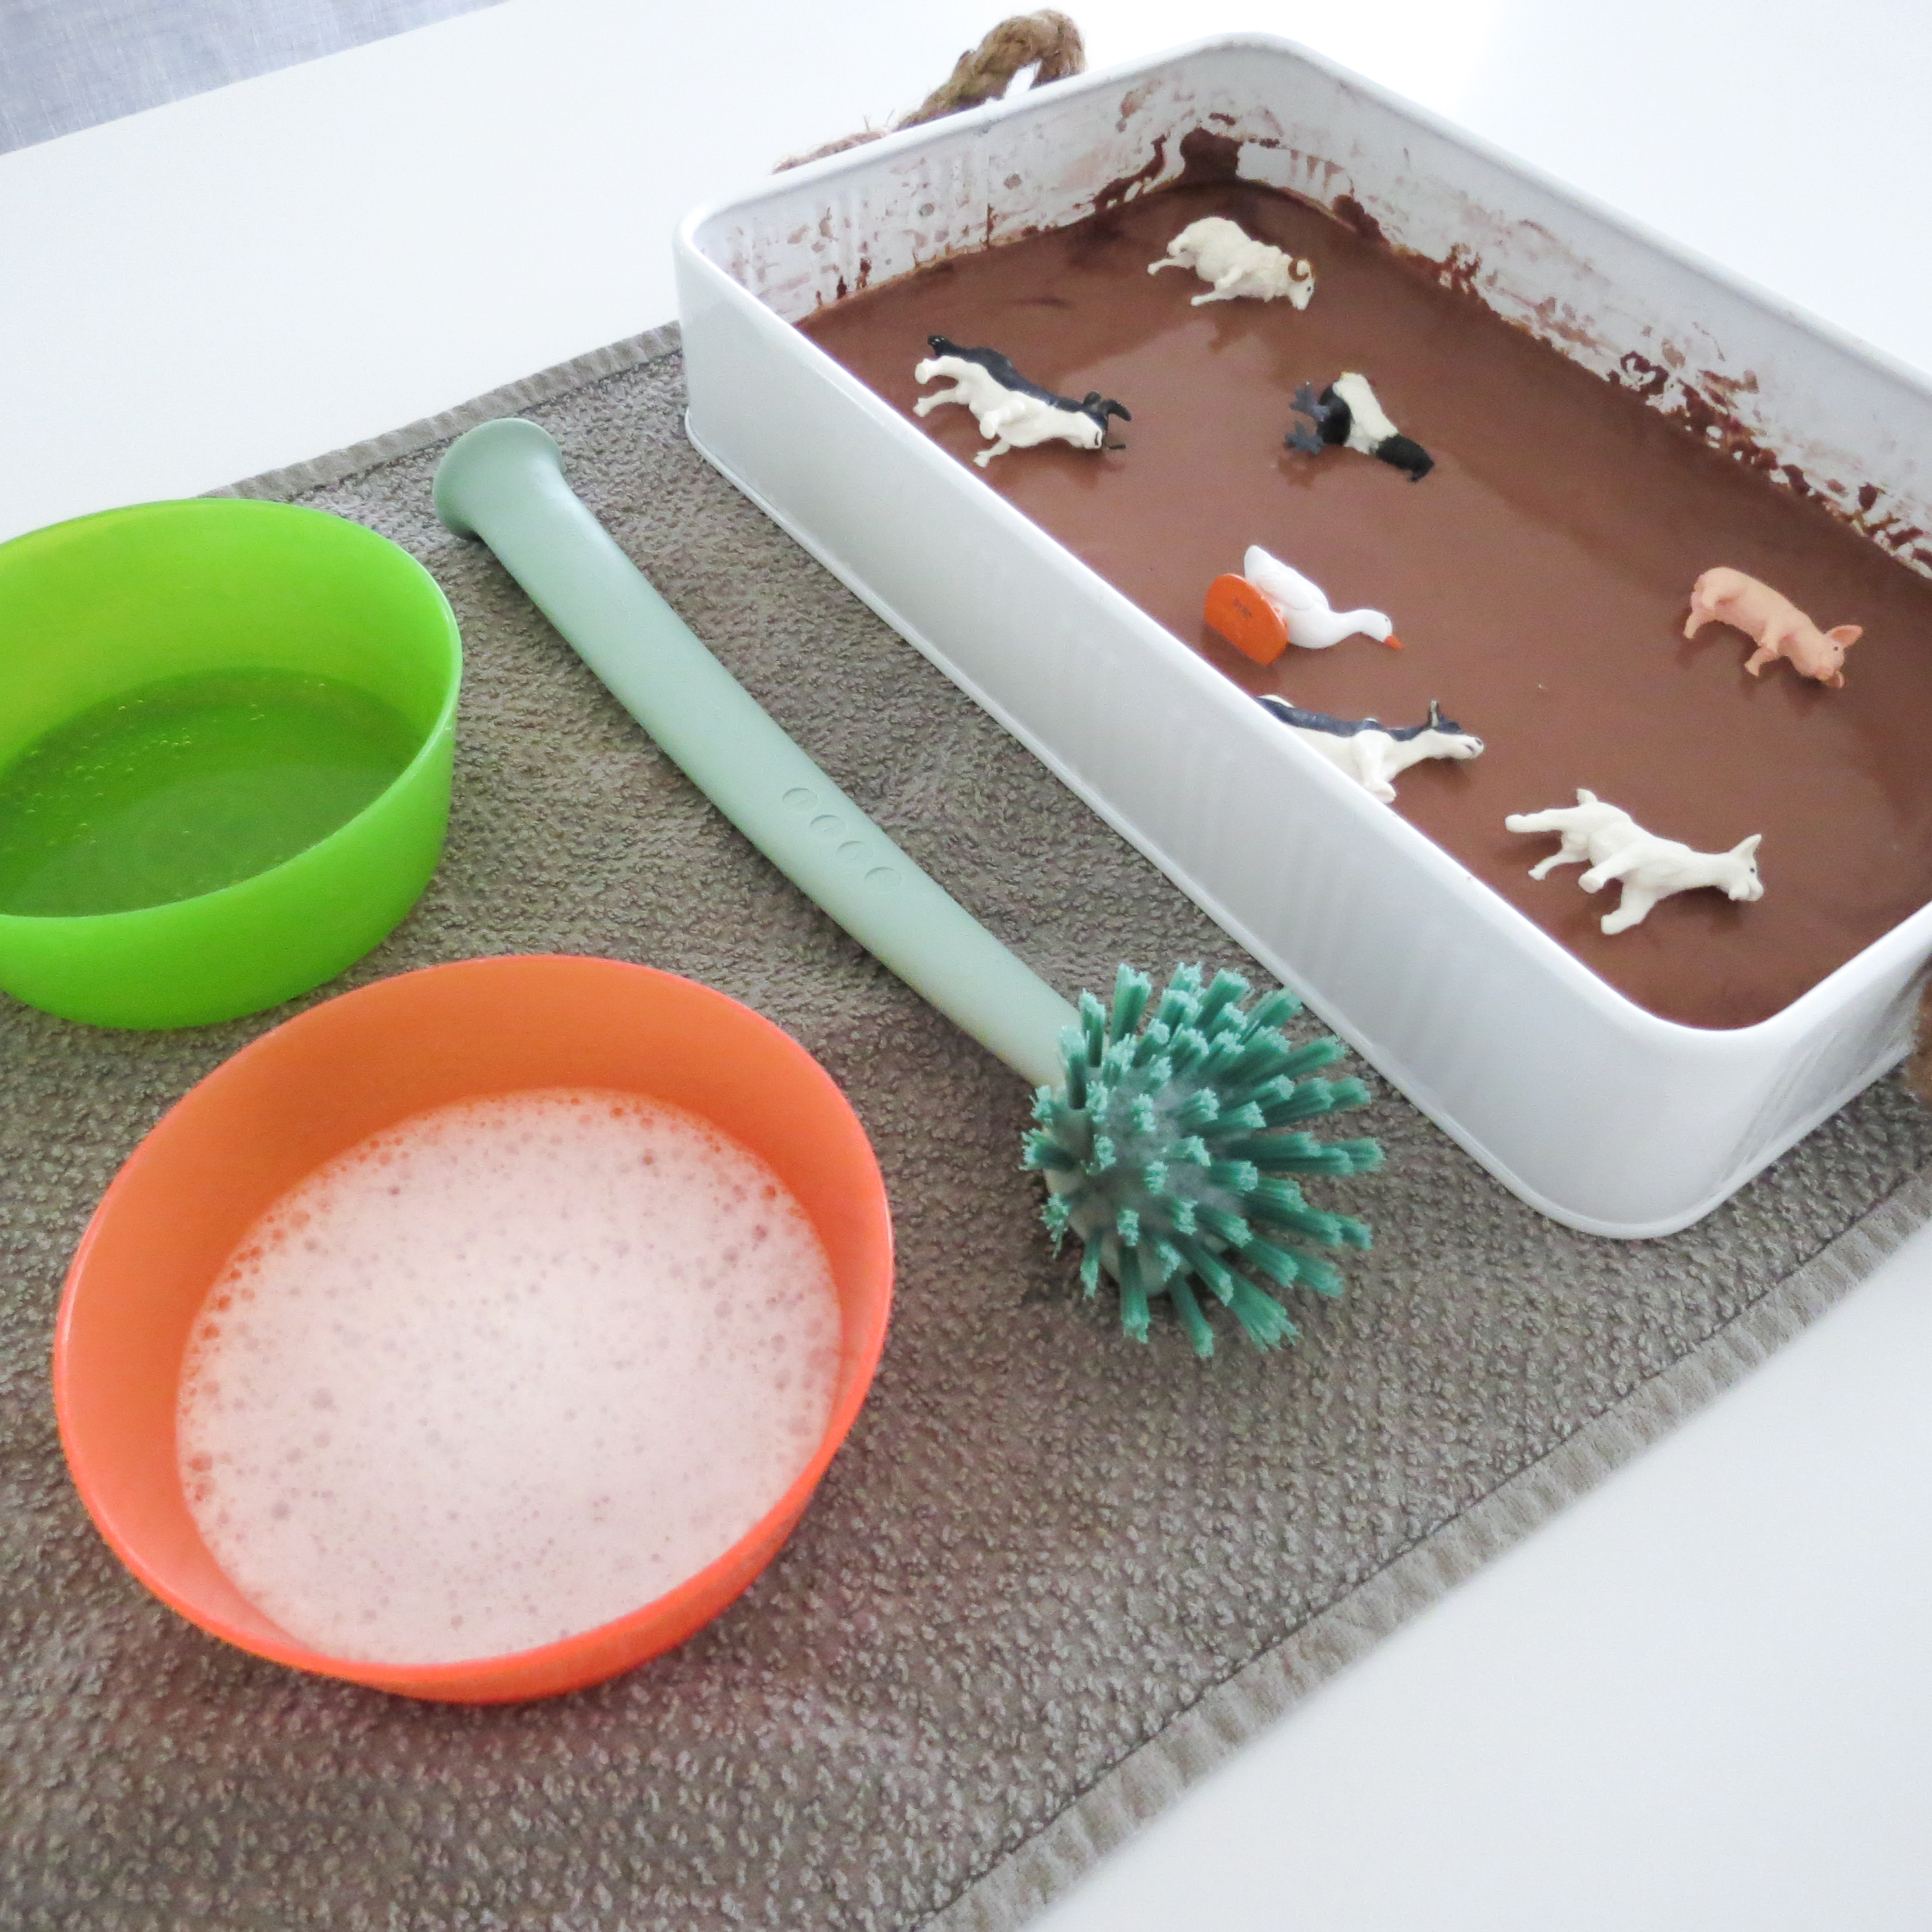
- To make your mud, combine 1 cup of cornstarch with ½ cup of water.
- Add 2 tablespoons of cocoa powder and carefully mix it all together.
- Next prepare a small bowl with warm water.
- Finally, the third bowl with warm water and a squirt of your Babyganics Foaming Dish Soap or Babyganics Bubble Bath. Use a whisk or fork to froth it up and make it bubbly.
- Set a towel down and place the three bowls on the towel for your child. You will need some plastic animal figurines and a scrub brush or sponge.
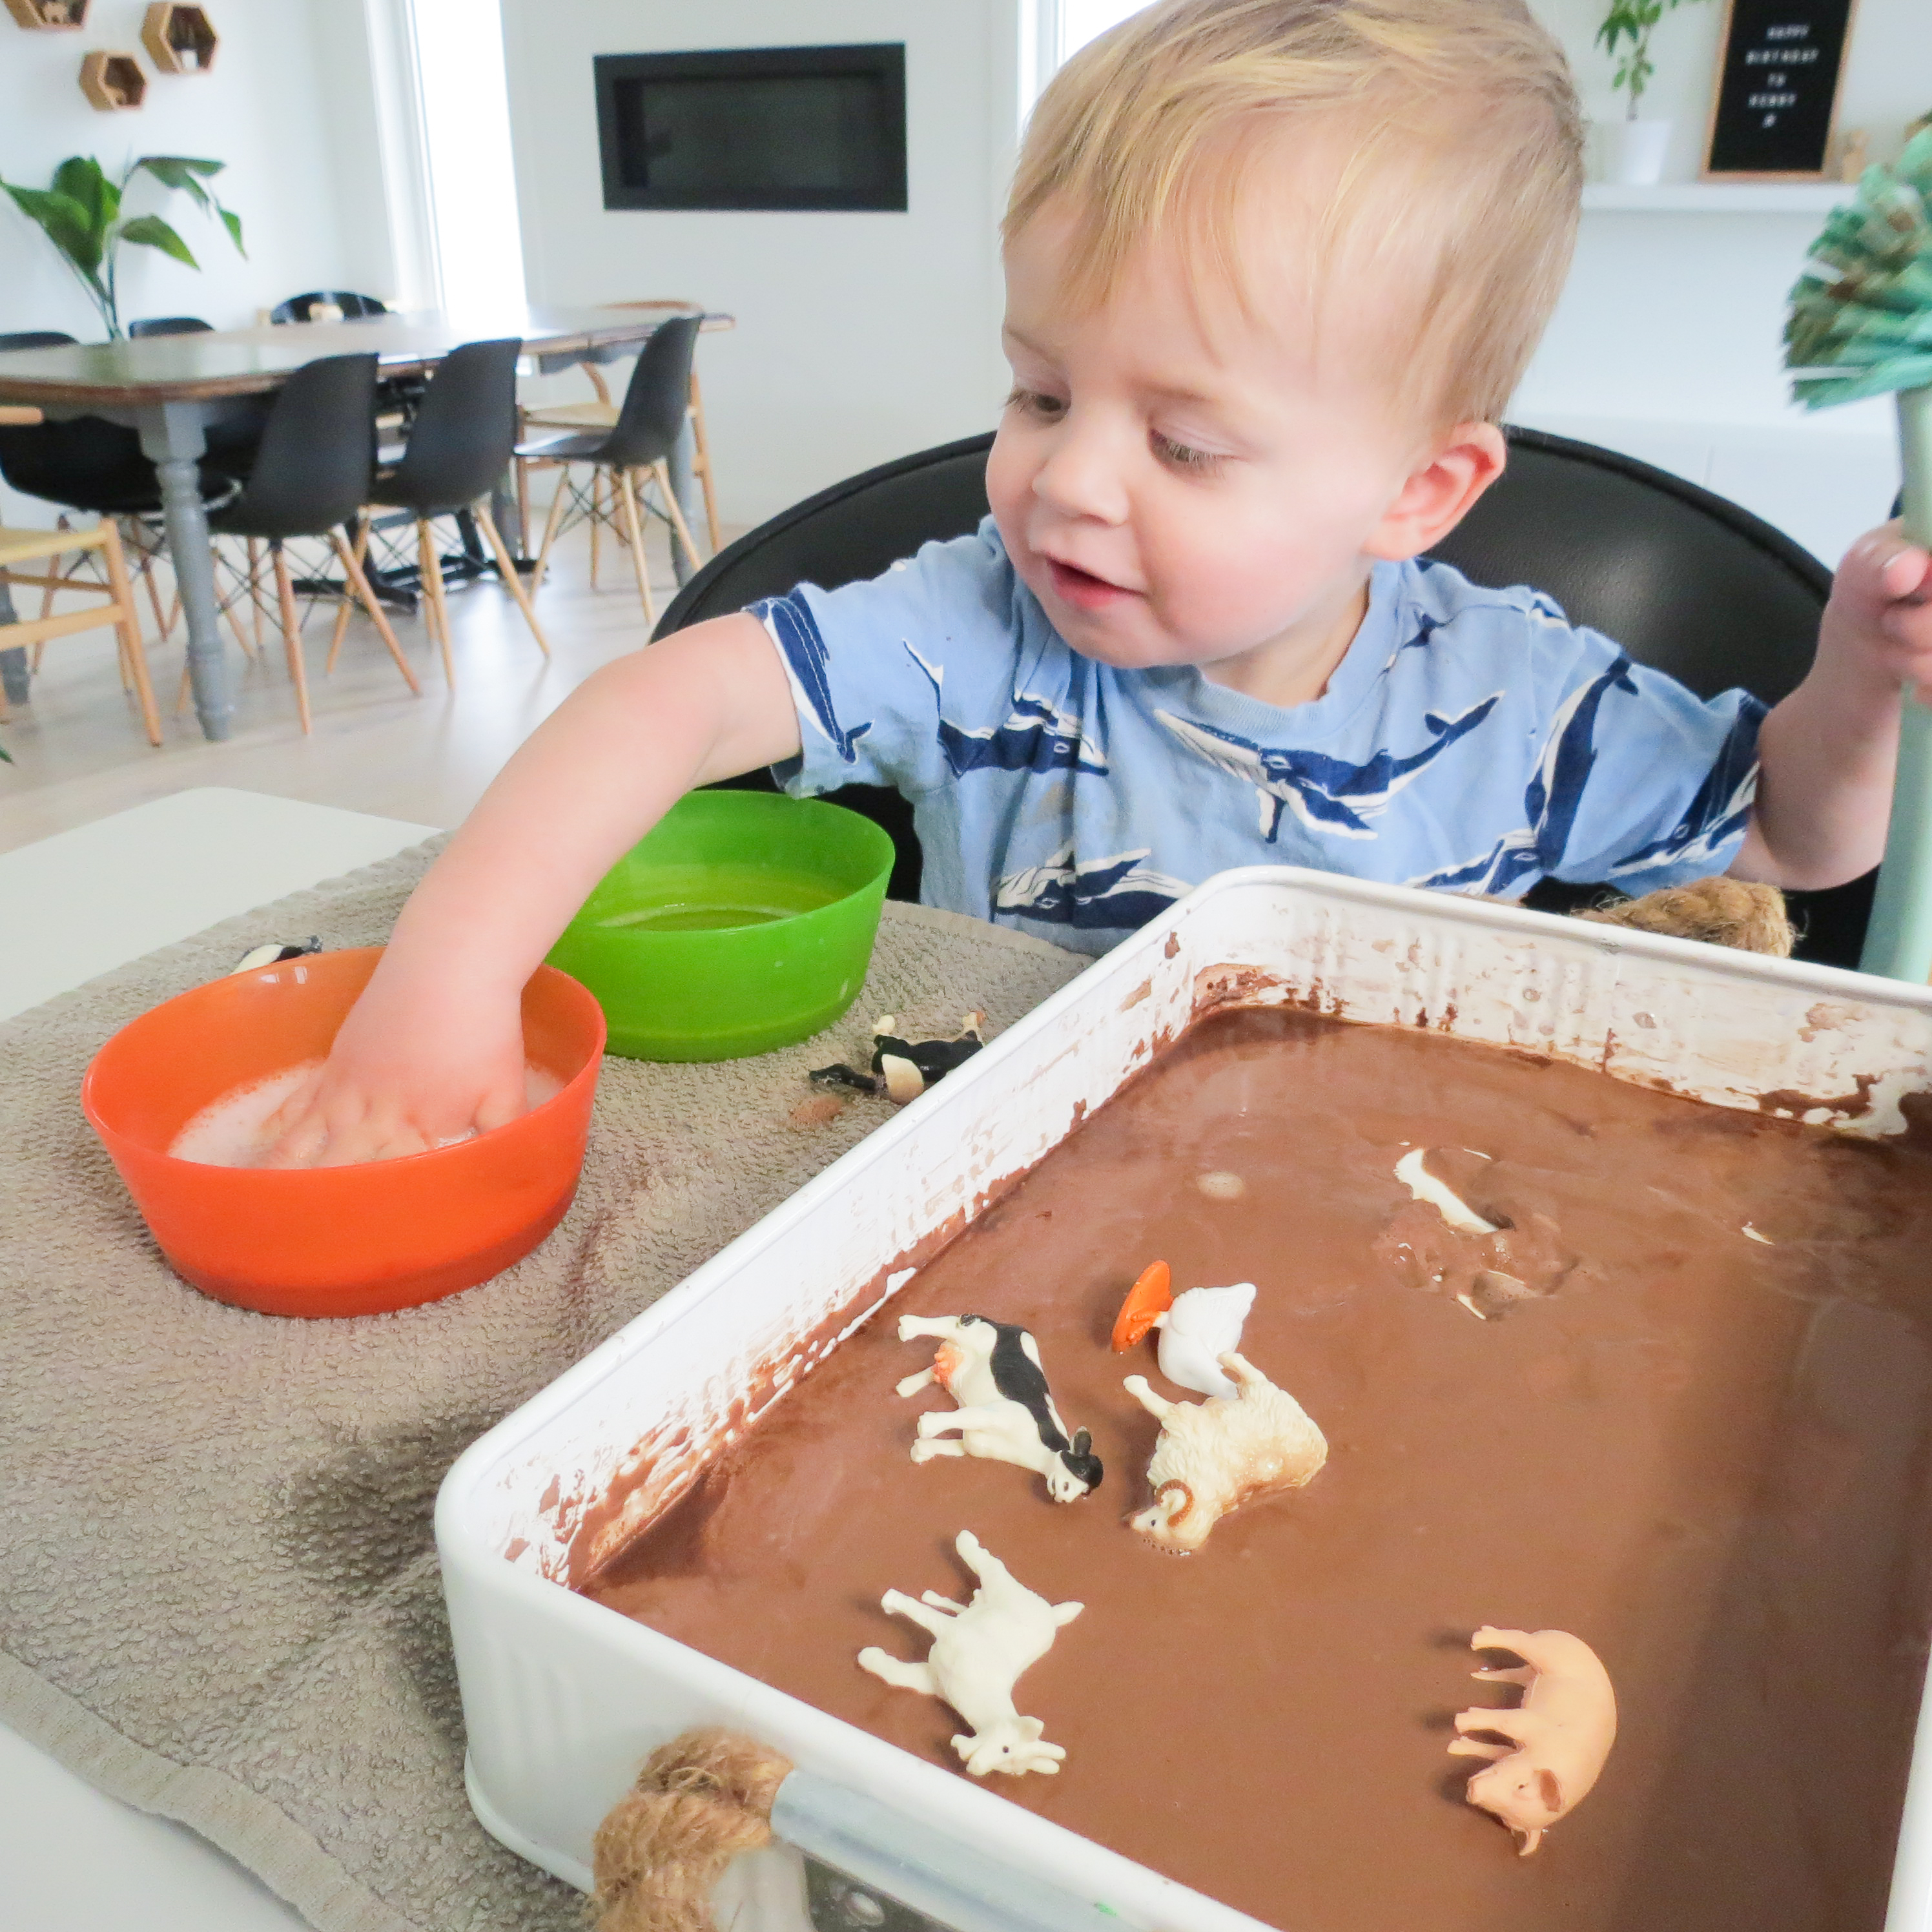
The animals go in the “mud” to play and get dirty. Show your child how to them give them a little rinse in the water and how to use the soapy sponge/scrub brush to clean the animals. They may choose to repeat the process, caring for and cleaning the animals. Talk about the consistency of the “mud”. It’s actually a non-Newtonian liquid which means that it does not follow Newton’s law of viscosity; viscosity changes under force. These properties make it amazing to play with.
Combine the water, the warm soapy bath, and a bristly scrub brush, your child has so many textures to explore!
Development Opportunities:
Cognitive
- Sequential order: show your little one the order in which this can work (even if they don’t choose to do it that way). Talk to them: “first the mud, then the soap, then water”. This introduces a system; they may not be interested in following the sequence though and that’s ok!
Language
- New vocabulary: talk to your child as they play. Talk about the colours, the various animals, the textures. The more they hear you talk, it reinforces language.
Physical
- Motor skills: grasping, pinching, transferring, scrubbing, dipping; these things all develop your little one’s physical motor control in their arms, hands, and fingers.
- Hand eye coordination: your baby will practice coordinating what they see with their physical motions and movements.
Emotional
- Stress relief: sensory play can be a very soothing activity for your little one and a break from their regular rhythm.
- Self-confidence: as your child accomplishes cleaning the animals, they get a sense of accomplishment resulting in positive feelings about themselves.
- Expressing emotion: this will allow your child to experience feelings of excitement, happiness, curiosity, and more. Playful situations like this provide a safe place for your baby to practice expression such emotions with you.
Social
- Empathy: Your little one will practice empathy as they care for the animals in the process of cleaning them.
- Following directions: This activity provides your little one with so many opportunities to practice these skills. You can model for them what is appropriate play (ex. keeping the water in the bowl and not dumping it), as well as showing them the sequential order of washing the animals.

